How To Record With Sound On Laptop Camera?
Recording video with sound on a laptop camera is a common requirement for various purposes, such as creating content for social media, conducting virtual meetings, or recording personal vlogs. However, many users often face challenges in achieving high-quality audio and video recordings. This article aims to provide a comprehensive guide on how to record with sound on a laptop camera, addressing common issues and offering practical solutions.
Understanding Your Laptop's Capabilities
Before diving into the recording process, it's essential to understand the capabilities of your laptop. Most modern laptops come equipped with a built-in camera and microphone. However, the quality of these built-in components can vary significantly. Here are some preliminary steps to ensure your laptop is ready for recording:
1. Check Camera and Microphone Specifications: Look up the specifications of your laptop's camera and microphone. This information can usually be found on the manufacturer's website or in the user manual. Knowing the resolution of your camera and the sensitivity of your microphone can help set realistic expectations.
2. Update Drivers: Ensure that your camera and microphone drivers are up to date. Outdated drivers can cause compatibility issues and degrade the quality of your recordings. You can update drivers through the Device Manager on Windows or the System Preferences on macOS.
3. Test the Hardware: Open the camera application on your laptop to test the video quality. Similarly, use a voice recording application to test the microphone. This will help you identify any immediate issues with the hardware.
Choosing the Right Software
The software you use for recording plays a crucial role in the quality of your final output. Here are some popular options:
1. Built-in Camera Apps: Both Windows and macOS come with built-in camera applications (Camera app on Windows and Photo Booth on macOS). These apps are straightforward to use but may lack advanced features.
2. Third-Party Software: For more control over your recordings, consider using third-party software like OBS Studio, Camtasia, or Bandicam. These applications offer advanced features such as screen recording, multiple audio tracks, and video editing tools.
3. Online Tools: If you prefer not to install additional software, online tools like Clipchamp or Loom can be useful. These platforms allow you to record video and audio directly from your browser.
Setting Up for Recording
Proper setup is crucial for achieving high-quality recordings. Here are some tips to optimize your recording environment:
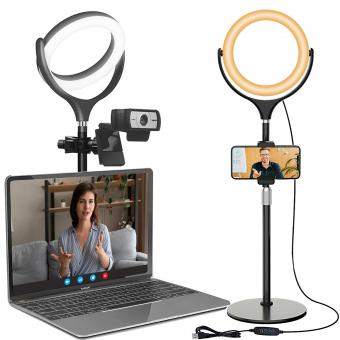
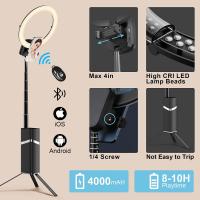
1. Lighting: Good lighting can significantly improve the quality of your video. Use natural light where possible, or invest in affordable LED lights. Position the light source in front of you to avoid shadows.
2. Background: Choose a clean, uncluttered background to keep the focus on you. Virtual backgrounds can also be used if your recording software supports them.
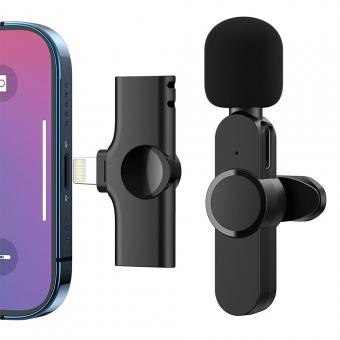
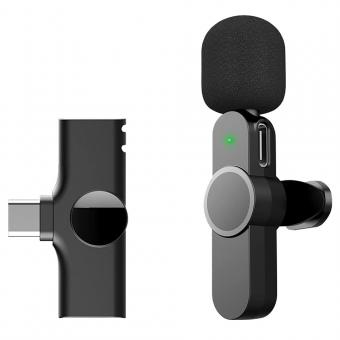
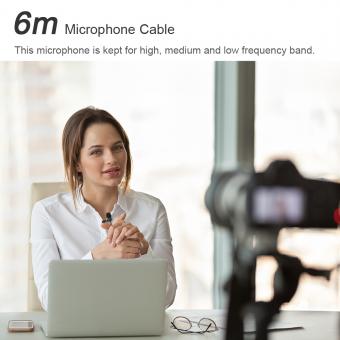
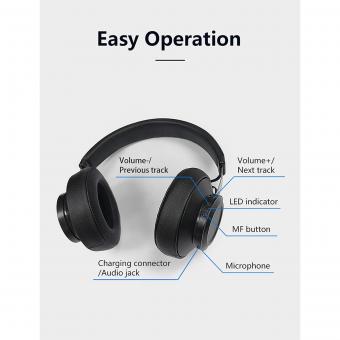
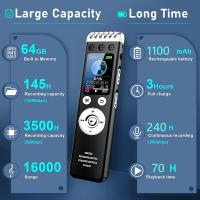
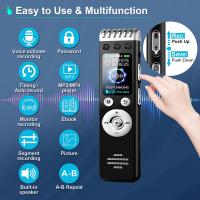
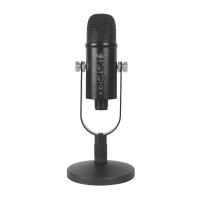
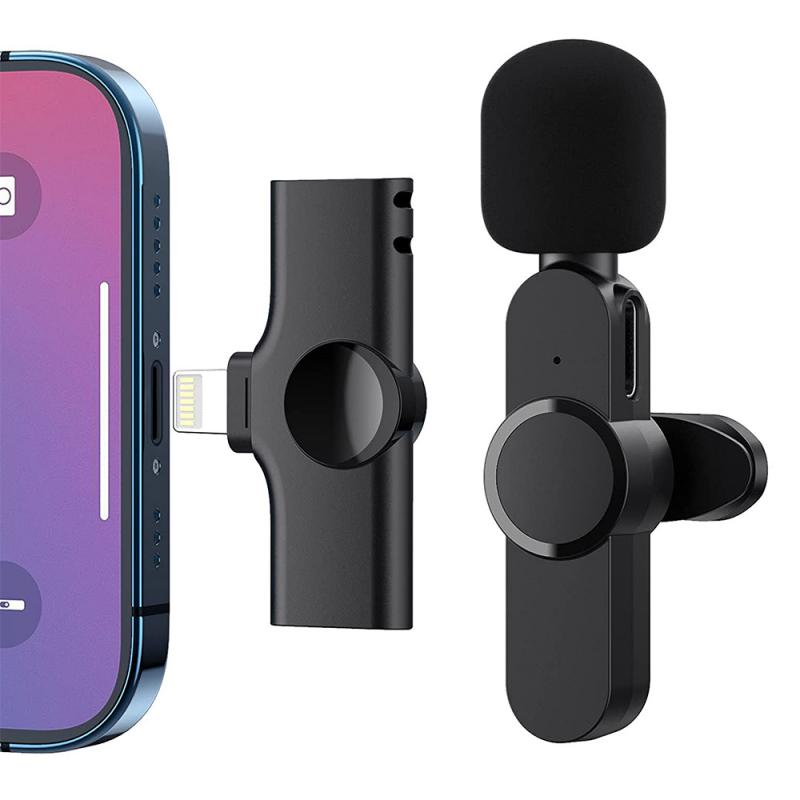
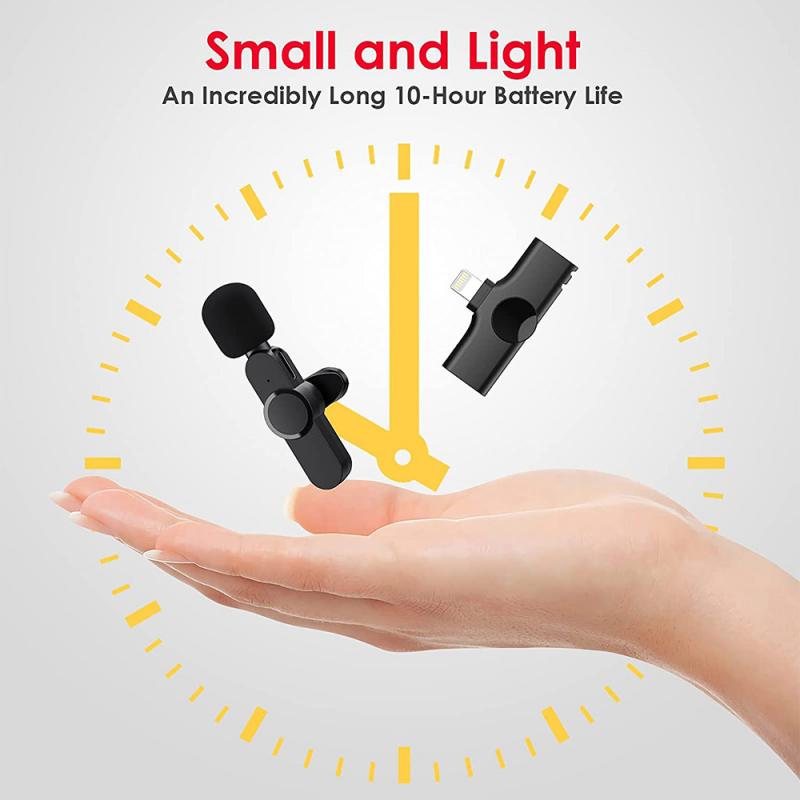
3. Microphone Placement: The built-in microphone on your laptop may not always provide the best audio quality. Consider using an external microphone for better sound. Place the microphone close to your mouth but out of the camera's view.
4. Camera Angle: Position your laptop camera at eye level to create a more engaging and professional appearance. You can use a stack of books or a laptop stand to achieve the desired height.
Recording Process
Once your setup is complete, follow these steps to start recording:
1. Open Your Chosen Software: Launch the application you have chosen for recording. Ensure that both the camera and microphone are selected as the input sources.
2. Adjust Settings: Configure the video resolution and frame rate according to your needs. For most purposes, a resolution of 720p or 1080p at 30 frames per second is sufficient. Adjust the audio settings to ensure the microphone is capturing sound at an appropriate level.
3. Perform a Test Recording: Before starting your actual recording, perform a short test to check the audio and video quality. Play back the test recording to identify any issues and make necessary adjustments.
4. Start Recording: Once you are satisfied with the test, start your recording. Speak clearly and maintain eye contact with the camera to create a more engaging video.
5. Stop and Save: After completing your recording, stop the session and save the file. Most software will prompt you to choose a location to save the recording.
Post-Recording Tips
After recording, you may need to perform some post-production tasks to enhance the quality of your video and audio. Here are some tips:
1. Editing Software: Use video editing software like Adobe Premiere Pro, Final Cut Pro, or even free options like DaVinci Resolve to edit your recording. You can trim unwanted sections, add transitions, and include text overlays.
2. Audio Enhancement: If the audio quality is not up to par, consider using audio editing software like Audacity to clean up background noise and improve clarity.
3. File Format: Save your final video in a widely supported format like MP4 or MOV. These formats offer a good balance between quality and file size.
4. Backup: Always keep a backup of your original recording and the edited version. This ensures you have a copy in case of accidental deletion or corruption.
Troubleshooting Common Issues
Despite careful preparation, you may encounter some common issues while recording. Here are solutions to a few frequent problems:
1. No Sound: If your recording has no sound, check the microphone settings in your recording software. Ensure the correct microphone is selected and not muted. Also, check the system sound settings to ensure the microphone is enabled.
2. Poor Audio Quality: If the audio quality is poor, consider using an external microphone. Additionally, reduce background noise by recording in a quiet environment and using noise-canceling software.
3. Video Lag: If your video is lagging, reduce the resolution or frame rate in your recording software. Ensure your laptop is not running other resource-intensive applications during recording.
4. Sync Issues: If the audio and video are out of sync, use video editing software to manually align the audio track with the video.
Recording video with sound on a laptop camera can be a straightforward process with the right preparation and tools. By understanding your laptop's capabilities, choosing the appropriate software, setting up your recording environment, and following best practices, you can achieve high-quality recordings. Additionally, addressing common issues and performing post-production enhancements can further improve the final output. Whether you are creating content for social media, conducting virtual meetings, or recording personal vlogs, these tips will help you produce professional and engaging videos.

