How To Repair Endoscope?
Endoscopes are essential tools in modern medical diagnostics and treatment, allowing healthcare professionals to view and operate on internal organs with minimal invasiveness. However, like any sophisticated equipment, endoscopes can experience wear and tear, malfunctions, or damage over time. Knowing how to repair an endoscope can save significant costs and downtime, ensuring that medical facilities can continue to provide high-quality care. This article will guide you through the common issues that endoscopes face, the steps to diagnose these problems, and the methods to repair them effectively.
Understanding Endoscope Components
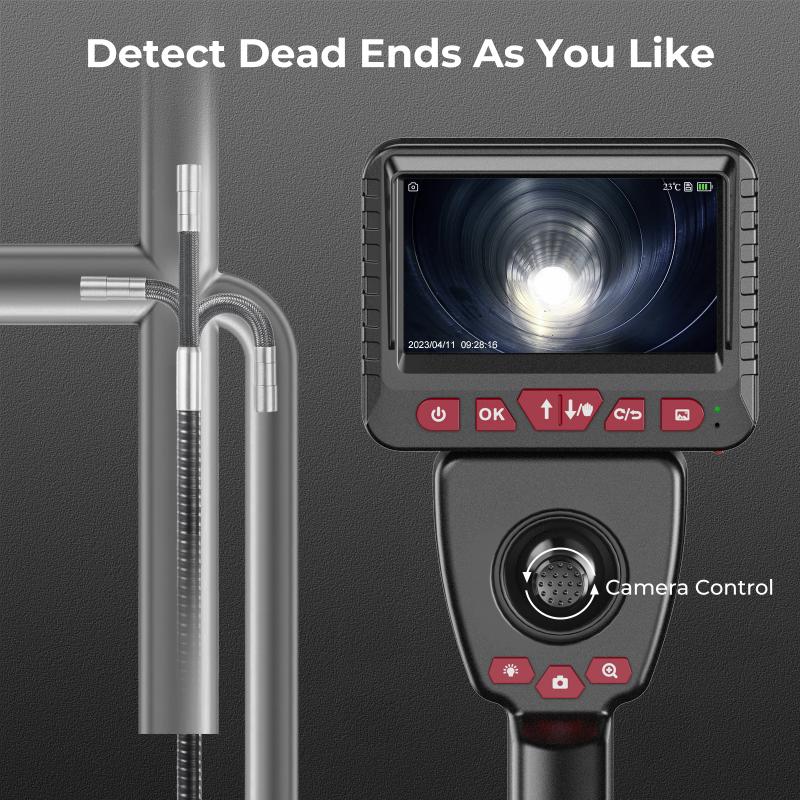
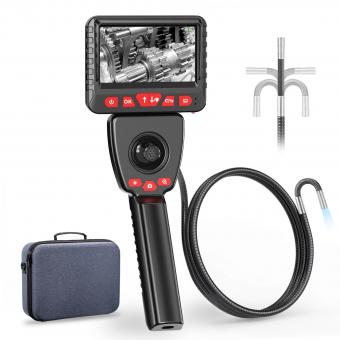
Before diving into the repair process, it’s crucial to understand the basic components of an endoscope:
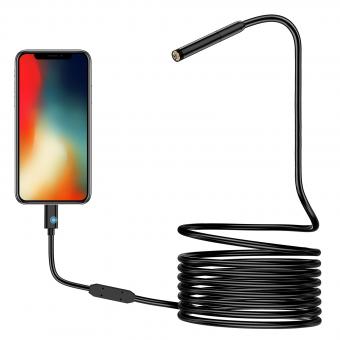
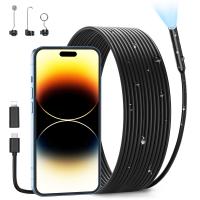
1. Insertion Tube: The flexible tube that is inserted into the body.
2. Light Source: Provides illumination to the area being examined.
3. Camera: Captures images or videos of the internal organs.
4. Control Handle: Allows the operator to maneuver the insertion tube.
5. Biopsy Channel: A channel through which instruments can be passed for taking tissue samples or performing procedures.
Common Endoscope Issues
Endoscopes can suffer from a variety of issues, including:
1. Image Problems: Blurry, distorted, or no image at all.
2. Light Source Failure: Insufficient or no illumination.
3. Insertion Tube Damage: Tears, kinks, or stiffness in the tube.
4. Control Handle Malfunctions: Difficulty in maneuvering the insertion tube.
5. Leakage: Fluid ingress into the endoscope.
Diagnosing Endoscope Problems
Proper diagnosis is the first step in repairing an endoscope. Here’s how to identify common issues:
1. Visual Inspection: Check for visible damage to the insertion tube, control handle, and connectors.
2. Image Quality Test: Connect the endoscope to a monitor and check the image quality. Look for blurriness, dark spots, or complete image loss.
3. Light Source Test: Ensure the light source is functioning correctly by checking the brightness and uniformity of the illumination.
4. Leakage Test: Submerge the endoscope in water and apply air pressure to check for bubbles, indicating a leak.
5. Operational Test: Test the control handle for smooth operation and responsiveness.
Repairing Common Endoscope Issues
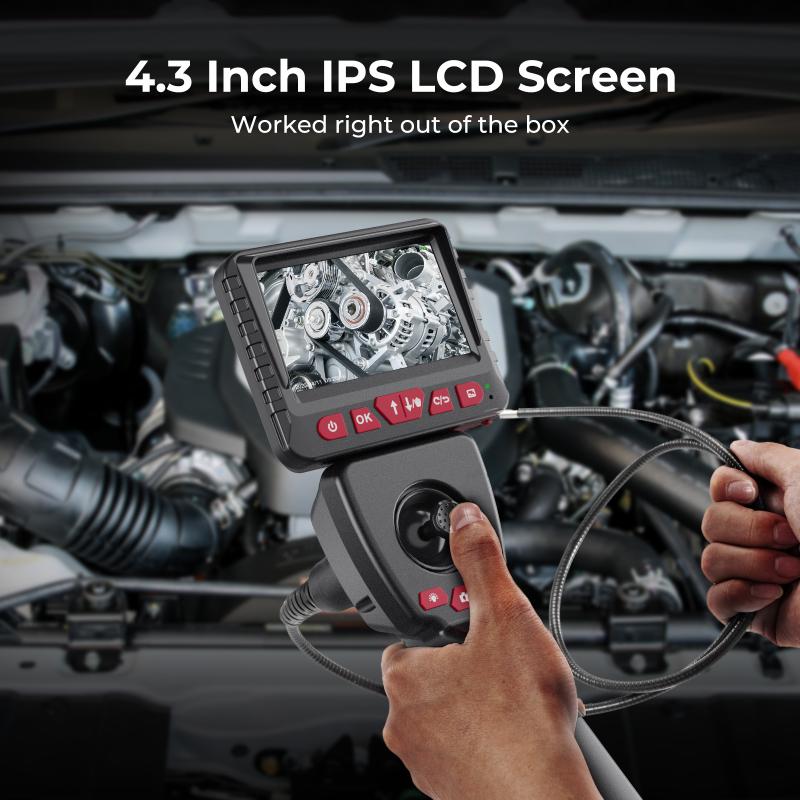
1. Image Problems
Blurry or Distorted Image:
- Cause: Dirty lens or damaged camera.
- Solution: Clean the lens with a soft, lint-free cloth and a suitable cleaning solution. If the problem persists, the camera may need to be replaced.
No Image:
- Cause: Faulty camera or connection issues.
- Solution: Check the connections between the endoscope and the monitor. If the connections are secure, the camera may need to be replaced.
2. Light Source Failure
Insufficient Illumination:
- Cause: Dirty light guide or faulty light source.
- Solution: Clean the light guide with a suitable cleaning solution. If the problem persists, replace the light source.
No Illumination:
- Cause: Burnt-out bulb or electrical issues.
- Solution: Replace the bulb. If the problem persists, check the electrical connections and wiring.
3. Insertion Tube Damage
Tears or Kinks:
- Cause: Physical damage or wear and tear.
- Solution: Minor tears can be repaired using specialized adhesive tapes. For significant damage, the insertion tube may need to be replaced.
Stiffness:
- Cause: Internal damage or aging.
- Solution: Lubricate the insertion tube with a suitable lubricant. If the stiffness persists, the tube may need to be replaced.
4. Control Handle Malfunctions
Difficulty in Maneuvering:
- Cause: Mechanical issues or internal damage.
- Solution: Disassemble the control handle and check for any mechanical obstructions or damage. Clean and lubricate the internal components. If the problem persists, replace the control handle.
5. Leakage
Fluid Ingress:
- Cause: Damaged seals or insertion tube.
- Solution: Identify the source of the leak using the leakage test. Replace damaged seals or the insertion tube as necessary.
Preventive Maintenance
Regular maintenance can prevent many common endoscope issues. Here are some tips for maintaining your endoscope:
1. Regular Cleaning: Clean the endoscope thoroughly after each use to prevent the buildup of debris and contaminants.
2. Proper Storage: Store the endoscope in a protective case to prevent physical damage.
3. Routine Inspections: Conduct regular inspections to identify and address potential issues before they become significant problems.
4. Professional Servicing: Schedule regular servicing by a professional technician to ensure the endoscope is in optimal condition.
When to Seek Professional Help
While many endoscope issues can be resolved with basic troubleshooting and repairs, some problems require professional expertise. Seek professional help if:
1. Complex Electrical Issues: Electrical problems that cannot be resolved through basic troubleshooting.
2. Significant Physical Damage: Major damage to the insertion tube, control handle, or other components.
3. Persistent Problems: Issues that persist despite repeated attempts at repair.
Repairing an endoscope requires a thorough understanding of its components, common issues, and appropriate repair techniques. By following the steps outlined in this article, you can diagnose and repair many common endoscope problems, ensuring that your equipment remains in optimal condition. Regular maintenance and timely repairs can extend the lifespan of your endoscope, saving costs and ensuring that you can continue to provide high-quality care to your patients. However, for complex issues or significant damage, it’s always best to seek professional help to ensure the safety and functionality of your endoscope.

