How To Replace Ring Light Bulb?
Replacing a ring light bulb can be a straightforward task if you follow the right steps and precautions. Whether you're a content creator, a photographer, or someone who uses a ring light for video conferencing, knowing how to replace the bulb can save you time and money. In this article, we will walk you through the process of replacing a ring light bulb, discuss the types of bulbs used in ring lights, and provide some tips for maintaining your ring light to extend its lifespan.
Understanding Your Ring Light
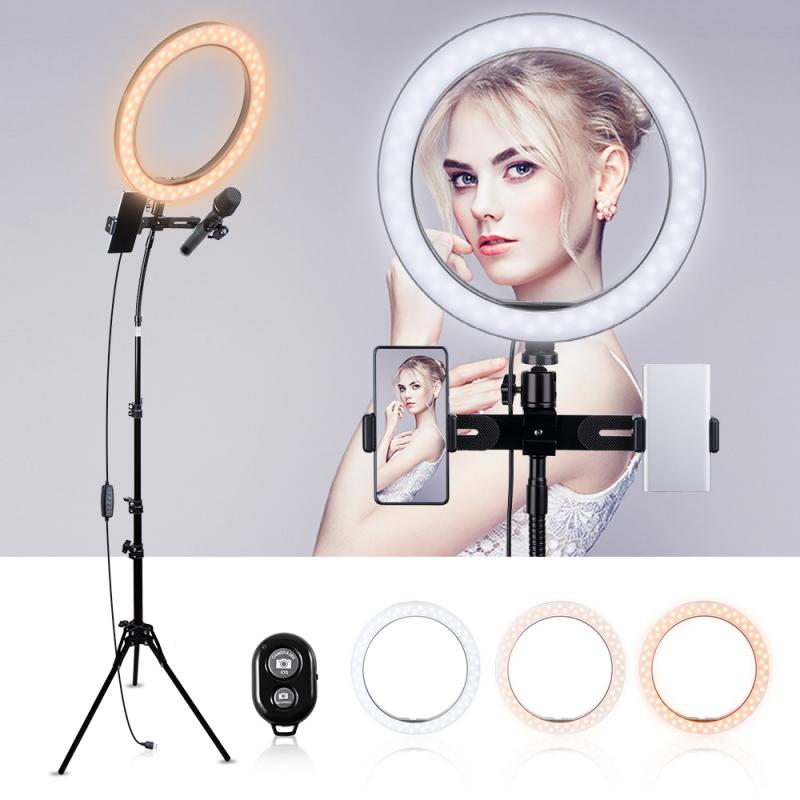
Before diving into the replacement process, it's essential to understand the type of ring light you have. Ring lights generally come in two types: those with replaceable bulbs and those with integrated LEDs. If your ring light uses integrated LEDs, you might not be able to replace the bulb, and you may need to replace the entire unit. However, if your ring light uses replaceable bulbs, follow the steps below.
Tools and Materials Needed
1. Replacement Bulb: Ensure you have the correct type and wattage of the bulb for your ring light.
2. Screwdriver: Depending on your ring light model, you may need a Phillips or flat-head screwdriver.
3. Soft Cloth or Gloves: To handle the new bulb without leaving fingerprints or oils.
4. User Manual: Always helpful for specific instructions related to your ring light model.
Step-by-Step Guide to Replacing a Ring Light Bulb
Step 1: Turn Off and Unplug the Ring Light
Safety first! Make sure your ring light is turned off and unplugged from the power source. This will prevent any electrical accidents and ensure your safety while handling the bulb.
Step 2: Allow the Bulb to Cool Down
If the ring light has been in use, give it some time to cool down. Bulbs can get extremely hot, and handling them immediately after use can result in burns.
Step 3: Remove the Diffuser or Cover
Most ring lights come with a diffuser or cover that softens the light. This cover needs to be removed to access the bulb. Use a screwdriver if necessary to unscrew any screws holding the cover in place. Gently lift the cover off and set it aside.
Step 4: Remove the Old Bulb
Carefully unscrew the old bulb from its socket. If the bulb is stuck, gently wiggle it to loosen it. Be cautious not to apply too much force, as this can break the bulb and cause injury.
Step 5: Install the New Bulb
Take the new bulb and, using a soft cloth or gloves, screw it into the socket. Make sure it is securely in place but avoid over-tightening, as this can damage the bulb or socket.
Step 6: Replace the Diffuser or Cover
Once the new bulb is installed, replace the diffuser or cover. Secure it with screws if necessary. Ensure that it is properly aligned and firmly in place.
Step 7: Test the Ring Light
Plug the ring light back into the power source and turn it on. Check to see if the new bulb is working correctly. If it doesn't light up, double-check the installation and ensure the bulb is properly seated in the socket.
Types of Bulbs Used in Ring Lights
Understanding the type of bulb your ring light uses is crucial for a successful replacement. Here are the common types of bulbs used in ring lights:
1. Fluorescent Bulbs: These are energy-efficient and provide a soft, even light. They are commonly used in professional photography and videography ring lights.
2. Incandescent Bulbs: These are less common in modern ring lights due to their higher energy consumption and shorter lifespan. However, some older models may still use them.
3. LED Bulbs: These are the most popular choice for ring lights today. They are energy-efficient, long-lasting, and provide excellent light quality. Some LED ring lights have integrated bulbs that cannot be replaced, while others use replaceable LED bulbs.
Tips for Maintaining Your Ring Light
To extend the lifespan of your ring light and ensure it continues to perform optimally, follow these maintenance tips:
1. Regular Cleaning: Dust and dirt can accumulate on the diffuser and bulb, affecting light quality. Clean your ring light regularly with a soft cloth.
2. Proper Storage: When not in use, store your ring light in a cool, dry place. Avoid exposing it to extreme temperatures or humidity.
3. Handle with Care: Always handle your ring light and bulbs with care. Avoid dropping or bumping the light, as this can damage the bulbs and internal components.
4. Check Connections: Periodically check the power cord and connections for any signs of wear or damage. Replace any damaged parts immediately to prevent electrical hazards.
Troubleshooting Common Issues
Even with proper maintenance, you may encounter some issues with your ring light. Here are some common problems and their solutions:
1. Ring Light Not Turning On: Check the power source and ensure the light is plugged in correctly. If the bulb is new and still not working, there may be an issue with the socket or internal wiring.
2. Flickering Light: This can be caused by a loose bulb or a faulty power connection. Ensure the bulb is securely in place and check the power cord for any damage.
3. Uneven Lighting: If the light appears uneven, the diffuser may not be properly aligned, or the bulb may be incorrectly installed. Adjust the diffuser and recheck the bulb installation.
Replacing a ring light bulb is a simple task that can be done with minimal tools and effort. By following the steps outlined in this article, you can ensure your ring light continues to provide the high-quality illumination you need for your projects. Remember to handle bulbs with care, follow safety precautions, and maintain your ring light regularly to extend its lifespan. Whether you're a professional or a hobbyist, knowing how to replace a ring light bulb is a valuable skill that will keep your lighting setup in top condition.


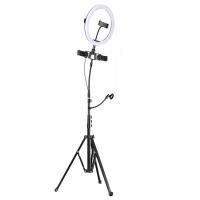
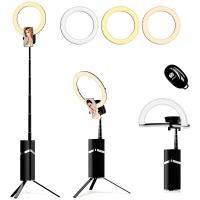
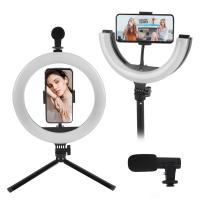
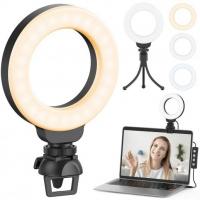
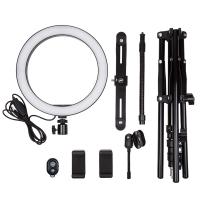
![K&F Concept Selfie Ring Light with Cell Phone Holder for Live Stream and Makeup, LED Light [3-Light Mode] [10-Level Brightness] with Remote Control and Flexible Hose Bracket for iPhone Android【Ship to the US Only】 K&F Concept Selfie Ring Light with Cell Phone Holder for Live Stream and Makeup, LED Light [3-Light Mode] [10-Level Brightness] with Remote Control and Flexible Hose Bracket for iPhone Android【Ship to the US Only】](https://img.kentfaith.com/cache/catalog/products/us/KF34.001/KF34.001-1-200x200.jpg)









There are no comments for this blog.