How To Run Wires For Outdoor Security Cameras?
Running wires for outdoor security cameras is a crucial task that ensures the security system functions effectively. Proper installation not only guarantees the cameras work correctly but also ensures the setup is safe and durable. In this article, we will delve into the step-by-step process of running wires for outdoor security cameras, addressing common challenges and providing practical solutions.
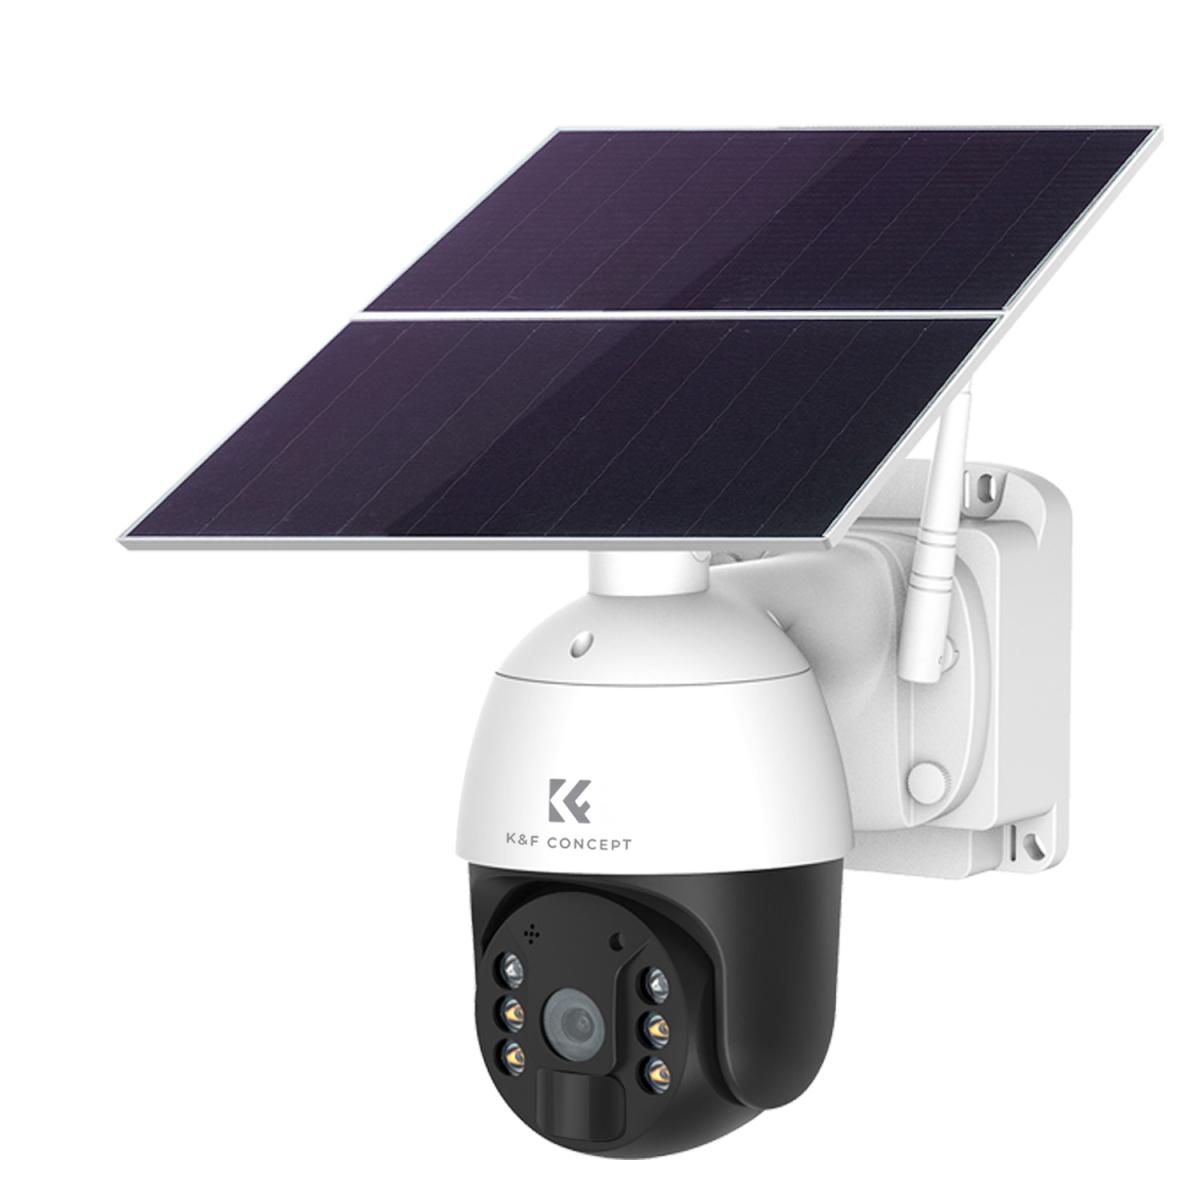
Understanding the Basics
Before diving into the installation process, it’s essential to understand the basic components and requirements for running wires for outdoor security cameras. The primary components include:
1. Security Cameras: Choose cameras that are weatherproof and suitable for outdoor use.
2. Cables: Typically, you will use either Ethernet cables (Cat5e or Cat6) for IP cameras or coaxial cables for analog cameras.
3. Power Supply: Depending on the camera type, you may need a separate power supply or use Power over Ethernet (PoE).
4. Tools: Drill, screwdriver, fish tape, cable clips, and weatherproof junction boxes.
Planning the Installation
Proper planning is crucial for a successful installation. Here are the steps to plan your setup:
1. Determine Camera Locations: Identify the areas you want to monitor. Consider the field of view, lighting conditions, and potential obstructions.
2. Measure Cable Lengths: Measure the distance from each camera location to the central recording device (DVR/NVR) or power source. Add extra length for any twists and turns.
3. Check Building Codes: Ensure your installation complies with local building codes and regulations.
Running the Cables
Once you have a plan in place, you can start running the cables. Here’s a step-by-step guide:
1. Drilling Holes
- Mark the Entry Points: Mark the spots where the cables will enter and exit the building. Ensure these points are accessible and won’t interfere with other utilities.
- Drill the Holes: Use a drill with an appropriate bit size to create holes for the cables. Make sure the holes are slightly larger than the cable diameter to allow for easy passage.
2. Running the Cables
- Use Fish Tape: Insert fish tape through the drilled hole to guide the cable. Attach the cable to the fish tape and pull it through the hole.
- Secure the Cables: Use cable clips or staples to secure the cables along the route. Ensure the cables are taut but not overly tight to avoid damage.
- Protect the Cables: Use conduit or PVC piping to protect the cables from weather and physical damage. This is especially important for exposed sections.
3. Connecting the Cameras
- Attach Connectors: Depending on the cable type, attach the appropriate connectors (RJ45 for Ethernet or BNC for coaxial). Ensure the connections are secure and properly crimped.
- Connect to Power Supply: If using a separate power supply, connect the power cables to the cameras. For PoE cameras, ensure the Ethernet cable is connected to a PoE switch or injector.
Weatherproofing
Outdoor installations are exposed to the elements, so weatherproofing is essential:
- Use Weatherproof Junction Boxes: Place junction boxes at connection points to protect the cables and connectors from moisture.
- Seal Entry Points: Use silicone sealant to seal the holes where cables enter the building. This prevents water ingress and pest entry.
- Check for UV Resistance: Ensure the cables and conduit are UV resistant to prevent degradation from sunlight exposure.
Testing the System
After running and connecting the cables, it’s crucial to test the system to ensure everything is working correctly:
- Power On the Cameras: Turn on the power supply and check if the cameras are receiving power.
- Check Video Feed: Verify the video feed from each camera on the DVR/NVR or monitoring software. Ensure the image quality is clear and there are no signal issues.
- Adjust Camera Angles: Fine-tune the camera angles to cover the desired areas. Make sure there are no blind spots.
Troubleshooting Common Issues
Even with careful planning and execution, you may encounter some issues. Here are common problems and their solutions:
- No Power to Cameras: Check the power connections and ensure the power supply is functioning. For PoE cameras, verify the PoE switch or injector is working.
- Poor Video Quality: Inspect the cable connections for any loose or damaged connectors. Ensure the cables are not bent or kinked.
- Interference: Avoid running the cables near high-power electrical lines or devices that may cause interference. Use shielded cables if necessary.
Maintenance and Upkeep
Regular maintenance ensures the longevity and reliability of your security camera system:
- Inspect Cables and Connections: Periodically check the cables and connections for any signs of wear or damage. Replace any damaged components promptly.
- Clean Camera Lenses: Clean the camera lenses regularly to ensure clear video footage. Use a soft cloth and lens cleaner to avoid scratches.
- Update Firmware: Keep the camera firmware and monitoring software up to date to benefit from the latest features and security patches.
Running wires for outdoor security cameras may seem daunting, but with proper planning and execution, it can be a straightforward process. By following the steps outlined in this article, you can ensure a reliable and effective security camera installation. Remember to prioritize safety, weatherproofing, and regular maintenance to keep your system functioning optimally. With a well-installed security camera system, you can enhance the safety and security of your property, providing peace of mind for you and your loved ones.




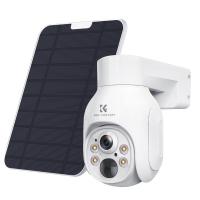
![[4X Optical Zoom] Recharge power Security Camera PTZ Outdoor for Home Security with Human Detection Auto Tracking-UK Standard [4X Optical Zoom] Recharge power Security Camera PTZ Outdoor for Home Security with Human Detection Auto Tracking-UK Standard](https://img.kentfaith.com/cache/catalog/products/us/KF50.0003/KF50.0003-1-200x200.jpg)










There are no comments for this blog.