How To Set Sound Recorder On Computer?
Setting up a sound recorder on your computer can be an incredibly useful skill, whether you need it for professional purposes, academic work, or personal projects. With the right tools and knowledge, you can easily transform your computer into a high-quality sound recording device. This article will guide you through the entire process, from selecting the right software and hardware to configuring your system for optimal recording performance. Along the way, we’ll also discuss some common troubleshooting tips to ensure you achieve the best results.
Choosing the Right Software
Free vs. Paid Options
There are many sound recording software options available, ranging from free to premium paid versions. Each software varies in features and capabilities, so it's important to choose one that fits your specific needs.
- Free Software: Programs like Audacity and Ocenaudio offer robust features without any cost, making them ideal for beginners or those on a tight budget. They are equipped with essential tools for recording, editing, and exporting audio files.
- Paid Software: For those looking for more advanced features, premium options such as Adobe Audition, Logic Pro X, and Pro Tools offer extensive capabilities in terms of sound manipulation, multi-track recording, plugins, and more.
Selecting the Right Hardware
Microphones
The quality of your recordings heavily depends on the microphone you use. Here are a few types to consider:
- Built-in Microphone: Most computers come with built-in microphones, but their quality is generally subpar and not suited for serious recording tasks.
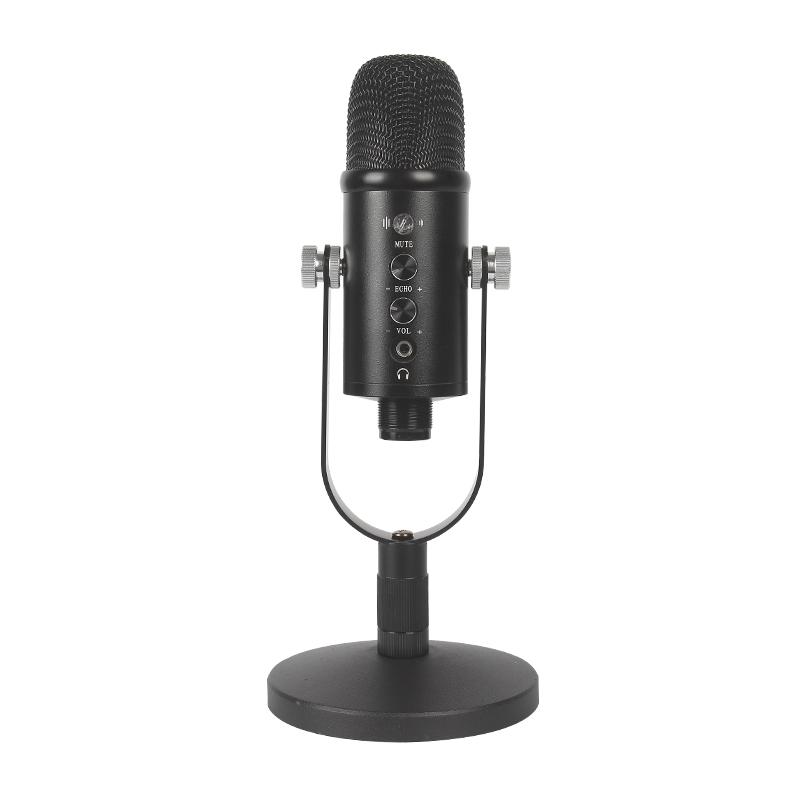
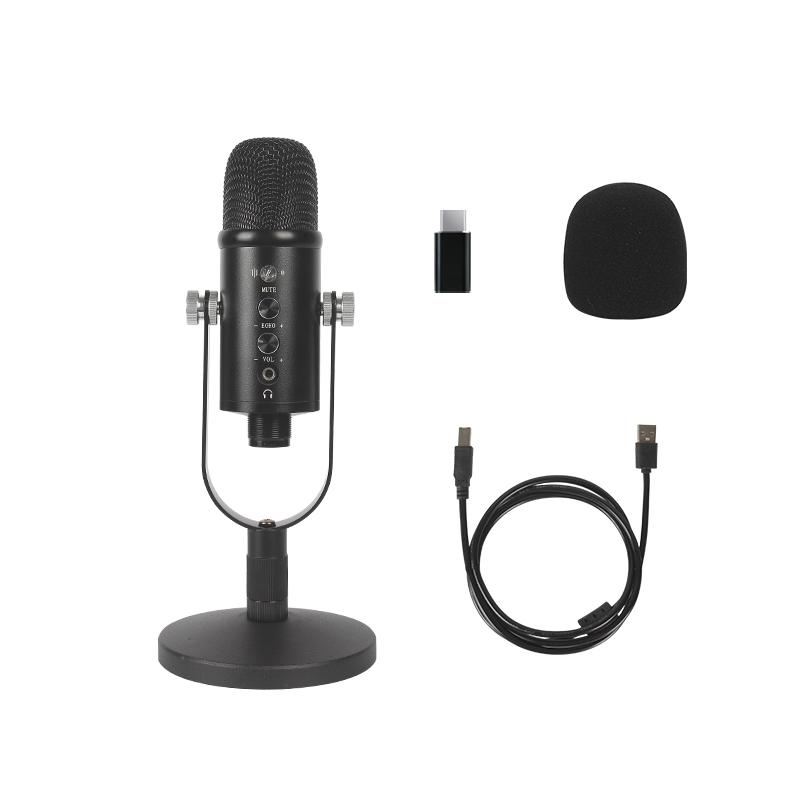
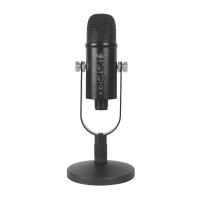
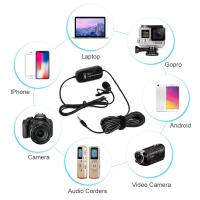
- External Microphone: Investing in a good external microphone can significantly upgrade your audio quality. USB microphones are user-friendly and offer good quality for their price. For professional sound recording, consider XLR microphones, which, while more complex to set up, deliver superior sound.
Audio Interface
If you opt for an XLR microphone, you'll need an audio interface to connect it to your computer. An audio interface converts analog signals into digital data, ensuring high-quality sound capture. Popular choices include Focusrite Scarlett, PreSonus AudioBox, and Universal Audio Apollo.
Setting Up Your Sound Recorder
Step-by-Step Guide
1. Install the Software: Begin by downloading and installing your chosen sound recording software. Follow the on-screen instructions to complete the installation process.
2. Connect Your Microphone: For USB microphones, just plug it into an available USB port. For XLR microphones, connect it to your audio interface, which will then be connected to your computer via USB or another compatible connection.
3. Configure Audio Settings:
- Input Device: Open your sound recording software and navigate to the settings or preferences menu. Choose your microphone (or audio interface) as the input device.
- Sample Rate: Set the sample rate to your preference; 44.1 kHz is standard for CD-quality audio, while 48 kHz is commonly used for video production.
4. Set Levels:
- Microphone Level: Speak into the microphone and adjust the input level within your recording software to avoid peaking (distortion due to input levels being too high) and ensure clear audio capture.
- Monitor Levels: Use headphones to monitor your levels in real-time, if your software supports it, to get immediate feedback on any adjustments needed.
5. Test Recording: Perform a test recording to ensure everything is set up correctly. Listen to the playback to confirm the audio quality meets your expectations.
Optimizing Recording Environment
Acoustic Treatment
Good recording quality often requires a controlled environment:
- Room Acoustics: Rooms with hard surfaces can cause echoes and reverberations. Soft furnishings, carpets, and pillows can help minimize these issues. For a more professional setup, consider acoustic foam panels and bass traps.
- Ambient Noise: Try to eliminate as much background noise as possible. Turn off appliances, close windows, and consider using a microphone with good off-axis rejection capabilities.
Software Settings
Beyond physical setup, software settings can further enhance your recordings:
- Noise Reduction: Many software options include noise reduction features to minimize background noise.
- Equalization (EQ): Use EQ to balance different frequency components of your audio to achieve a clearer, more pleasant sound.
Troubleshooting Common Issues
Even with the right setup, you may encounter some common issues:
- Latency: When there's a noticeable delay between speaking into the microphone and hearing the playback, you're experiencing latency. To reduce it, adjust the buffer size in your audio software settings. Lower buffer sizes reduce latency but increase CPU usage.
- Distorted Audio: Distortion can occur if the input volume is too high. Ensure your input level is set correctly and that the microphone isn’t too close to loud sound sources.
- No Sound: If you're not capturing any sound, double-check that the correct input device is selected in your software and that all cables are securely connected.
In conclusion, setting up a sound recorder on your computer involves a combination of selecting the right software, choosing suitable hardware, configuring your system settings, and optimizing your recording environment. Whether you're an aspiring podcaster, musician, or someone needing to record lectures or interviews, understanding these steps will help you achieve professional-quality recordings.
Through careful planning and adjustment, you can overcome common challenges and enhance the quality of your recordings significantly. This foundational knowledge will serve you well as you embark on your sound recording endeavors, enabling you to produce clear, high-quality audio content with consistency and ease.
















There are no comments for this blog.