How To Set Up Video Lighting At Home?
Good lighting is essential for creating high-quality video content, whether you're conducting an online meeting, hosting a webinar, or producing a YouTube video. Setting up the right lighting at home can significantly impact the visual appeal and professionalism of your video. In this article, we will explore various aspects of setting up video lighting at home, providing you with practical tips and solutions for achieving the best results.
Understanding Basic Lighting Concepts
1. Three-Point Lighting Setup:
- Key Light: The primary light source that illuminates the subject. Place it at a 45-degree angle to your subject to create depth and dimension.
- Fill Light: This light reduces shadows created by the key light. Position it on the opposite side of the key light and at a lower intensity.
- Back Light (or Rim Light): Placed behind the subject, it creates a separation between the subject and the background, adding a sense of depth.
2. Natural Light:
- Positioning: Use windows as a source of natural light. Position yourself so that the light falls evenly on your face.
- Time of Day: Morning or late afternoon light is softer and more flattering. Avoid direct midday sunlight, which can be harsh.
- Supplementing Natural Light: If natural light is insufficient, supplement it with artificial lights to maintain consistent lighting throughout the day.
Choosing the Right Lighting Equipment
1. Softboxes:
- Why Use Them: Softboxes diffuse light, creating a soft and even lighting effect that is flattering for video.
- Where to Place Them: Position softboxes at key and fill light positions to soften shadows on your subject’s face.
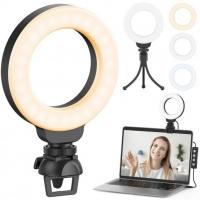
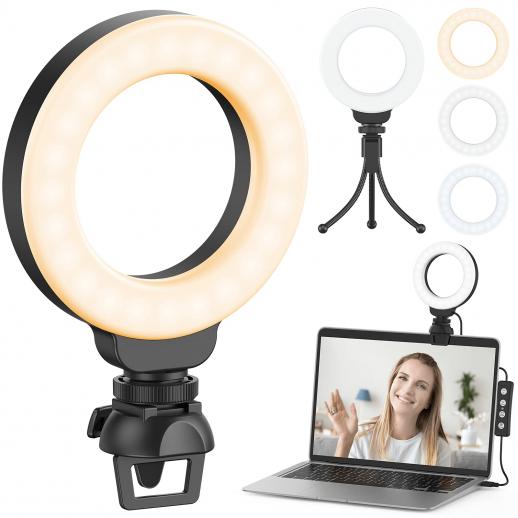
2. Ring Lights:
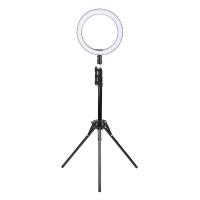
- Benefits: Common in beauty and vlog setups, ring lights provide even, shadow-free lighting.
- Placement: Typically placed directly in front of the subject to create a uniform illumination and a subtle catchlight in the eyes.
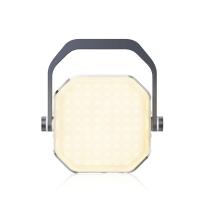
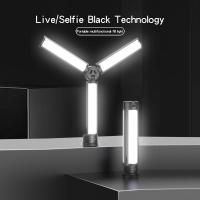
3. LED Panels:
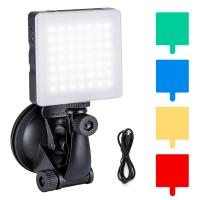
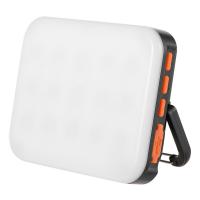
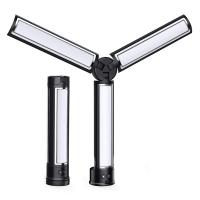
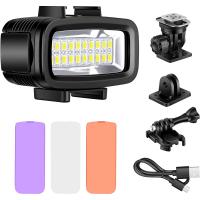
- Advantages: LED panels are versatile, energy-efficient, and often feature adjustable color temperatures.
- Usage: They can be used as key, fill, or back lights depending on the requirements of your setup.
4. Practical Lights:
- Definition: Practical lights refer to real light sources within the scene, such as lamps or overhead lights.
- Function: They add atmosphere and depth to your video, making the scene appear more natural and visually interesting.
Setting Up Your Lighting
1. Key Light Setup:
- Position: Set the key light at a 45-degree angle to your subject, slightly above eye level. This angle creates shadows that give the subject a three-dimensional appearance.
2. Fill Light Setup:
- Position: Place the fill light on the opposite side of the key light, at about the same height or slightly lower. Adjust the intensity to reduce shadows without eliminating them completely.
- Intensity Setting: The fill light should be less intense than the key light, usually by about half.
3. Back Light Setup:
- Position: Place the back light behind the subject, either directly or off to one side. Ensure it’s out of the camera frame.
- Purpose: The back light should be subtle, adding a rim or edge light to separate the subject from the background.
Additional Tips and Tricks
1. Avoid Mixed Lighting:
- Different light sources have different color temperatures. Mixing them can lead to inconsistent color balance. Stick to one type of light, either all natural or all artificial.
2. Use Reflectors:
- Reflectors bounce light back onto the subject, softening shadows and adding a natural fill light. They are a cost-effective way to enhance your lighting setup.
3. Control Light Spill:
- Use flags, barn doors, or black foam boards to prevent light from spilling onto areas where it is not needed, ensuring a clean and focused lighting look.
4. Diffusers and Gels:
- Diffusers soften harsh light, and gels can change the color of your lights to match the desired mood or correct color balance issues.
5. Adjust Based on Scene:
- Experiment with your lighting setup based on different scenes and subjects. Adjust the positions and intensities of your lights to see what works best for your specific video.
Setting up video lighting at home requires a balance of understanding basic lighting principles, choosing the right equipment, and experimenting with placement and intensity. By mastering a three-point lighting setup, utilizing natural light effectively, and employing tools like softboxes, ring lights, and LED panels, you can create professional-quality videos from the comfort of your home.
Remember, great lighting enhances your subject and adds to the overall production value of your video. With practice and experience, you'll be able to perfect your lighting setup and produce visually appealing content that engages and captivates your audience.


