How To Set Up Wireless Surveillance Camera?
Setting up a wireless surveillance camera can seem daunting, but with the right guidance, it can be a straightforward process. This article will walk you through the essential steps to set up your wireless surveillance camera, ensuring you have a secure and reliable system in place to monitor your property. Whether you're a homeowner looking to enhance security or a business owner aiming to protect your assets, this guide will provide you with the knowledge you need.
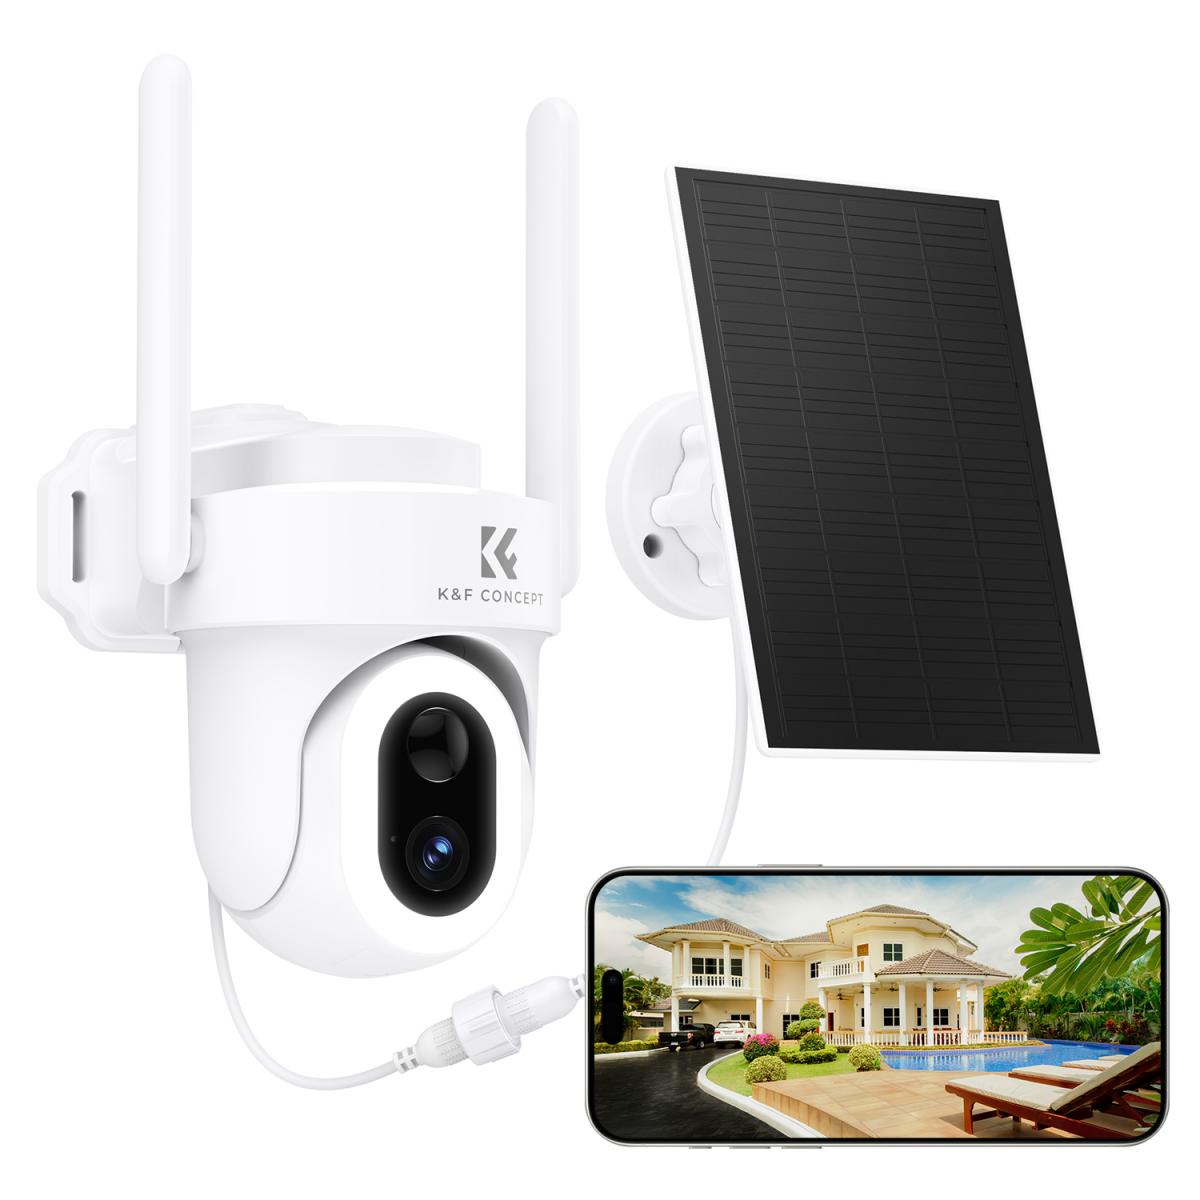
Understanding Wireless Surveillance Cameras
Before diving into the setup process, it's important to understand what a wireless surveillance camera is and how it works. Unlike traditional wired cameras, wireless surveillance cameras transmit video and audio signals through a wireless network. This eliminates the need for extensive cabling, making installation easier and more flexible.
Step-by-Step Guide to Setting Up a Wireless Surveillance Camera
1. Choose the Right Camera
The first step in setting up a wireless surveillance camera is selecting the right one for your needs. Consider the following factors:
- Resolution: Higher resolution cameras provide clearer images. Look for cameras with at least 1080p resolution.
- Field of View: Determine the area you want to monitor and choose a camera with an appropriate field of view.
- Night Vision: If you need to monitor areas in low light or darkness, ensure the camera has night vision capabilities.
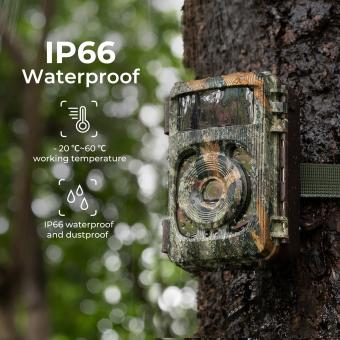
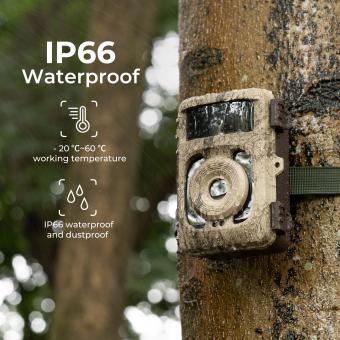
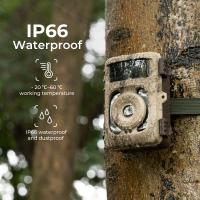
- Weather Resistance: For outdoor cameras, check for weatherproof ratings to ensure they can withstand the elements.
- Power Source: Decide whether you want a battery-powered camera or one that requires a power outlet.
2. Select the Installation Location
Choosing the right location for your camera is crucial for effective surveillance. Consider the following tips:
- Height: Install the camera at a height that provides a clear view of the area without being easily tampered with.
- Coverage: Ensure the camera covers the desired area without obstructions.
- Wi-Fi Signal: Make sure the camera is within range of your Wi-Fi network for a stable connection.
- Power Source: If your camera requires a power outlet, ensure one is nearby.
3. Mount the Camera
Once you've selected the location, it's time to mount the camera. Follow these steps:
- Mark the Drill Points: Use the camera's mounting bracket to mark the drill points on the wall or ceiling.
- Drill Holes: Drill holes at the marked points and insert wall anchors if needed.
- Attach the Bracket: Secure the mounting bracket to the wall or ceiling using screws.
- Mount the Camera: Attach the camera to the bracket and adjust its angle for optimal coverage.
4. Connect the Camera to Wi-Fi
Connecting your camera to your Wi-Fi network is a critical step. Here's how to do it:
- Power On the Camera: Plug in the camera or insert the batteries to power it on.
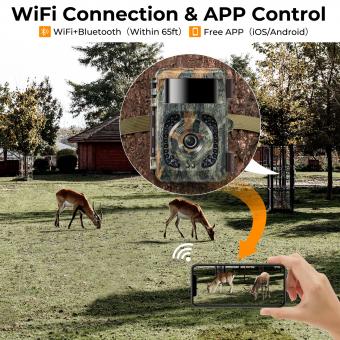
- Download the App: Most wireless cameras come with a companion app. Download and install the app on your smartphone or tablet.
- Create an Account: Open the app and create an account if you don't already have one.
- Add the Camera: Follow the app's instructions to add the camera to your account. This usually involves scanning a QR code on the camera or entering its serial number.
- Connect to Wi-Fi: Select your Wi-Fi network from the list and enter the password. The camera should connect to the network.
5. Configure Camera Settings
After connecting the camera to Wi-Fi, you'll need to configure its settings. This can usually be done through the app. Key settings to consider include:
- Motion Detection: Enable motion detection and adjust the sensitivity to avoid false alarms.
- Notifications: Set up notifications to receive alerts on your smartphone when motion is detected.
- Recording: Choose whether to record continuously or only when motion is detected. Some cameras offer cloud storage options, while others use local storage like a microSD card.
- Privacy Zones: Define areas within the camera's field of view that should not trigger motion alerts, such as public sidewalks or neighbor's property.
6. Test the Camera
Before finalizing the installation, test the camera to ensure it's working correctly:
- Live View: Use the app to view the live feed from the camera and check the image quality.
- Motion Detection: Walk through the camera's field of view to test motion detection and ensure you receive notifications.
- Night Vision: If your camera has night vision, test it in low light conditions to ensure it provides clear images.
7. Secure Your Camera
Security is paramount when it comes to surveillance cameras. Take the following steps to secure your camera:
- Change Default Passwords: If your camera has a default password, change it to a strong, unique password.
- Firmware Updates: Regularly check for and install firmware updates to ensure your camera has the latest security patches.
- Network Security: Ensure your Wi-Fi network is secure by using a strong password and enabling WPA3 encryption if available.
Troubleshooting Common Issues
Even with careful setup, you may encounter some issues with your wireless surveillance camera. Here are common problems and their solutions:
- Weak Wi-Fi Signal: If the camera's connection is unstable, consider moving it closer to the router or using a Wi-Fi extender.
- Interference: Other wireless devices can interfere with the camera's signal. Try changing the Wi-Fi channel on your router.
- Power Issues: If the camera is not powering on, check the power source and connections. For battery-powered cameras, ensure the batteries are charged.
- App Issues: If the app is not working correctly, try restarting your smartphone or reinstalling the app.
Setting up a wireless surveillance camera involves several steps, from choosing the right camera to configuring its settings and ensuring its security. By following this guide, you can establish a reliable surveillance system that enhances the security of your property. Remember to regularly check and maintain your camera to ensure it continues to function effectively. With the right setup, a wireless surveillance camera can provide peace of mind and help protect your home or business.


