
How To Set Up Yi Home Security Camera?

Setting Up Your Yi Home Security Camera: A Step-by-Step Guide
In today’s world, home security is more important than ever. With the rise in home burglaries and the increasing need for surveillance, home security cameras are a practical solution to help protect your property. One such device that has gained popularity due to its affordability and functionality is the Yi Home Security Camera. This camera offers a range of features including high-definition video quality, motion detection, two-way audio, and integration with smartphone apps, making it an excellent choice for monitoring your home or office.
If you’ve purchased a Yi Home Security Camera and are unsure about how to set it up, don't worry. In this guide, we will walk you through the process step by step, from unboxing to connecting to the app, to ensuring your camera is fully operational.
Step 1: Unboxing the Yi Home Security Camera

Before diving into the setup, make sure you have everything you need. When you open the box, you should find:
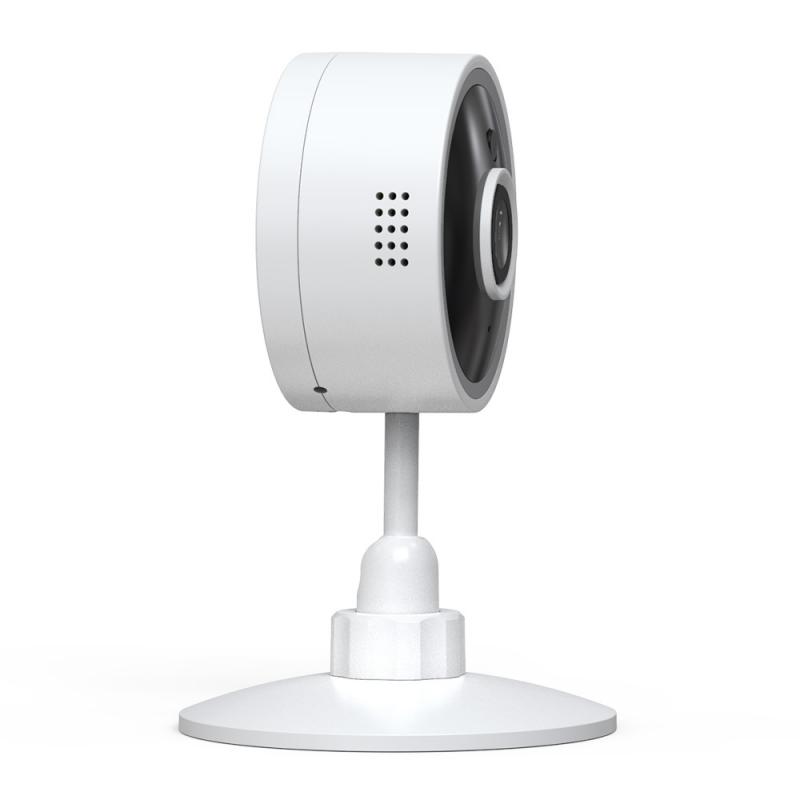
- The Yi Home Security Camera unit
- A power adapter and cable (USB to micro-USB)
- A mounting base (if you intend to wall mount it)
- User manual (in case you need a hard copy reference)
Once you’ve ensured that you have all the necessary components, you can proceed to the next step.
Step 2: Mounting Your Yi Home Security Camera
Depending on where you intend to place your camera (shelf, wall mount, ceiling, etc.), you will need to either set it up on a flat surface or mount it on a wall. Here’s how to do both:
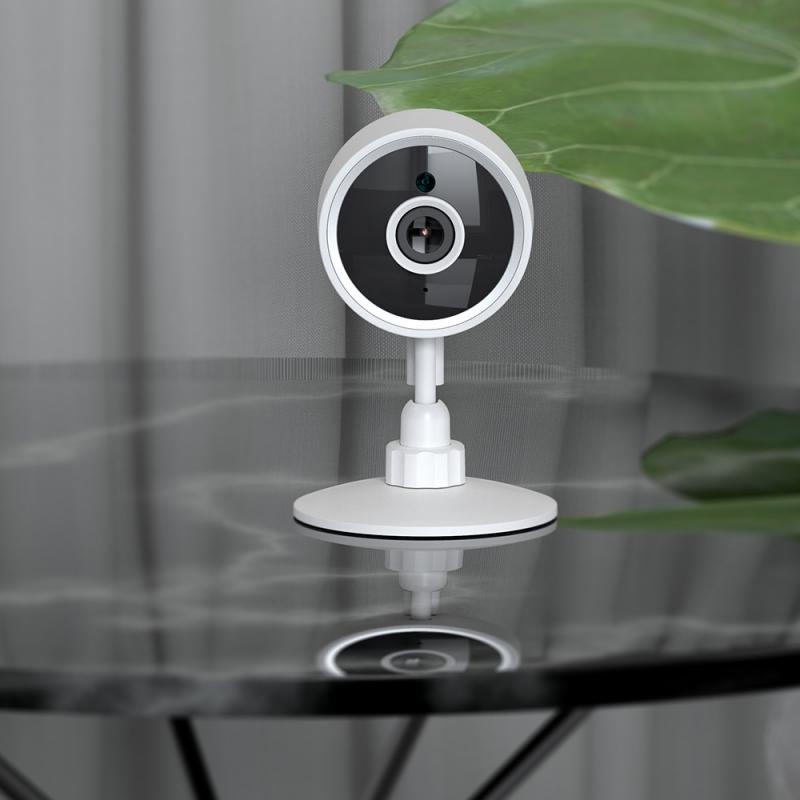
A. Setting Up on a Flat Surface
If you plan on placing the camera on a shelf, table, or countertop, simply position it where you want it. Make sure the camera has an unobstructed view of the area you want to monitor.
B. Wall Mounting the Camera
For those who wish to mount the Yi Home Security Camera on a wall, the process is straightforward:
1. Find the ideal position on the wall where you want to mount the camera. Ensure that the camera is within reach of a power outlet.
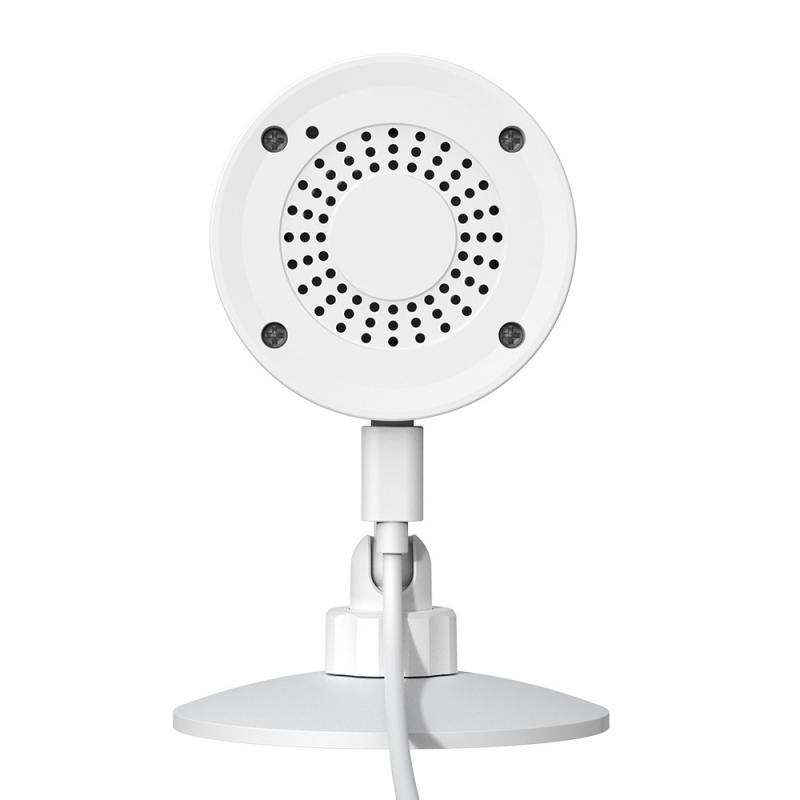
2. Use the included screws and wall anchors to install the mounting base securely onto the wall.
3. Attach the camera to the mounting base, adjusting the angle to cover the desired area.
Note: When selecting a location, make sure the camera is not facing direct sunlight or bright light sources to avoid video distortion. Also, choose a spot that is not too high or difficult to access for future adjustments.
Step 3: Connecting Your Yi Camera to Power
Once the camera is mounted or placed in its designated spot, the next step is to provide power. The Yi Home Security Camera operates via a micro-USB connection. Follow these steps:
1. Plug the USB end of the power cable into the camera.
2. Connect the other end of the cable to the included power adapter.
3. Plug the power adapter into a nearby wall socket or power strip.
Once the camera is powered on, you should see a blinking blue light, indicating that it is ready for setup.
Step 4: Installing the Yi Home App
The Yi Home Security Camera works in tandem with the Yi Home app, which is available for both Android and iOS devices. Follow these steps to install the app:
1. For Android Users:
- Open the Google Play Store.
- Search for "Yi Home" or "Yi IoT."
- Download and install the app.
2. For iPhone Users:
- Open the App Store.
- Search for "Yi Home" or "Yi IoT."
- Download and install the app.
Once the app is installed, open it to begin the setup process.
Step 5: Creating a Yi Account and Logging In
To use your Yi Home Security Camera with the app, you need to create a Yi account. Here’s how to do it:
1. Launch the Yi Home app on your mobile device.
2. If you already have an account, simply log in with your credentials. If not, tap on Sign Up.
3. Enter your email address and create a password.
4. Follow the on-screen instructions to verify your email and complete the registration process.
Step 6: Adding Your Yi Camera to the App
Once you have logged in to your Yi account, it’s time to add your camera to the app. Here’s how:
1. In the Yi Home app, tap on the "+" icon, which is typically found in the top right corner of the screen.
2. The app will prompt you to scan a QR code or input the camera's serial number. The serial number can be found on the camera itself, usually on the bottom.
3. Follow the on-screen instructions to connect the camera to your Wi-Fi network. You will need to input your Wi-Fi credentials.
- Make sure you are connecting to a 2.4 GHz Wi-Fi network, as the Yi Home Security Camera does not support 5 GHz networks.
4. Once your camera is connected to Wi-Fi, the app will confirm the connection, and the camera will appear on the main screen of the app.
Step 7: Adjusting Camera Settings
Now that your Yi Home Security Camera is connected to the app, you can begin customizing its settings to meet your needs. Here are a few key settings you might want to adjust:
A. Motion Detection Sensitivity
The Yi Home Camera offers motion detection functionality, and you can adjust the sensitivity based on the environment. To configure this:
1. Open the camera settings in the app.
2. Tap on Motion Detection and adjust the sensitivity slider according to your preference.
3. You can also choose specific zones in the video feed where the motion detection will be enabled.
B. Audio Settings
The Yi Home Security Camera features two-way audio, allowing you to listen and speak to people via the camera. Make sure your microphone and speaker are enabled within the app for clear communication.
C. Video Quality Settings
The Yi Home Camera offers video recording at different resolutions. Choose the highest quality that works best for your internet speed and storage preferences. You can select from options such as 720p or 1080p HD resolution.
D. Notifications
Enable notifications for motion alerts and other events directly within the app. You can choose to receive push notifications to your phone or receive emails, depending on your preferences.
Step 8: Testing the Camera
Before finalizing your setup, it's essential to test the camera to ensure that everything is functioning correctly. Open the Yi Home app and monitor the live feed. Check if the camera’s view covers the area you want to monitor and whether motion detection is working as expected.
You can also test the two-way audio feature by speaking into the app and listening through the camera's built-in speaker.
Step 9: Cloud Storage or Local Storage
Yi Home Security Cameras typically offer two storage options: local storage via a microSD card and cloud storage. Here’s a quick overview of both:
- Local Storage: If you choose to use local storage, you’ll need to insert a microSD card (usually up to 64 GB) into the camera. This option doesn’t require a subscription, but the footage may not be as easily accessible from multiple devices.
- Cloud Storage: If you want easy access to your recorded footage from anywhere, you can opt for Yi’s cloud storage service, which typically offers a subscription-based model. Cloud storage allows for remote viewing, but you may be limited by the storage plan you choose.
To configure your preferred storage method, navigate to the app’s storage settings.
Step 10: Maintaining Your Yi Camera
Once your Yi Home Security Camera is up and running, it’s important to keep it maintained for optimal performance. Here are some maintenance tips:
- Regular Firmware Updates: The Yi Home app will notify you whenever a new firmware update is available. Keep your camera’s firmware up to date to ensure it operates smoothly and securely.
- Clean the Camera: Over time, dust and dirt can accumulate on the lens and other parts of the camera. Clean the camera regularly with a microfiber cloth to maintain clear video quality.
- Check the Wi-Fi Connection: Ensure that the camera maintains a stable connection to your Wi-Fi network. Poor signal strength can result in intermittent video feeds.
Setting up the Yi Home Security Camera is a straightforward process that can be completed in a few simple steps. By following this guide, you can quickly install the camera, connect it to your app, adjust the settings to suit your needs, and begin using it for surveillance and peace of mind. With its high-quality video, reliable motion detection, and customizable features, the Yi Home Security Camera is a fantastic solution for keeping your home or office safe. Whether you opt for local storage or cloud storage, this camera can provide you with a flexible and secure surveillance option.


 Optical Glass Ultra-clear Waterproof Anti-Scratch Anti-Reflection Green Film Nano-X Series")


")
")
")
 ND Lens Filter Adjustable Neutral Density Filter with 18 Multi-Layer Coatings for Camera Lens Nano-Klear Series")


