How To Setup Camera For Video Conferencing?
With the rapid rise of remote work and virtual meetings, ensuring that your setup for video conferencing is both professional and functional is more important than ever. Whether you're using Zoom, Microsoft Teams, or any other video conferencing tool, the key to a successful setup includes optimal camera placement, lighting, sound, and background. In this article, we'll cover everything you need to know to set up your camera for video conferencing. By following these detailed steps, you'll be able to present yourself in the best possible light.
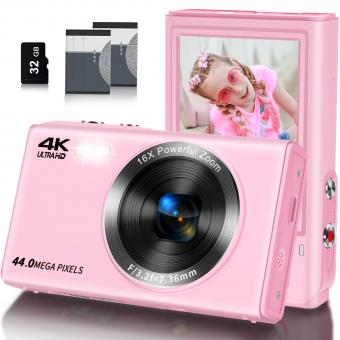
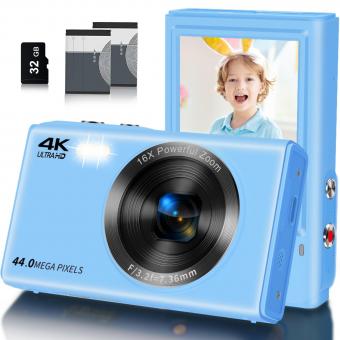
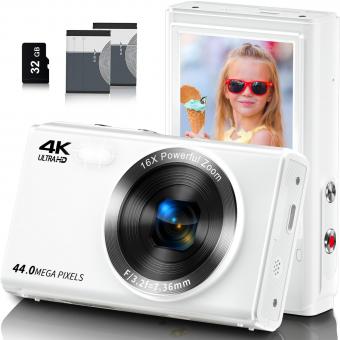
Camera Choice
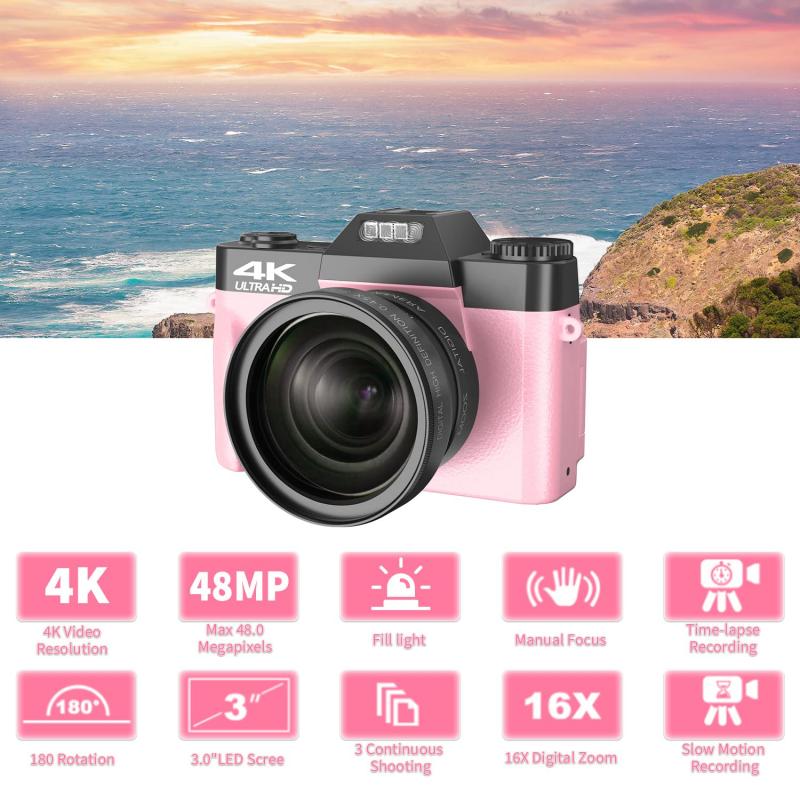
Before diving into the setup, it's crucial to choose the right kind of camera that suits your needs. Here are the most common options:
1. Built-in Laptop Cameras:
- Pros: Convenient and usually sufficient for casual meetings.
- Cons: Limited in terms of resolution, positioning, and lens quality.
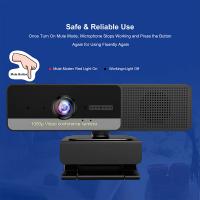
2. External USB Cameras:
- Pros: Higher quality, flexibility in positioning, and features like auto-focus.
- Cons: Requires additional purchase and setup.
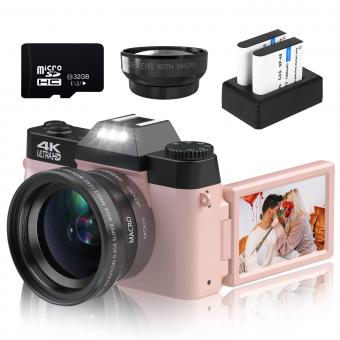
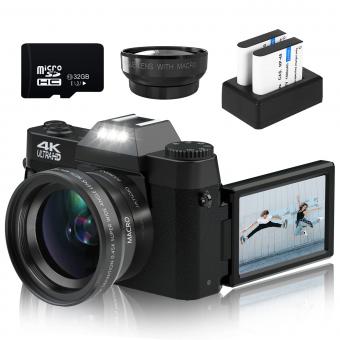
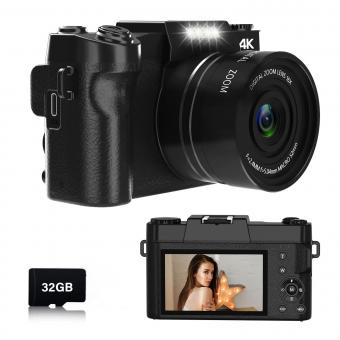
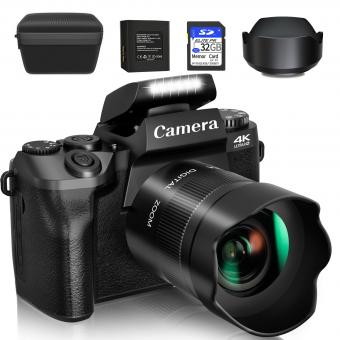
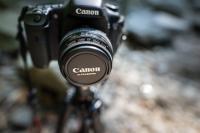
3. DSLR or Mirrorless Cameras:
- Pros: Superior image quality, depth of field, and customizable settings.
- Cons: More expensive and requires more technical knowledge.
Camera Placement
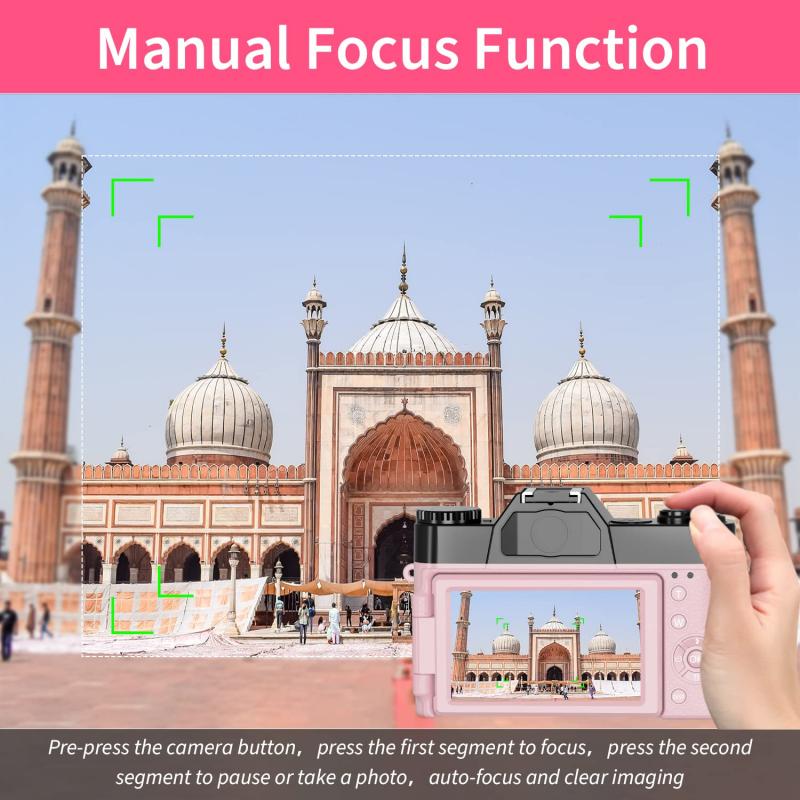
Proper camera placement is vital to ensure you appear professional and engaged. Here are some pointers:
1. Eye-Level Positioning:
- The camera should be at eye level or slightly above. This angle helps to create a natural line of sight and avoid unflattering views.
2. Distance:
- Position the camera at an arm's length from you. This should frame your head and shoulders comfortably in the shot.
3. Stabilization:
- Use a tripod or a stable surface to keep your camera steady. Avoid handheld setups which are prone to shaking.
Lighting
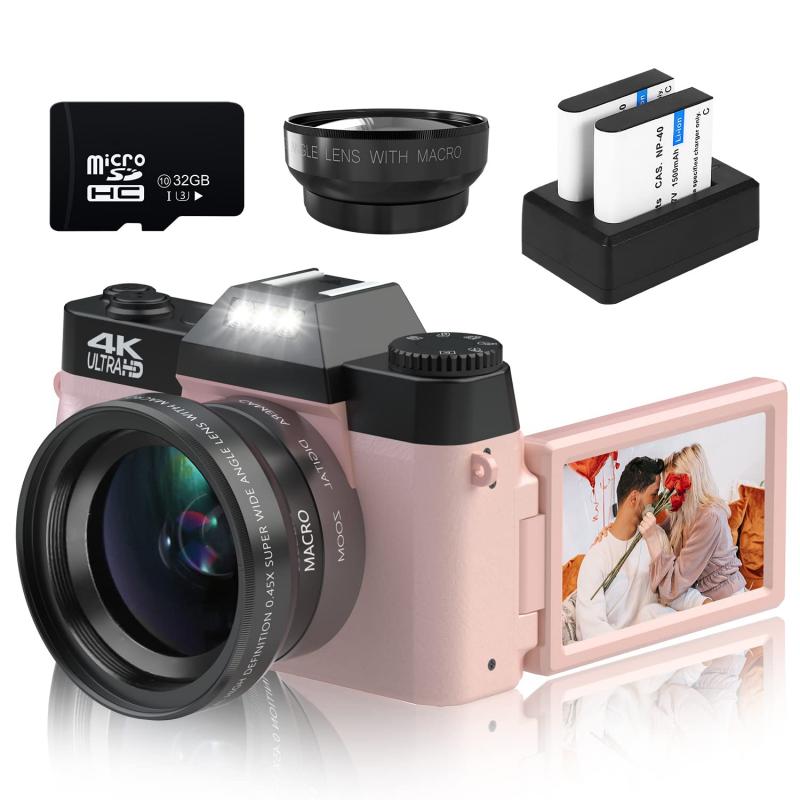
Good lighting can significantly enhance your appearance on camera. Here are some guidelines:
1. Natural Light:
- If possible, position yourself facing a window with natural light. This creates a soft, flattering light.
2. Artificial Light:
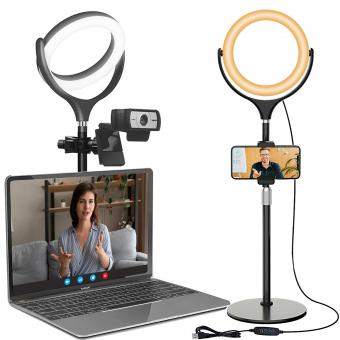
- If natural light is insufficient, use softbox lights or ring lights to provide consistent lighting. Place these lights in front of you at a 45-degree angle to avoid harsh shadows.
3. Avoid Backlighting:
- Ensure there are no strong light sources behind you. This can cause a silhouette effect, making it hard to see your face.
4. Diffused Light:
- Use diffusing materials like light curtains or lampshades to soften and spread the light evenly across your face.
Background
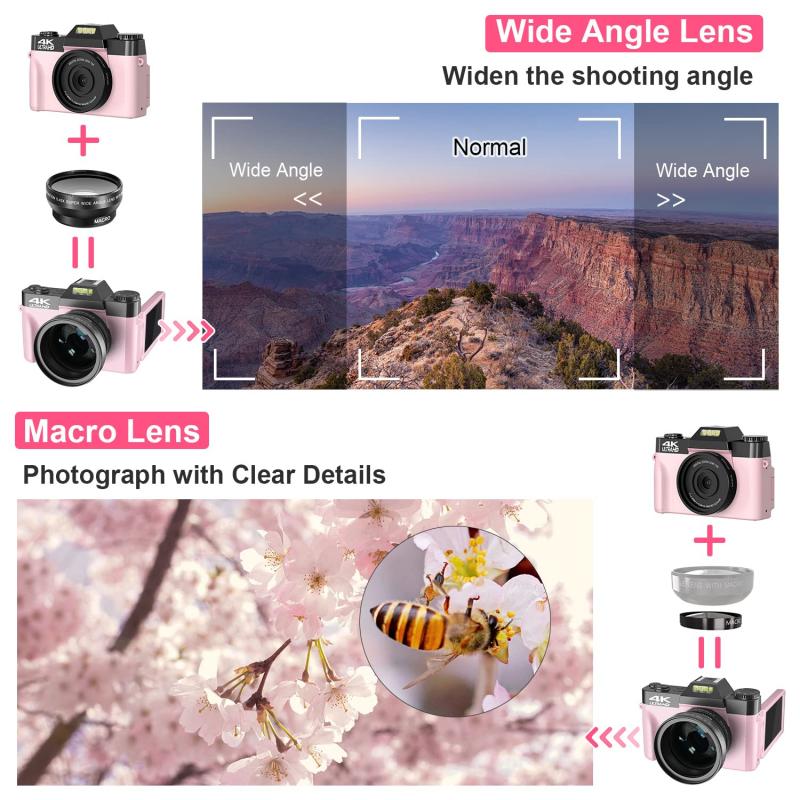
Your background is an important aspect of your video conference presence. A cluttered or distracting background can take attention away from you:
1. Neutral Background:
- Use a plain wall, a dedicated office space, or a virtual background that is professional and non-distracting.
2. Clean and Organized:
- If you're using an actual background, ensure it is tidy and free from distractions like posters, clutter, or personal items.
3. Depth:
- Having some depth behind you instead of a plain flat wall adds a more pleasing visual element.
Audio
While video quality is crucial, don’t underestimate the importance of good audio. Poor sound quality can make even the best video setup fall flat:
1. Built-in Microphone:
- Like built-in cameras, built-in microphones in laptops are convenient but often lack sound quality.
2. External Microphone:
- Consider using an external USB microphone for clearer audio. Lavalier mics and desktop mics can provide professional-grade sound.
3. Room Acoustics:
- Use a room that minimizes echo and background noise. Carpets, curtains, and soft furnishings can help absorb sound.
Connectivity
A stable internet connection is essential for seamless video conferencing:
1. Wired Connection:
- If possible, use an Ethernet cable for a more stable and faster internet connection.
2. WiFi:
- If using WiFi, ensure you're in an area with strong signal strength. Consider a WiFi extender if necessary.
Software Settings
Your video conferencing platform will usually offer settings that can further refine your video and audio quality:
1. Resolution Settings:
- Ensure that your camera and conferencing software are set to the highest resolution available. Many platforms allow adjustments for high-definition video.
2. Framing:
- Use the platform's framing tools to ensure you're centered and appropriately framed.
3. Background Filters:
- Platforms like Zoom offer virtual backgrounds and filters to enhance your surroundings. Use these with discretion to maintain professionalism.
Final Checks and Best Practices
Before starting your video conference, perform a final check:
1. Test Everything:
- Test your camera, microphone, and internet connection before the meeting starts to troubleshoot any issues.
2. Dress Appropriately:
- Dress as you would for an in-person meeting. Business casual attire is usually appropriate for most video conferences.
3. Look at the Camera:
- Maintain eye contact by looking at the camera rather than the screen. This helps create a more engaging and natural interaction.
4. Minimize Distractions:
- Turn off notifications and mute your phone. Let other household members know that you're in a meeting to avoid interruptions.
Continuous Improvement
Finally, strive to continuously improve your setup by gathering feedback and making necessary adjustments. Technology evolves, and so should your approach to it:
1. Solicit Feedback:
- Ask colleagues or participants for feedback on your video and audio quality.
2. Stay Updated:
- Keep an eye out for new tools and updates that could enhance your video conferencing experience.
3. Practice Makes Perfect:
- Practice your setup regularly to become more comfortable and efficient.
By diligently following these guidelines, you can create a video conferencing setup that is both professional and effective. This attention to detail not only enhances your personal presentation but also contributes to more productive and engaging virtual meetings. Whether it's for business meetings, online classes, or virtual family gatherings, a well-prepared setup can make all the difference.


