How To Sync External Flash With Camera?
Synchronizing an external flash with your camera is a crucial skill for photographers who want to achieve professional-quality lighting in their images. Whether you're shooting portraits, events, or creative projects, understanding how to properly sync your external flash can make a significant difference in the outcome of your photos. In this article, we will delve into the various methods and techniques for syncing an external flash with your camera, addressing common challenges and providing practical solutions.
Understanding Flash Sync Basics
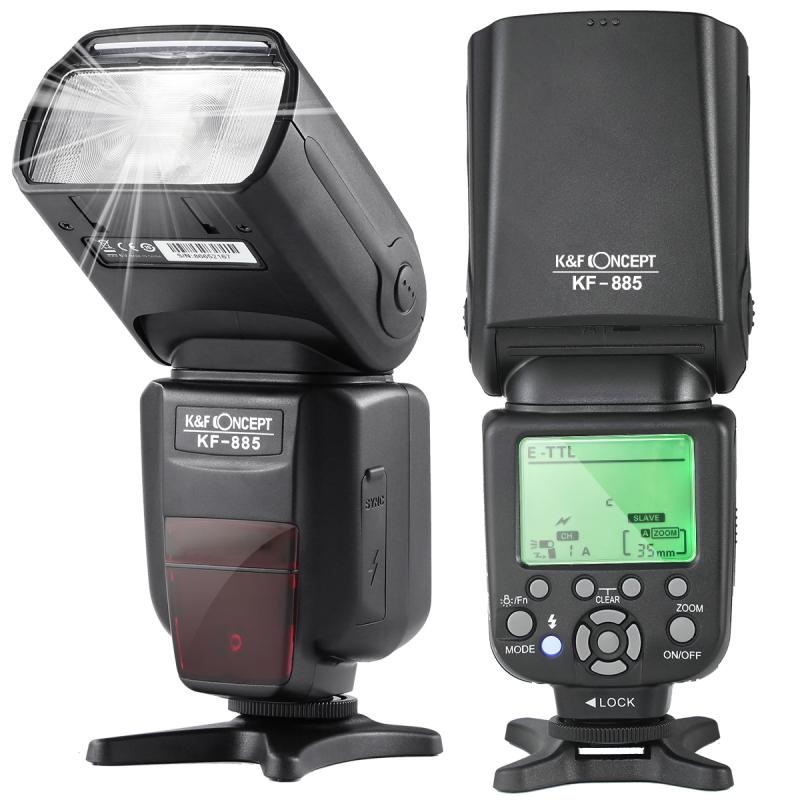
Before diving into the specifics, it's essential to understand the basic concept of flash synchronization. Flash sync refers to the coordination between the camera's shutter and the external flash. When you press the shutter button, the camera's shutter opens, and the flash fires at the precise moment needed to illuminate the scene. Proper synchronization ensures that the flash light is captured correctly, avoiding issues like partial illumination or dark frames.
Types of Flash Sync
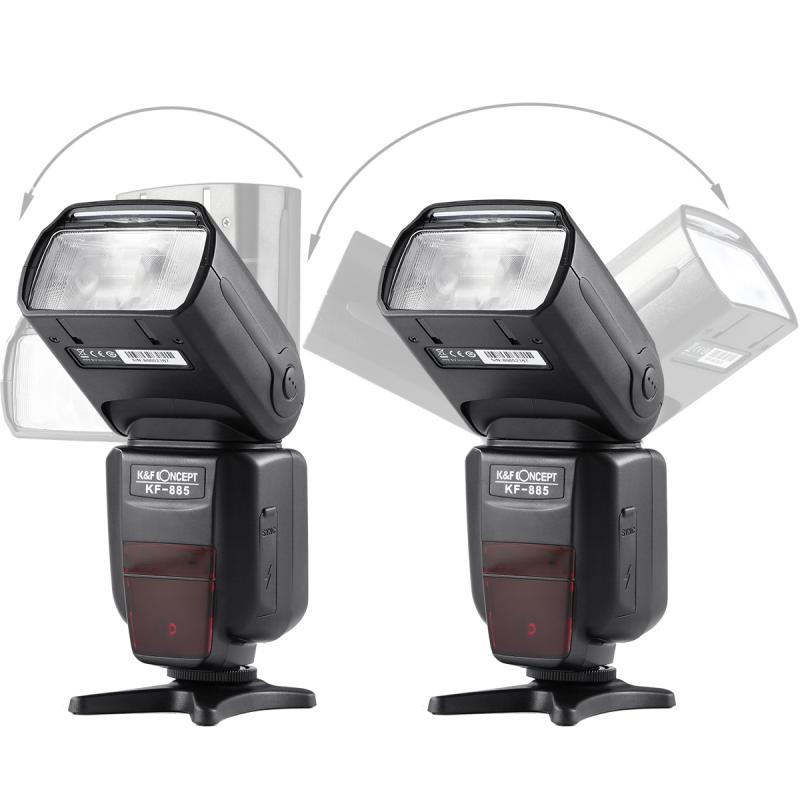
There are several methods to sync an external flash with your camera, each with its own advantages and use cases. The most common types include:
1. Hot Shoe Sync
2. PC Sync Cord
3. Wireless Sync
4. Optical Sync
Hot Shoe Sync
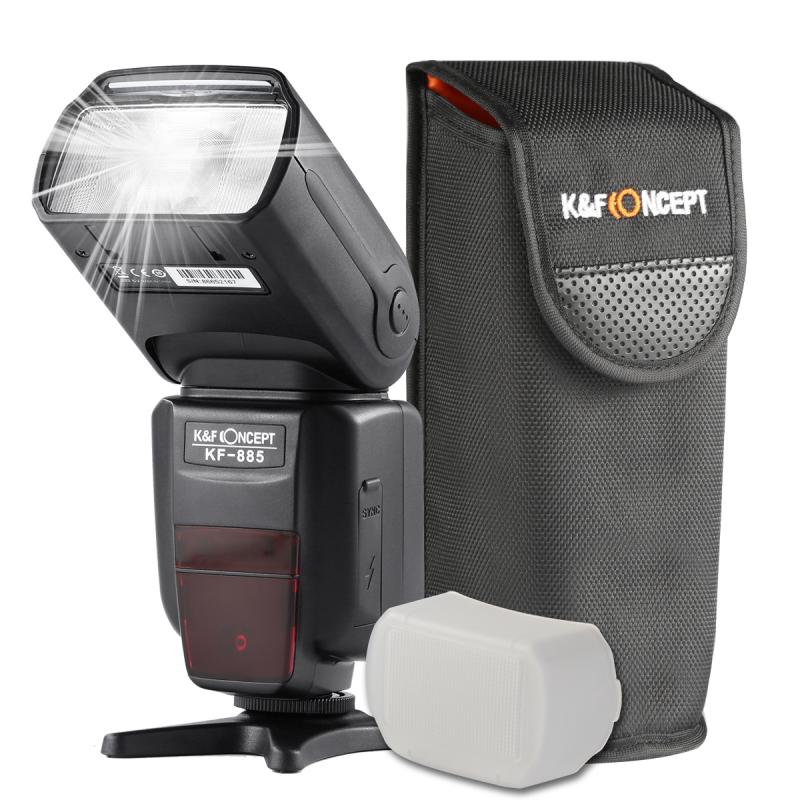
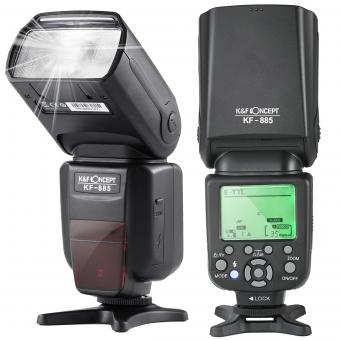
The hot shoe is the metal bracket on top of your camera where you can attach an external flash. This is the most straightforward method of syncing a flash. When the flash is mounted on the hot shoe, it communicates directly with the camera, ensuring precise timing.
Advantages:
- Easy to set up
- Reliable connection
- Supports advanced features like TTL (Through-The-Lens) metering
Disadvantages:
- Limited to on-camera flash
- Can be restrictive in terms of creative lighting angles
PC Sync Cord
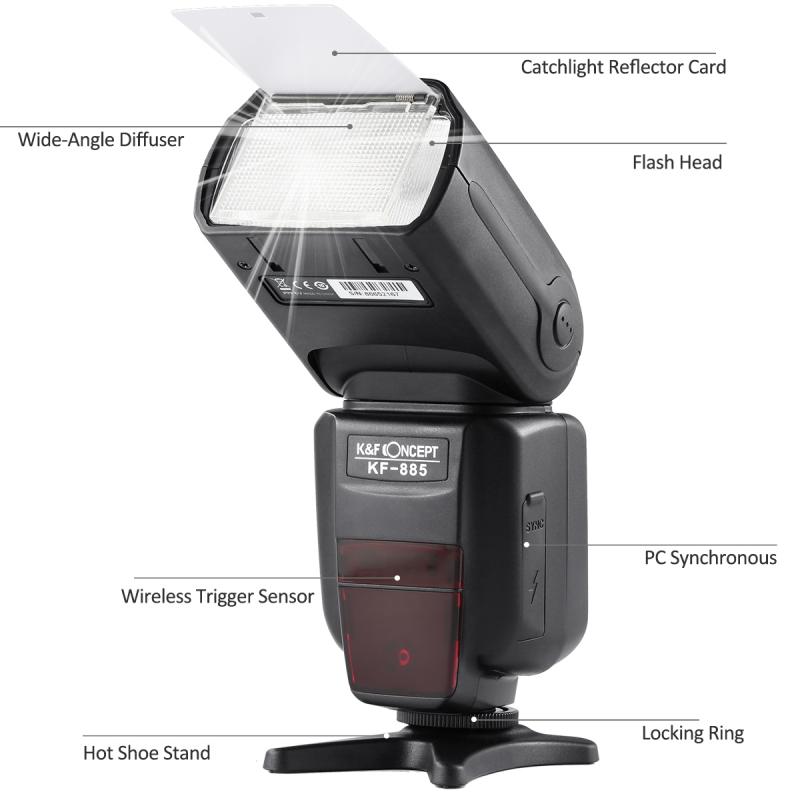
A PC sync cord is a cable that connects the camera to the flash. This method is often used in studio settings where the flash is positioned off-camera.
Advantages:
- Allows for off-camera flash placement
- Reliable wired connection
Disadvantages:
- Limited mobility due to the cable
- Potential for cable wear and tear
Wireless Sync
Wireless sync systems use radio or infrared signals to trigger the flash. This method offers the most flexibility and is popular among professional photographers.
Advantages:
- Complete freedom of movement
- Can control multiple flashes
- No cables to manage
Disadvantages:
- Requires additional equipment (transmitters and receivers)
- Potential for signal interference
Optical Sync
Optical sync involves using the camera's built-in flash or another flash unit to trigger the external flash. The external flash detects the light from the triggering flash and fires in response.
Advantages:
- No additional equipment needed
- Simple setup
Disadvantages:
- Limited range
- Can be affected by ambient light
Setting Up Your Flash Sync
Now that we've covered the different types of flash sync, let's go through the steps to set up your external flash with each method.
Hot Shoe Sync Setup
1. Attach the Flash: Slide the external flash onto the camera's hot shoe and secure it in place.
2. Turn On the Flash: Power on the flash and set it to TTL mode if your camera supports it.
3. Adjust Settings: Use your camera's menu to adjust flash settings, such as flash compensation and sync speed.
PC Sync Cord Setup
1. Connect the Cord: Plug one end of the PC sync cord into the camera's PC sync port and the other end into the flash.
2. Position the Flash: Place the flash in the desired location.
3. Test the Connection: Take a test shot to ensure the flash fires correctly.
Wireless Sync Setup
1. Attach the Transmitter: Mount the wireless transmitter onto the camera's hot shoe.
2. Connect the Receiver: Attach the receiver to the external flash.
3. Pair the Devices: Follow the manufacturer's instructions to pair the transmitter and receiver.
4. Position the Flash: Place the flash in the desired location.
5. Test the Connection: Take a test shot to ensure the flash fires correctly.
Optical Sync Setup
1. Enable Optical Sync: Set the external flash to optical sync mode.
2. Position the Flash: Place the flash in the desired location.
3. Trigger the Flash: Use the camera's built-in flash or another flash unit to trigger the external flash.
4. Test the Connection: Take a test shot to ensure the flash fires correctly.
Troubleshooting Common Issues
Even with the correct setup, you may encounter some common issues when syncing an external flash with your camera. Here are some troubleshooting tips:
Flash Not Firing
- Check Connections: Ensure all cables and wireless connections are secure.
- Battery Levels: Make sure the flash and any wireless transmitters/receivers have sufficient battery power.
- Compatibility: Verify that your camera and flash are compatible and properly configured.
Partial Illumination
- Sync Speed: Ensure your camera's shutter speed is within the flash sync speed range. Most cameras have a maximum sync speed of 1/200 to 1/250 second.
- High-Speed Sync: If you need to use faster shutter speeds, enable high-speed sync (HSS) on your flash.
Signal Interference (Wireless Sync)
- Channel Settings: Change the channel on your wireless transmitter and receiver to avoid interference from other devices.
- Distance: Ensure the transmitter and receiver are within the effective range specified by the manufacturer.
Advanced Techniques
Once you have mastered the basics of flash sync, you can explore advanced techniques to enhance your photography:
Rear Curtain Sync
Rear curtain sync fires the flash at the end of the exposure, creating a natural motion blur effect. This technique is useful for capturing dynamic scenes with movement.
Multi-Flash Setup
Using multiple flashes allows you to create complex lighting setups. You can control the intensity and direction of each flash to achieve the desired effect.
Flash Modifiers
Modifiers like softboxes, umbrellas, and diffusers can help shape and soften the light from your flash, resulting in more flattering and professional-looking images.
Synchronizing an external flash with your camera is a fundamental skill that can significantly improve your photography. By understanding the different sync methods and following the setup steps, you can achieve consistent and professional lighting in your images. Whether you're using a hot shoe, PC sync cord, wireless system, or optical sync, each method offers unique advantages that cater to different shooting scenarios. With practice and experimentation, you'll be able to master flash sync and elevate your photography to new heights.


