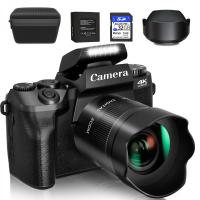
How To Take Flash Off Camera?
Taking the flash off the camera is a technique that can significantly enhance your photography by providing more creative control over lighting. This method, often referred to as off-camera flash, allows photographers to manipulate light in ways that are not possible with an on-camera flash. In this article, we will explore the various aspects of off-camera flash, including the equipment needed, the benefits, and practical steps to achieve the best results.
Understanding Off-Camera Flash
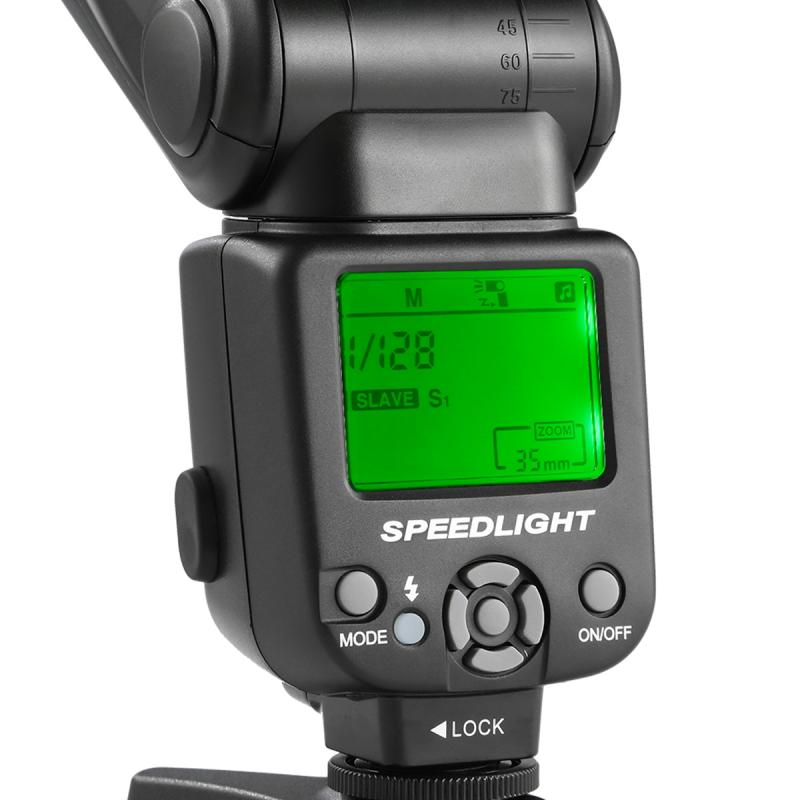
Off-camera flash involves using a flash unit that is not attached to the camera. This technique can create more dynamic and interesting lighting effects, reduce harsh shadows, and provide a more professional look to your photos. By positioning the flash at different angles and distances from the subject, you can achieve a variety of lighting styles, from dramatic to soft and natural.
Equipment Needed
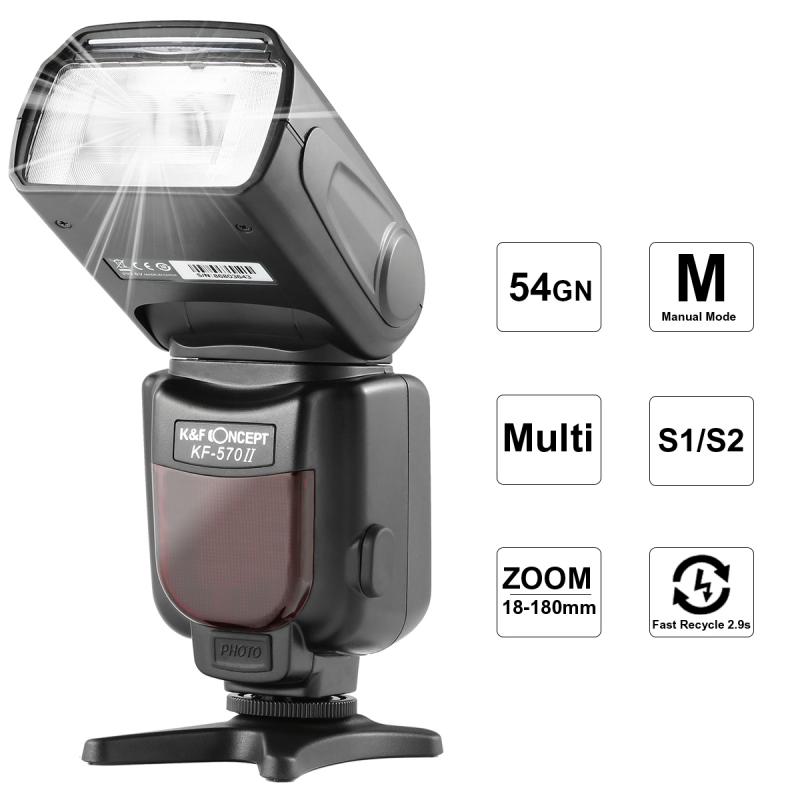
To take the flash off the camera, you will need the following equipment:
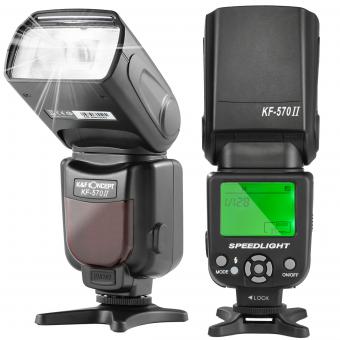
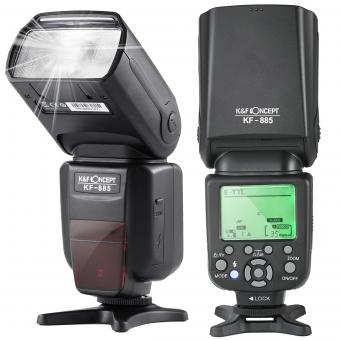
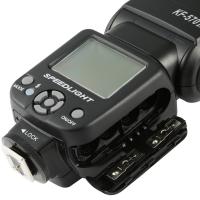
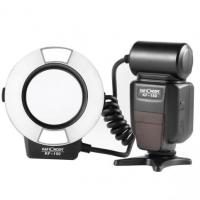
1. External Flash Unit: A standalone flash unit that can be triggered remotely.
2. Wireless Trigger System: This includes a transmitter that attaches to the camera and a receiver that connects to the flash unit. Some modern flash units have built-in wireless capabilities.
3. Light Stands and Modifiers: Light stands to hold the flash unit and modifiers like softboxes, umbrellas, or diffusers to shape and soften the light.
4. Sync Cables (Optional): If you prefer a wired connection, sync cables can be used to connect the flash to the camera.
Benefits of Off-Camera Flash
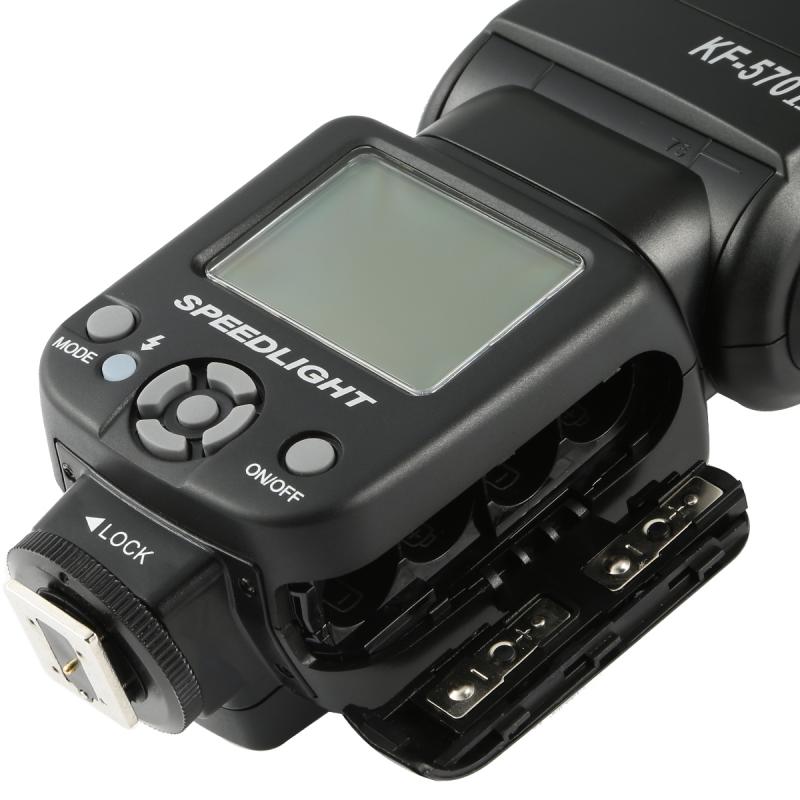
1. Creative Control: Off-camera flash allows you to control the direction, intensity, and quality of light, giving you more creative freedom.
2. Improved Lighting: By positioning the flash away from the camera, you can avoid the flat, harsh lighting that on-camera flash often produces. This results in more natural and pleasing images.
3. Reduced Red-Eye: Off-camera flash reduces the likelihood of red-eye, as the light source is not directly aligned with the subject's eyes.
4. Versatility: You can experiment with different lighting setups, such as side lighting, backlighting, and rim lighting, to create various effects.
Steps to Take Flash Off Camera
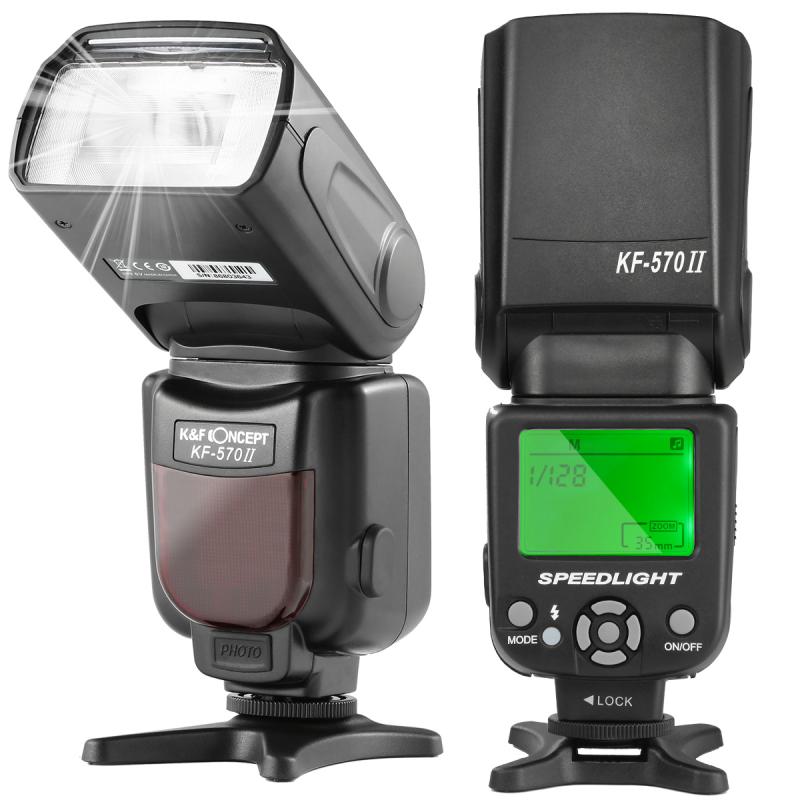
1. Set Up the Wireless Trigger System: Attach the transmitter to the camera's hot shoe and the receiver to the flash unit. Ensure both devices are set to the same channel to communicate effectively.
2. Position the Flash: Place the flash unit on a light stand and position it according to your desired lighting effect. You can start with a 45-degree angle to the subject for a classic portrait lighting setup.
3. Adjust Flash Settings: Set the flash power and zoom settings based on the distance from the subject and the desired lighting effect. You may need to experiment with different settings to achieve the best results.
4. Use Light Modifiers: Attach a softbox, umbrella, or diffuser to the flash unit to soften the light and reduce harsh shadows. Modifiers can help create a more flattering and professional look.
5. Test and Adjust: Take test shots and review the results. Adjust the flash position, power, and modifiers as needed to achieve the desired lighting effect.
Practical Tips for Off-Camera Flash
1. Understand Light Ratios: Learn about light ratios and how they affect the contrast and mood of your images. A 2:1 ratio, for example, creates a subtle difference between the key light and fill light, while a 4:1 ratio produces more dramatic shadows.
2. Use Multiple Flashes: For more complex lighting setups, consider using multiple flash units. You can use one as the key light and others as fill lights, rim lights, or background lights.
3. Experiment with Angles: Don't be afraid to experiment with different flash angles and positions. Side lighting can create depth and dimension, while backlighting can produce a halo effect around the subject.
4. Balance Ambient Light: When shooting in environments with ambient light, balance the flash output with the existing light to create a natural look. Use a light meter or the camera's histogram to gauge the exposure.
5. Practice and Learn: Off-camera flash can be challenging at first, but with practice, you will become more comfortable and proficient. Study the work of professional photographers and try to replicate their lighting setups.
Common Challenges and Solutions
1. Overexposed or Underexposed Images: If your images are too bright or too dark, adjust the flash power, aperture, ISO, or shutter speed. Use the camera's histogram to check exposure levels.
2. Harsh Shadows: If you notice harsh shadows, use a larger light modifier or move the flash closer to the subject. You can also add a fill light to soften the shadows.
3. Inconsistent Flash Firing: Ensure the wireless trigger system is properly connected and set to the same channel. Check the batteries in both the transmitter and receiver.
4. Color Casts: If the flash produces unwanted color casts, use color correction gels to match the flash color temperature with the ambient light.
Taking the flash off the camera opens up a world of creative possibilities for photographers. By understanding the equipment, benefits, and practical steps involved, you can achieve professional-quality lighting in your photos. Whether you are shooting portraits, events, or still life, off-camera flash can elevate your work and help you stand out as a skilled photographer. Practice, experiment, and continue learning to master this powerful technique.


