How To Use A Digital Camera?
Digital cameras have revolutionized the way we capture and share moments. Whether you're a beginner or an experienced photographer, understanding how to use a digital camera effectively can significantly enhance your photography skills. This article will guide you through the essential aspects of using a digital camera, from basic operations to advanced techniques, ensuring you can make the most out of your device.
Understanding Your Digital Camera
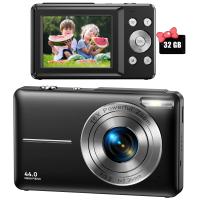
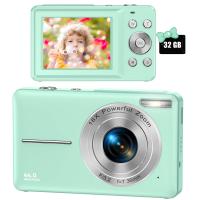
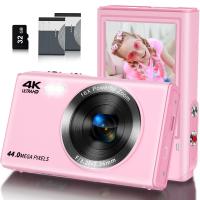
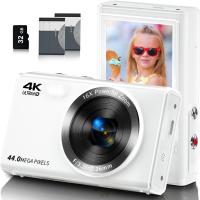
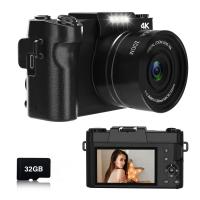
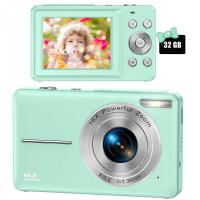
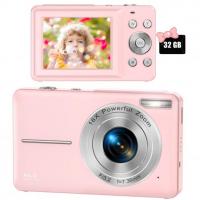
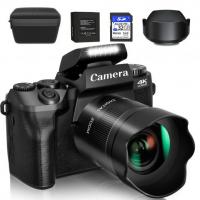
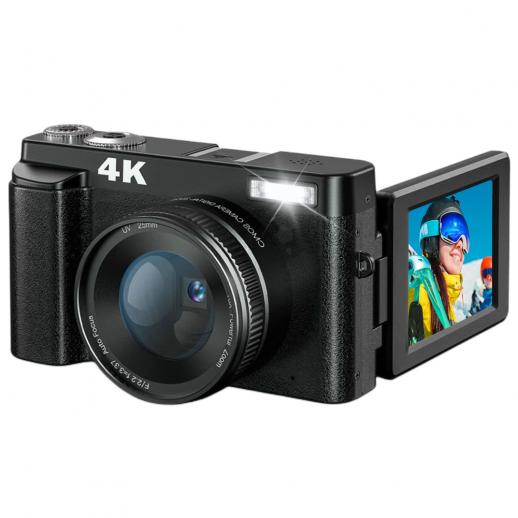
Before diving into the specifics of using a digital camera, it's crucial to familiarize yourself with its components and functions. Most digital cameras, regardless of brand or model, share common features:
1. Lens: The lens is the eye of the camera. It focuses light onto the camera's sensor. Lenses can be fixed or interchangeable, depending on the camera type.
2. Sensor: The sensor captures the light and converts it into an image. The size and quality of the sensor significantly impact image quality.
3. Viewfinder/Screen: This is where you compose your shots. Some cameras have an optical viewfinder, while others use an electronic viewfinder or an LCD screen.
4. Mode Dial: This dial allows you to switch between different shooting modes, such as automatic, manual, and various scene modes.
5. Shutter Button: Pressing this button captures the image. It often has a two-step action: a half-press to focus and a full press to take the photo.
6. Memory Card Slot: This is where you insert your memory card to store images.
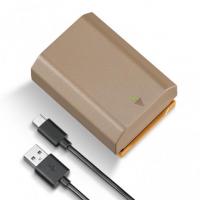
7. Battery Compartment: Houses the camera's battery.
Basic Operations
1. Powering On and Off
To turn on your digital camera, locate the power button, usually marked with a power symbol. Press it to power up the camera. To turn it off, press the same button again.
2. Inserting the Memory Card and Battery
Open the memory card slot and battery compartment, usually located at the bottom or side of the camera. Insert the memory card and battery in their respective slots, ensuring they are correctly oriented.
3. Setting the Date and Time
When you first power on your camera, you may be prompted to set the date and time. This is important for organizing your photos. Use the camera's navigation buttons to set the correct date and time.
4. Selecting the Shooting Mode
Use the mode dial to select the desired shooting mode. For beginners, the automatic mode (often marked as "Auto") is a good starting point. As you become more comfortable, you can experiment with other modes like portrait, landscape, and manual.
Composing and Capturing Photos
1. Framing Your Shot
Look through the viewfinder or at the LCD screen to compose your shot. Pay attention to the rule of thirds, which suggests dividing your frame into nine equal parts and placing your subject along these lines or their intersections.
2. Focusing
Half-press the shutter button to focus on your subject. Most digital cameras use autofocus, which will automatically adjust the focus. You can also switch to manual focus if you prefer more control.
3. Taking the Photo
Once the focus is set, fully press the shutter button to take the photo. Hold the camera steady to avoid blurring.
Advanced Techniques
1. Understanding Exposure
Exposure is the amount of light that reaches the camera's sensor. It is controlled by three main settings: aperture, shutter speed, and ISO.
- Aperture: This is the size of the lens opening. A larger aperture (smaller f-number) allows more light in and creates a shallow depth of field, making the background blurry. A smaller aperture (larger f-number) lets in less light and increases the depth of field, keeping more of the scene in focus.
- Shutter Speed: This is the amount of time the shutter is open. A fast shutter speed freezes motion, while a slow shutter speed can create motion blur.
- ISO: This is the sensor's sensitivity to light. A lower ISO produces less noise but requires more light, while a higher ISO allows for shooting in low light but can introduce noise.
2. Using Manual Mode
Manual mode gives you full control over the camera settings. This is where you can adjust the aperture, shutter speed, and ISO to achieve the desired exposure. It requires practice but offers the most creative freedom.
3. White Balance
White balance adjusts the color temperature of your photos to match the lighting conditions. Most cameras have preset white balance settings like daylight, cloudy, tungsten, and fluorescent. You can also set a custom white balance for more accuracy.
4. Using Different Lenses
If your camera has interchangeable lenses, experiment with different types to achieve various effects. Wide-angle lenses are great for landscapes, while telephoto lenses are ideal for wildlife and sports photography. Prime lenses, with a fixed focal length, often offer superior image quality and larger apertures.
Post-Processing
After capturing your photos, post-processing can enhance them further. Software like Adobe Lightroom and Photoshop allows you to adjust exposure, contrast, color balance, and more. Here are some basic post-processing steps:
1. Import Your Photos: Transfer your photos from the memory card to your computer.
2. Organize and Select: Sort through your photos and select the best ones for editing.
3. Adjust Exposure and Contrast: Fine-tune the exposure and contrast to bring out details.
4. Crop and Straighten: Crop your photos to improve composition and straighten any tilted horizons.
5. Color Correction: Adjust the white balance and color saturation to achieve the desired look.
6. Sharpening and Noise Reduction: Apply sharpening to enhance details and reduce noise, especially in high ISO images.
Tips for Better Photography
1. Practice Regularly: The more you use your camera, the more comfortable you'll become with its functions and settings.
2. Learn from Others: Study the work of other photographers and learn from their techniques.
3. Experiment: Don't be afraid to try new things. Experiment with different settings, compositions, and subjects.
4. Understand Light: Light is a crucial element in photography. Learn how to use natural and artificial light to your advantage.
5. Keep Your Gear Clean: Regularly clean your camera and lenses to ensure optimal performance.
Using a digital camera effectively involves understanding its components, mastering basic operations, and exploring advanced techniques. By practicing regularly and experimenting with different settings, you can significantly improve your photography skills. Remember, the key to great photography is not just the equipment but also your creativity and vision. So, grab your camera, head out, and start capturing the world through your lens.


