How To Use A Mic With Action Camera?
Using an external microphone with an action camera can significantly enhance the audio quality of your recordings, making them more professional and enjoyable to watch. Whether you're vlogging, capturing extreme sports, or documenting your travels, clear and crisp audio can make a world of difference. In this article, we will explore the various aspects of using a microphone with an action camera, including the types of microphones available, the necessary accessories, and step-by-step instructions on how to set everything up.
Understanding the Types of Microphones
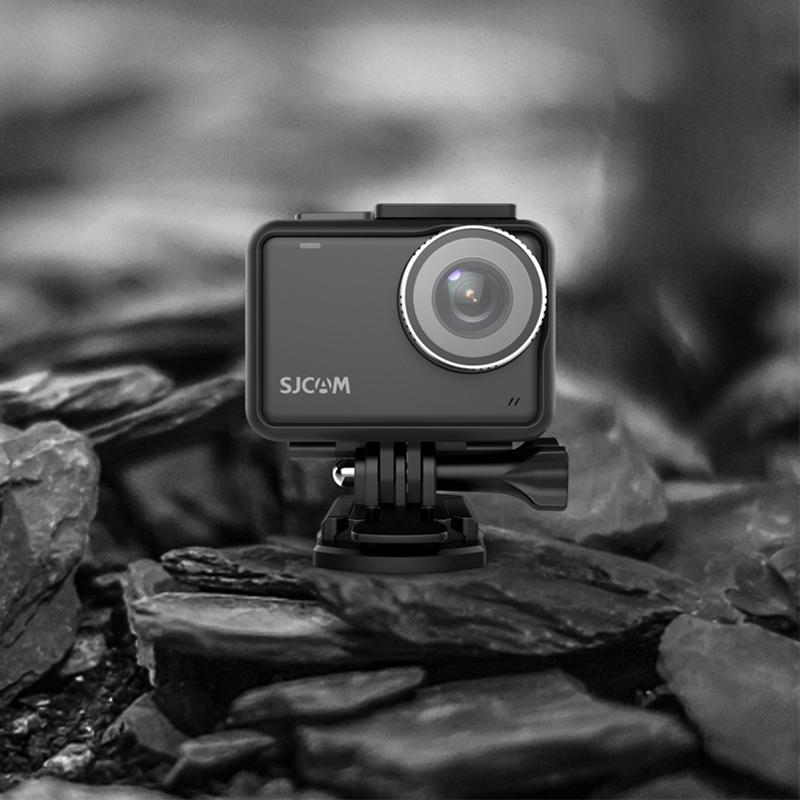
Before diving into the setup process, it's essential to understand the different types of microphones you can use with your action camera. Each type has its own set of advantages and is suited for specific recording environments.
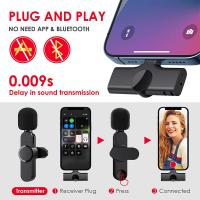
1. Lavalier Microphones: Also known as lapel mics, these are small and can be clipped onto your clothing. They are ideal for interviews, vlogging, and situations where you need to capture clear audio from a single person.
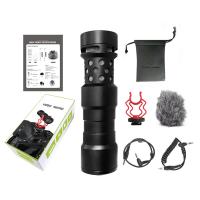
2. Shotgun Microphones: These are highly directional and are designed to capture sound from a specific direction while minimizing background noise. They are perfect for outdoor activities and environments with a lot of ambient noise.
3. Stereo Microphones: These capture sound from multiple directions, providing a more immersive audio experience. They are suitable for capturing environmental sounds and creating a sense of space in your recordings.
4. Wireless Microphones: These offer the convenience of mobility without the hassle of cables. They are excellent for dynamic shooting scenarios where you need to move around freely.
Necessary Accessories
To connect an external microphone to your action camera, you will need a few essential accessories:
1. Microphone Adapter: Most action cameras do not have a built-in microphone input. Therefore, you will need a microphone adapter that is compatible with your specific camera model. This adapter usually connects to the camera's USB or HDMI port.
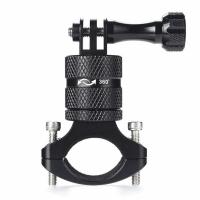
2. Mounting Accessories: Depending on the type of microphone you choose, you may need additional mounting accessories such as a cold shoe mount, a boom pole, or a clip.
3. Windshield or Windscreen: If you are recording outdoors, a windshield or windscreen can help reduce wind noise and improve audio clarity.
4. Extension Cables: If you need to position the microphone away from the camera, extension cables can provide the necessary reach.
Step-by-Step Setup Guide
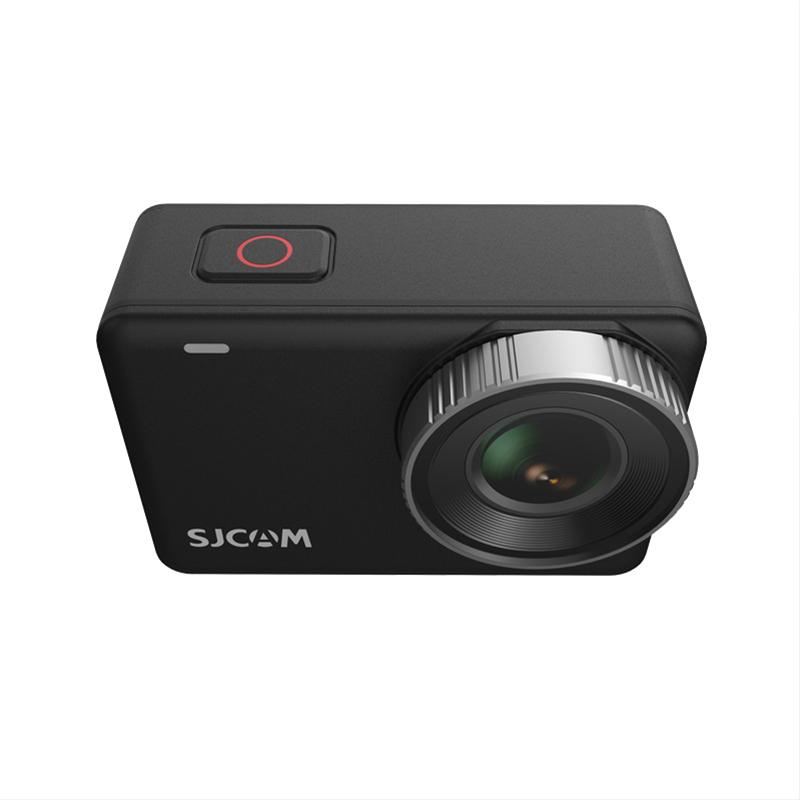
Now that you have all the necessary equipment, let's go through the step-by-step process of setting up your microphone with your action camera.
Step 1: Check Compatibility
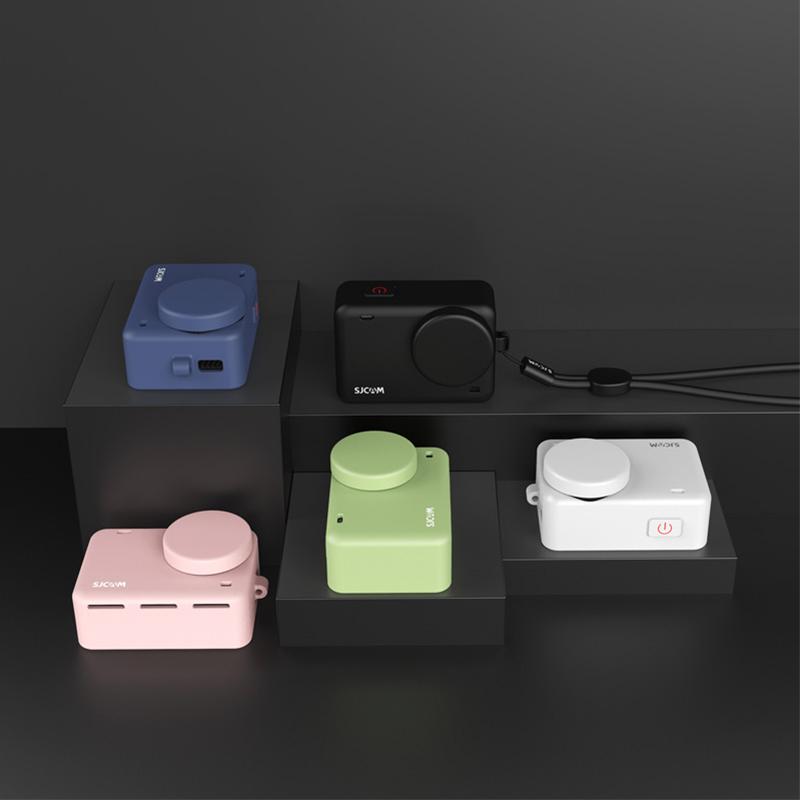
Before purchasing any accessories, ensure that your action camera is compatible with external microphones. Check the camera's user manual or the manufacturer's website for information on supported accessories and adapters.
Step 2: Connect the Microphone Adapter
Plug the microphone adapter into the appropriate port on your action camera. This is usually a USB or HDMI port, depending on the camera model. Make sure the connection is secure.
Step 3: Attach the Microphone
Connect your chosen microphone to the adapter. If you are using a lavalier microphone, clip it onto your clothing near your mouth. For shotgun microphones, use a cold shoe mount or boom pole to position the microphone in the desired direction. Ensure that the microphone is securely attached and positioned correctly.
Step 4: Test the Audio
Turn on your action camera and start a test recording to check the audio levels. Speak or make some noise to see if the microphone is capturing sound correctly. Most action cameras have an audio level indicator that can help you monitor the input levels. Adjust the microphone position or settings as needed to achieve the best audio quality.
Step 5: Use a Windshield or Windscreen
If you are recording outdoors, attach a windshield or windscreen to the microphone to reduce wind noise. This accessory is especially important for shotgun microphones, which are more sensitive to wind.
Step 6: Secure the Setup
Ensure that all connections are secure and that the microphone and adapter are firmly attached to the camera or your person. Use cable ties or clips to manage any excess cables and prevent them from getting in the way during recording.
Tips for Optimal Audio Quality
1. Monitor Audio Levels: Continuously monitor the audio levels during recording to ensure that the sound is not too low or too high. Most action cameras have an audio level meter that can help you with this.
2. Reduce Background Noise: Choose a quiet location for recording whenever possible. If you are in a noisy environment, use a directional microphone like a shotgun mic to focus on the desired sound source.
3. Use High-Quality Microphones: Invest in a good-quality microphone that suits your recording needs. Cheap microphones may not provide the best audio quality and can introduce unwanted noise.
4. Experiment with Placement: The placement of the microphone can significantly impact the audio quality. Experiment with different positions to find the optimal placement for clear and crisp sound.
5. Regular Maintenance: Keep your microphone and accessories clean and well-maintained. Dust and debris can affect the performance of the microphone.
Using an external microphone with your action camera can greatly enhance the audio quality of your recordings, making them more professional and engaging. By understanding the different types of microphones, gathering the necessary accessories, and following the step-by-step setup guide, you can achieve excellent audio results. Remember to monitor audio levels, reduce background noise, and experiment with microphone placement to get the best possible sound. With these tips and techniques, you'll be well on your way to creating high-quality videos with superb audio.


