How To Use A Nd Filter For Video?
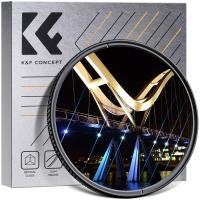
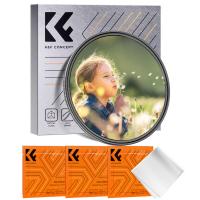
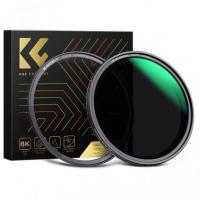
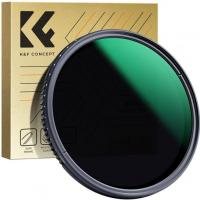
Neutral Density (ND) filters are essential tools for videographers, enabling them to create stunning, high-quality footage even in challenging lighting conditions. An ND filter reduces the amount of light entering the camera lens, allowing for more creative control over exposure settings such as aperture, shutter speed, and ISO. This article will delve into the different types of ND filters, their benefits, and step-by-step instructions on how to use them effectively in video production.
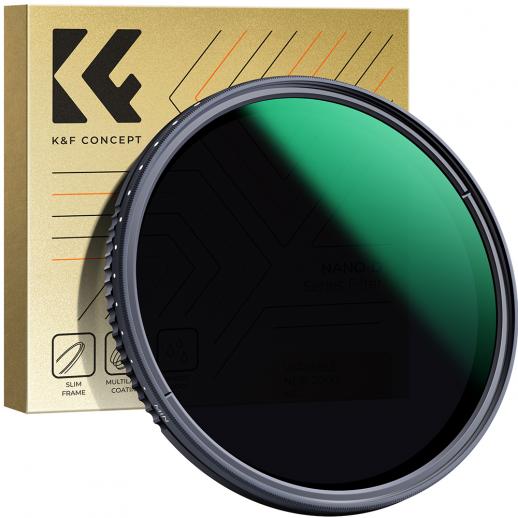
Types of ND Filters
There are various types of ND filters, categorized mainly by their density levels and form factor:
1. Fixed ND Filters: These filters have a specific density marked by stops, such as ND2, ND4, ND8, etc. They are simple to use but less flexible.
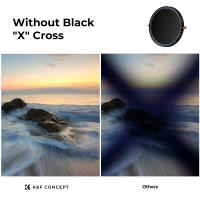
2. Variable ND Filters: These offer adjustable density within a certain range, often by rotating the filter. This provides greater versatility but can sometimes introduce artifacts like color shifts.
3. Graduated ND Filters: These filters transition from dark to clear, ideal for balancing exposure between bright skies and darker landscapes.
Benefits of ND Filters
1. Control Exposure: ND filters reduce light entering the lens, preventing overexposure in bright conditions.
2. Achieve Motion Blur: They allow slower shutter speeds, capturing smoother motion blur, which is essential for adding cinematic quality to your shots.
3. Shallow Depth of Field: By allowing wider apertures in bright light, ND filters help create a pleasing bokeh effect.
4. Reduce Glare: Polarizing ND filters can reduce reflections and glare, enhancing overall image quality.
Step-by-Step Guide to Using ND Filters for Video
1. Determine the Requirement for an ND Filter
Before using an ND filter, assess the lighting conditions and your creative requirements. For instance, if you’re shooting in bright sunlight and want to use a wide aperture to blur the background, an ND filter will be necessary to prevent overexposure.
2. Choose the Right ND Filter
Based on your needs, choose a fixed or variable ND filter. For general use, a variable ND filter offers more flexibility. However, if you know the exact light reduction needed, a fixed ND filter might be more straightforward.
3. Setting Up Your Camera
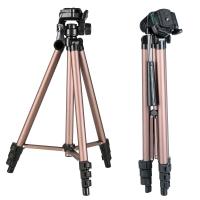
Mount your camera on a tripod to maintain a steady shot, especially if you plan to use slow shutter speeds. Attach the ND filter to your lens. Ensure the filter fits securely to avoid any light leaks that could affect image quality.
4. Adjust Camera Settings
With the ND filter in place, set your desired aperture and shutter speed. A common scenario is using a wide aperture (e.g., f/2.8) for shallow depth of field, and a slow shutter speed (e.g., 1/50th of a second) for natural motion blur at 24fps video recording.
5. Fine-Tuning Exposure
Adjust the ISO to achieve the correct exposure. With an ND filter, you might need to increase the ISO slightly if the filter is too dense and darkens the image more than required.
6. Monitor the Footage
Use your camera’s histogram or a dedicated monitor to check for proper exposure and make adjustments as needed. Over/underexposure can be corrected by tweaking the filter density (if using a variable ND) or camera settings.
7. Shoot a Test Clip
Before proceeding with your actual shoot, record a test clip to ensure exposure, white balance, and other settings are in line with your creative vision. Check the playback to spot any issues like vignetting or color cast that might need correction.
8. Shoot the Footage
Once satisfied with the test, proceed to shoot your footage. Maintain consistency in your settings to ensure uniformity in the visual quality of your shots.
Practical Tips for Using ND Filters
Consistency in White Balance
ND filters, especially the variable types, can sometimes introduce a color shift. Setting a custom white balance each time you attach the ND filter can help maintain color accuracy in your footage.
Avoiding Vignetting
Vignetting occurs when the edges of your frame are darker than the center, often resulting from using a filter that’s too thick for the lens. Choosing slim-profile ND filters can minimize this issue.
Handling Exposure Changes
When using variable ND filters, exposure changes should be smooth and gradual. Make micro-adjustments to avoid noticeable shifts in your footage, which can appear unprofessional.
Shooting in Extreme Conditions
For videography in extremely bright conditions, such as snow or beaches, higher-density ND filters (like ND64 or ND1000) may be necessary. Conversely, in lower light conditions, lighter ND filters (like ND2 or ND4) offer greater flexibility.
Post-Production Adjustments
If minor exposure or color issues persist despite using an ND filter, these can often be corrected during post-production. Software like Adobe Premiere Pro, Final Cut Pro, or Davinci Resolve offers powerful tools for fine-tuning exposure and color grading.
Using ND Filters With Drones
For aerial videography, ND filters are almost essential due to the brightness at higher altitudes. As drone cameras are usually restricted in terms of aperture settings, ND filters help achieve a cinematic look by allowing slower shutter speeds.
Using ND filters effectively can significantly enhance the quality of your video productions. Whether you are filming a serene landscape, an action-packed scene, or a close-up with a beautifully blurred background, understanding how to leverage ND filters will provide you with the creative control necessary to produce professional-quality footage.
By following the steps and tips outlined in this guide, you will be well-equipped to tackle various lighting challenges and bring your vision to life, demonstrating the importance and utility of ND filters in modern videography.








There are no comments for this blog.