How To Use A Photo Studio Light Box?
Using a photo studio light box can significantly enhance the quality of your product photography by providing consistent, even lighting and eliminating harsh shadows. Whether you're a professional photographer or a hobbyist, understanding how to effectively use a light box can make a substantial difference in your images. In this article, we will delve into the essential steps and tips for using a photo studio light box, ensuring you achieve the best possible results.
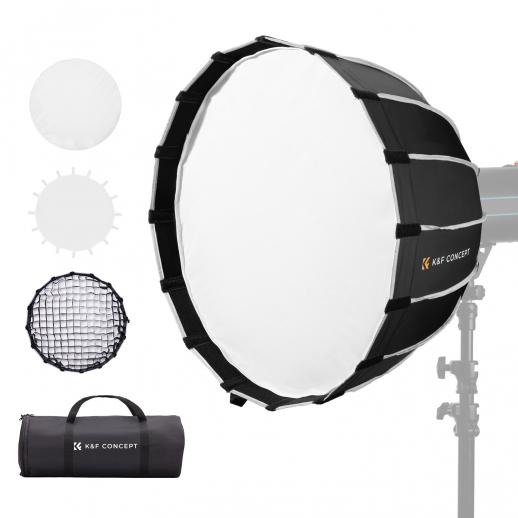
Understanding the Basics of a Light Box
A photo studio light box, also known as a light tent, is a portable, collapsible box with translucent sides that diffuse light coming from multiple sources. This setup creates a soft, even lighting environment that minimizes shadows and highlights, making it ideal for photographing small to medium-sized objects. Light boxes are commonly used for product photography, food photography, and macro photography.
Setting Up Your Light Box
1. Choose the Right Light Box: Light boxes come in various sizes and materials. Select one that suits the size of the objects you plan to photograph. Ensure it has a sturdy frame and high-quality, diffusing fabric.
2. Assemble the Light Box: Follow the manufacturer's instructions to set up the light box. Most light boxes are designed to be easily assembled and disassembled, making them convenient for storage and transport.
3. Position the Light Sources: Place your light sources around the light box. Typically, you will need at least two lights positioned on either side of the box. Some setups may also include a light above the box. Use daylight-balanced LED lights for the best results, as they provide consistent, natural-looking light.
4. Set Up the Background: Most light boxes come with interchangeable backgrounds in different colors. Choose a background that complements your subject and enhances its features. Attach the background securely to avoid any wrinkles or folds.
Preparing Your Subject
1. Clean Your Subject: Ensure your subject is clean and free of dust or fingerprints. This is especially important for product photography, where every detail matters.
2. Position Your Subject: Place your subject in the center of the light box. Use props or stands if necessary to achieve the desired angle and height. Make sure the subject is stable and won't move during the shoot.
Camera Settings and Techniques
1. Use a Tripod: To avoid camera shake and ensure sharp images, use a tripod. This is particularly important when shooting at slower shutter speeds.
2. Set the White Balance: Adjust the white balance on your camera to match the color temperature of your lights. Most cameras have a preset for daylight or you can manually set the white balance using a gray card.
3. Adjust the Exposure: Use your camera's exposure settings to achieve the correct brightness. You may need to experiment with different settings to find the perfect exposure. Start with a low ISO to minimize noise, and adjust the aperture and shutter speed accordingly.
4. Focus on the Details: Use manual focus to ensure your subject is sharp. Pay attention to the details, especially if you're photographing small objects or intricate designs.
Post-Processing Tips
1. Edit for Perfection: Use photo editing software to enhance your images. Adjust the brightness, contrast, and color balance to achieve the desired look. Remove any imperfections or distractions.
2. Crop and Resize: Crop your images to highlight the subject and remove any unnecessary background. Resize the images to the appropriate dimensions for your intended use, whether it's for a website, social media, or print.
3. Sharpen the Image: Apply sharpening to enhance the details and make your subject stand out. Be careful not to over-sharpen, as this can create unwanted artifacts.
Troubleshooting Common Issues
1. Uneven Lighting: If you notice uneven lighting or shadows, adjust the position of your lights. Ensure they are evenly spaced and at the same height. You can also use additional diffusers or reflectors to soften the light.
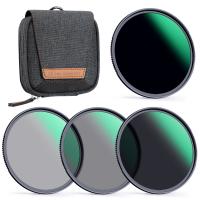
2. Reflections and Glare: Reflections can be a challenge, especially when photographing shiny objects. Adjust the angle of your lights and camera to minimize reflections. You can also use a polarizing filter to reduce glare.
3. Color Casts: If your images have an unwanted color cast, check your white balance settings. You may need to recalibrate the white balance or use a custom setting.
Advanced Techniques
1. Multiple Light Sources: Experiment with different lighting setups to create various effects. For example, using a backlight can create a halo effect, while side lighting can emphasize texture.
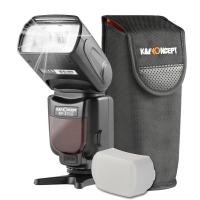
2. Light Modifiers: Use light modifiers such as softboxes, umbrellas, or reflectors to control the quality and direction of light. These tools can help you achieve more creative and professional results.
3. Background Variations: Try different backgrounds to see how they affect the overall look of your images. A black background can create a dramatic effect, while a white background is clean and versatile.
Using a photo studio light box is a powerful way to improve your photography, especially for products and small objects. By following the steps outlined in this article, you can achieve professional-quality images with consistent, even lighting. Remember to experiment with different setups and techniques to find what works best for your specific needs. With practice and attention to detail, you'll be able to create stunning photographs that showcase your subjects in the best possible light.


