How To Use Audio Jack Selfie Stick?
Selfie sticks have become an essential accessory for many smartphone users, especially those who love capturing moments on the go. Among the various types of selfie sticks available, the audio jack selfie stick stands out due to its simplicity and ease of use. This article will guide you through the process of using an audio jack selfie stick, addressing common issues, and providing tips for getting the best results.
Understanding the Audio Jack Selfie Stick
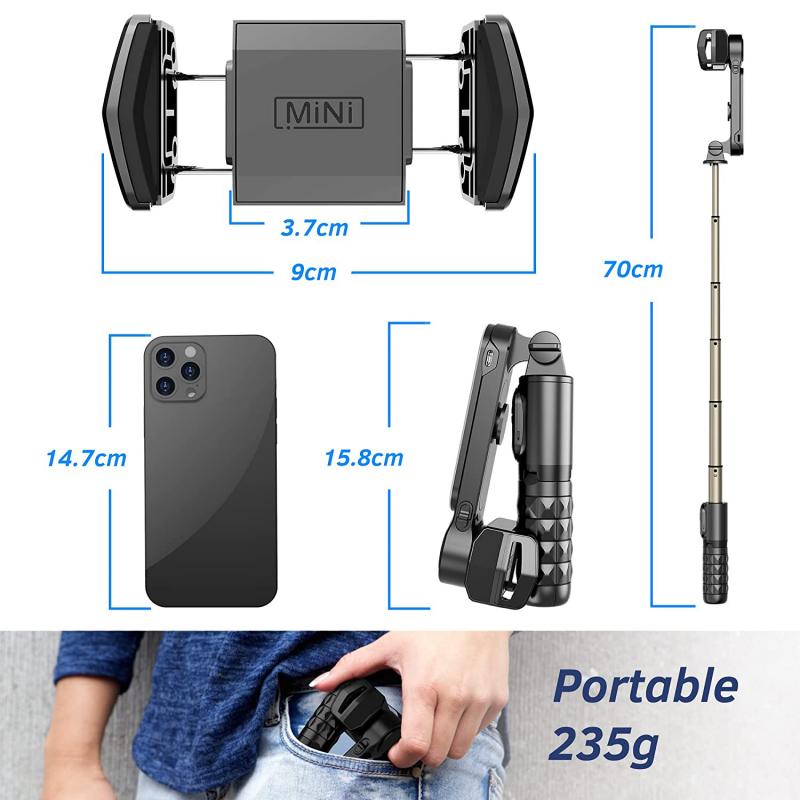
An audio jack selfie stick is a type of selfie stick that connects to your smartphone via the 3.5mm headphone jack. Unlike Bluetooth selfie sticks, which require pairing and charging, audio jack selfie sticks are plug-and-play devices. They typically feature a button on the handle that, when pressed, sends a signal through the audio jack to trigger the camera shutter on your phone.
Step-by-Step Guide to Using an Audio Jack Selfie Stick
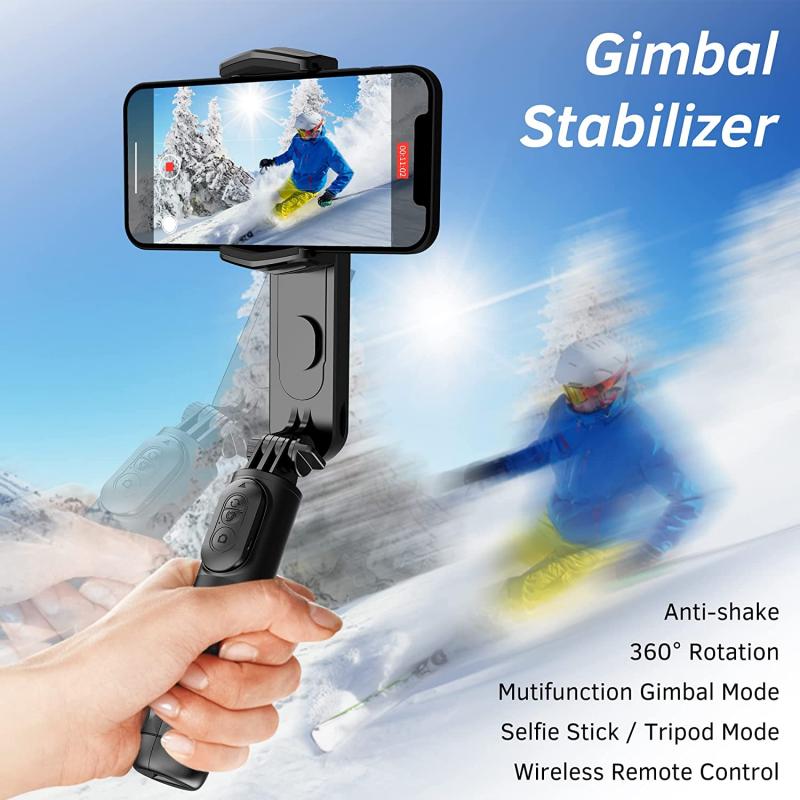
1. Check Compatibility
Before using an audio jack selfie stick, ensure that your smartphone is compatible. Most modern smartphones support this feature, but it’s always good to double-check. Some newer phones without a headphone jack will require an adapter.
2. Connect the Audio Jack
Insert the 3.5mm audio jack of the selfie stick into the headphone port of your smartphone. If your phone does not have a headphone jack, use the appropriate adapter to connect the selfie stick.
3. Secure Your Phone
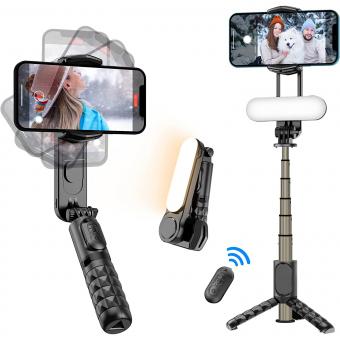
Extend the clamp on the selfie stick and securely place your smartphone in it. Make sure the phone is held firmly to avoid any accidental drops.
4. Open the Camera App
Open the camera application on your smartphone. Most default camera apps will automatically recognize the selfie stick and allow you to use the button on the stick to take photos.
5. Adjust the Stick
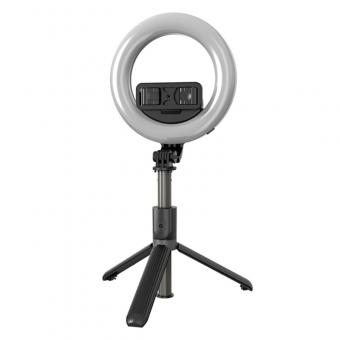
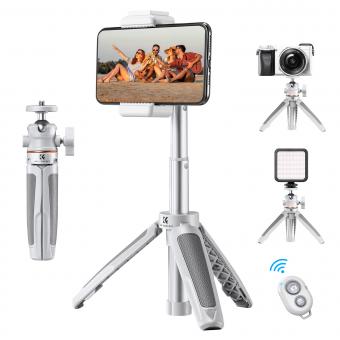
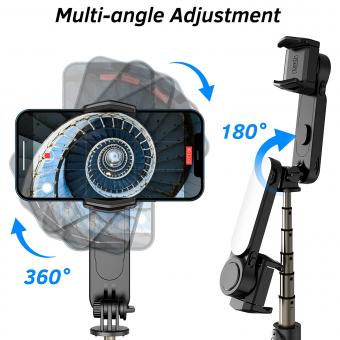
Extend the selfie stick to your desired length. Most selfie sticks have a telescopic design, allowing you to adjust the length to capture the perfect shot.
6. Take the Photo
Position the selfie stick to frame your shot. Press the button on the handle of the selfie stick to take a photo. The button sends a signal through the audio jack, triggering the camera shutter.
Troubleshooting Common Issues
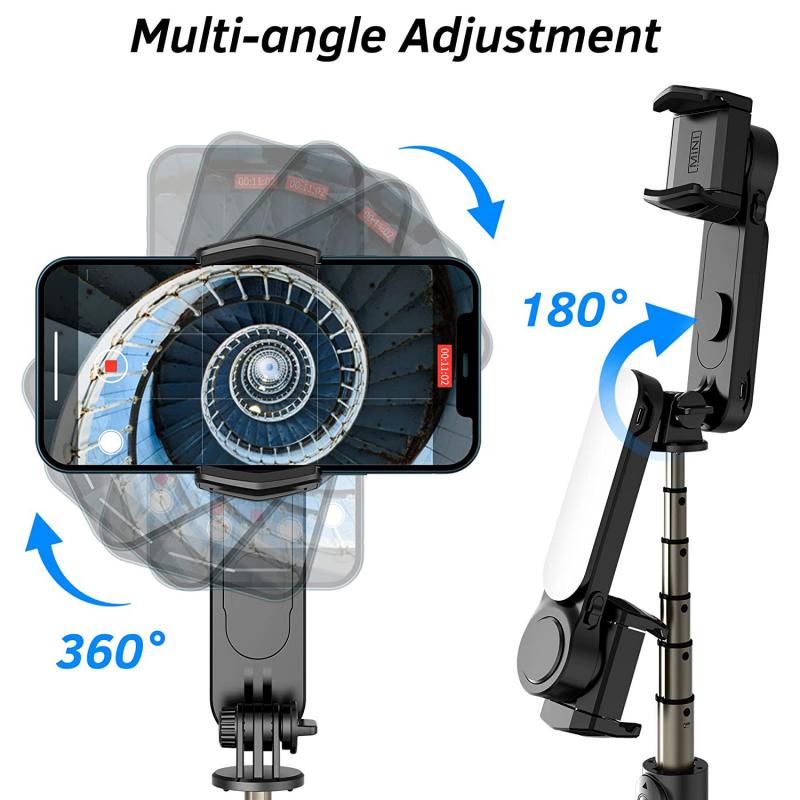
Issue 1: The Button Doesn’t Work
- Solution: Ensure that the audio jack is fully inserted into the headphone port. Sometimes, a loose connection can prevent the button from working. Also, check if your camera app supports external shutter buttons. If not, try downloading a third-party camera app that does.
Issue 2: The Phone Falls Out of the Clamp
- Solution: Make sure the clamp is adjusted to fit your phone snugly. If the clamp is too loose, your phone may fall out. Some selfie sticks come with adjustable clamps that can be tightened to secure your phone better.
Issue 3: The Camera App Doesn’t Recognize the Selfie Stick
- Solution: Restart your camera app or your phone. If the problem persists, check for any software updates for your camera app or phone. Sometimes, compatibility issues can be resolved with an update.
Tips for Getting the Best Results
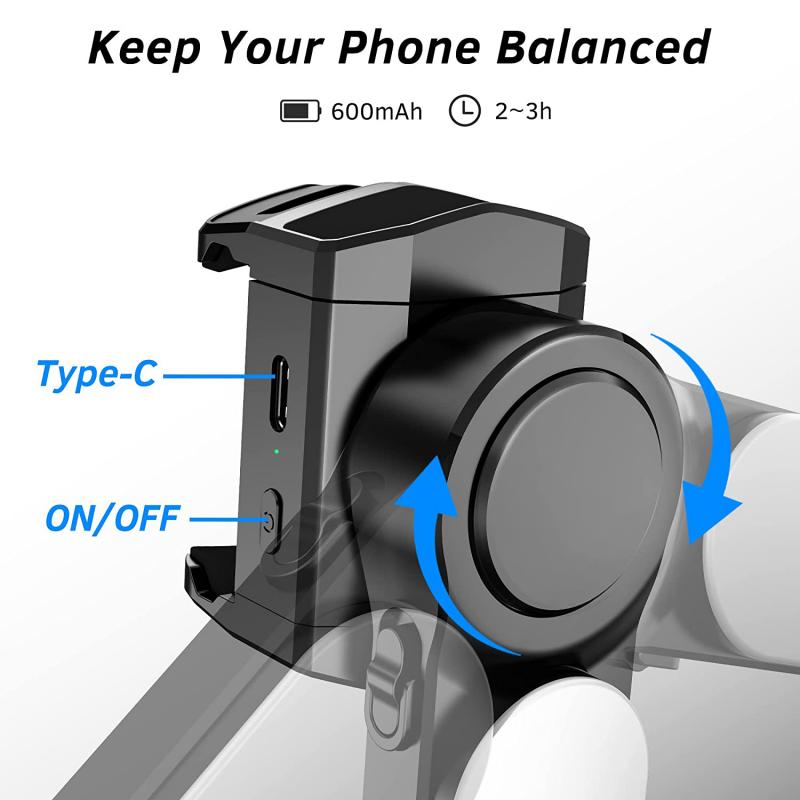
1. Use a Timer
Using a timer can help you avoid any shaking that might occur when pressing the button. Set a 3-5 second timer to give yourself enough time to stabilize the stick and pose for the photo.
2. Experiment with Angles
Don’t be afraid to experiment with different angles. The extendable nature of the selfie stick allows you to capture unique perspectives that you wouldn’t be able to achieve with just your arm.
3. Use the Rear Camera
While it might be tempting to use the front camera for selfies, the rear camera usually offers better resolution and quality. Use the rear camera for higher-quality photos, and use the front camera for quick, casual shots.
4. Be Mindful of Your Surroundings
When using a selfie stick in public places, be mindful of your surroundings. Ensure you’re not obstructing pathways or causing inconvenience to others. Also, be cautious of your phone’s security, especially in crowded areas.
Advanced Techniques
1. Panoramic Shots
Use the selfie stick to capture panoramic shots. Extend the stick fully and slowly move it from one side to the other while keeping the camera steady. This technique works well for capturing wide landscapes or large groups of people.
2. Video Recording
The audio jack selfie stick can also be used for video recording. Use it to capture steady, smooth videos by holding the stick with both hands. This method is particularly useful for vlogging or recording events.
3. Group Photos
For group photos, extend the selfie stick to its maximum length and position it at an angle that captures everyone in the frame. Use the timer function to give everyone enough time to get ready.
Using an audio jack selfie stick is a straightforward and effective way to enhance your photography experience. By following the steps outlined in this guide, you can easily set up and use your selfie stick to capture stunning photos and videos. Remember to troubleshoot any issues that arise and experiment with different techniques to get the best results. With a little practice, you’ll be able to take your selfie game to the next level and capture memories that last a lifetime.

