How To Use Manual Off Camera Flash?
Using a manual off-camera flash can be a game changer for photographers looking to create dynamic, well-lit images. While it may seem complex at first, with some practice and understanding of basic principles, anyone can master this technique. This article will provide a comprehensive guide on using a manual off-camera flash, addressing common questions and troubleshooting problems.
Understanding the Basics
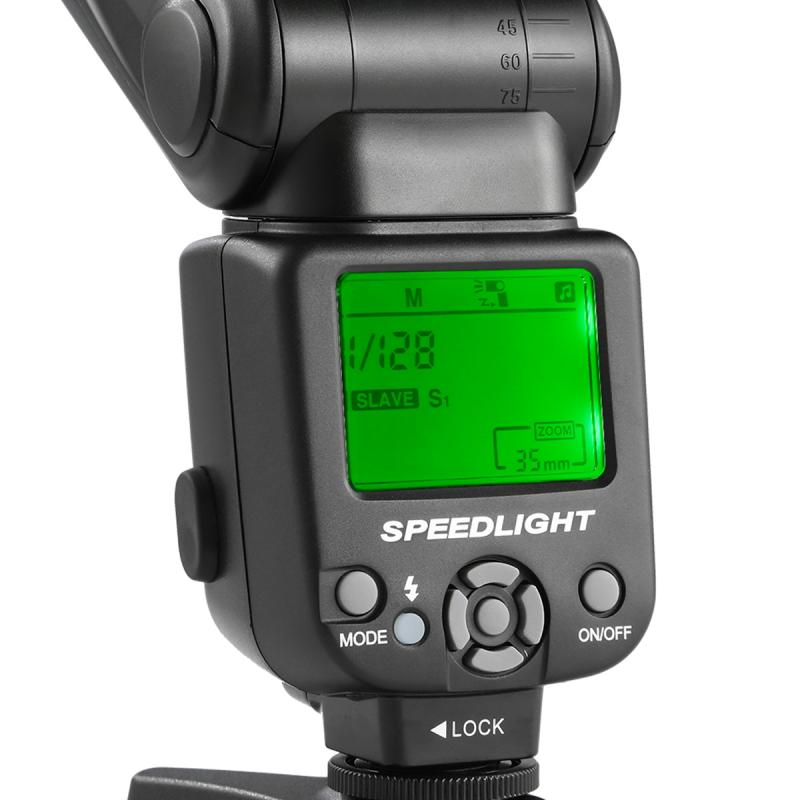
What is an Off-Camera Flash?
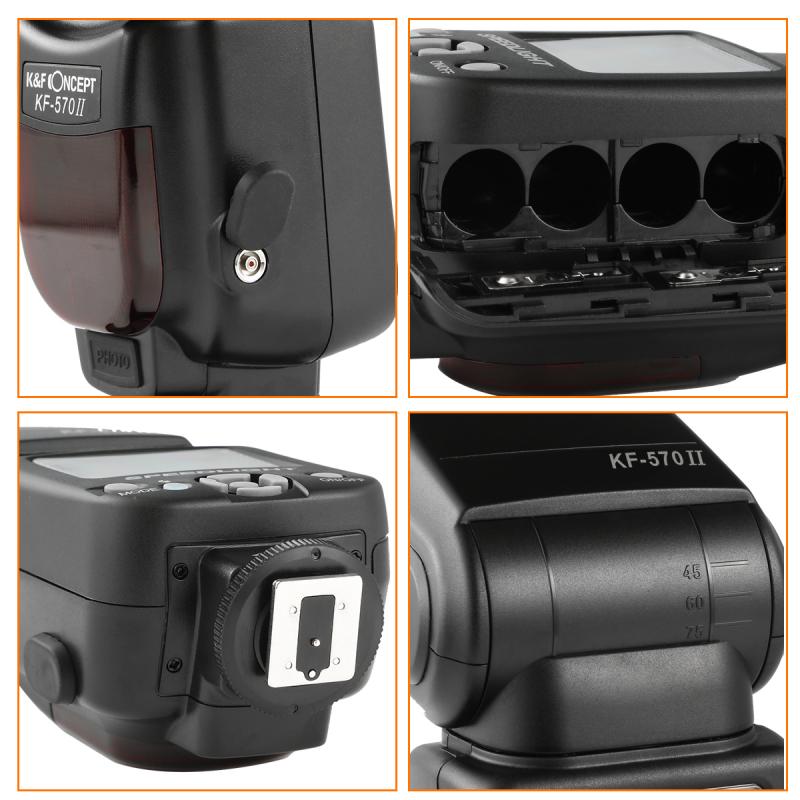
An off-camera flash is any flash that is not mounted directly on the camera. This type of lighting allows photographers to create more interesting and dynamic lighting effects than what can be achieved with an on-camera flash. By placing the light source away from the camera, you can control the direction, angle, and quality of light, leading to more professional-looking photographs.
Why Use Manual Flash?
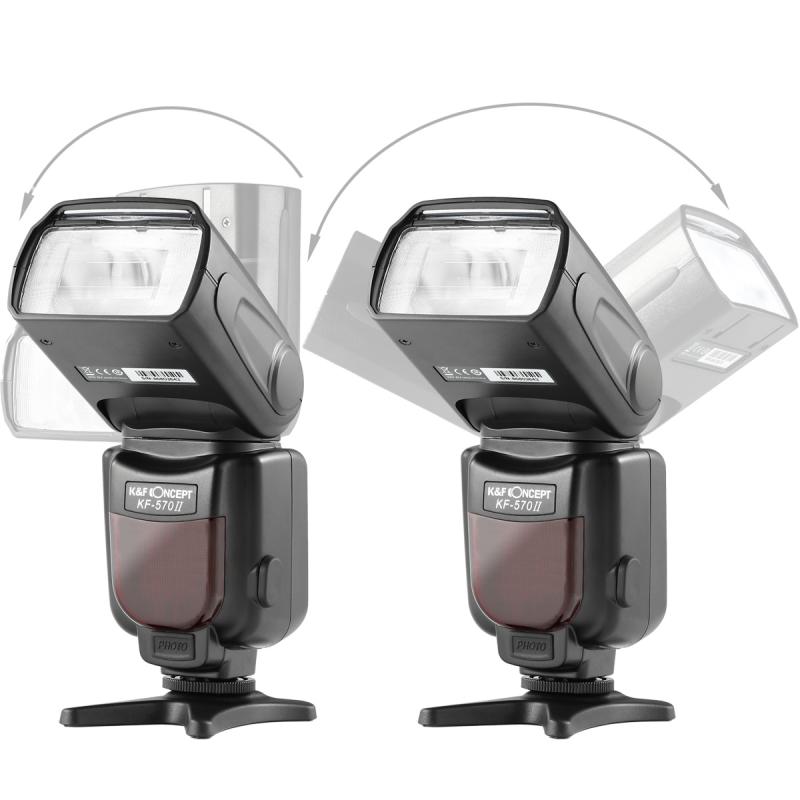
Manual flash provides greater control over the lighting conditions because you can adjust the power output of the flash precisely to match your creative vision. While automatic (TTL) flash can be convenient, manual control ensures consistency and predictability in your lighting setup.
Essential Gear
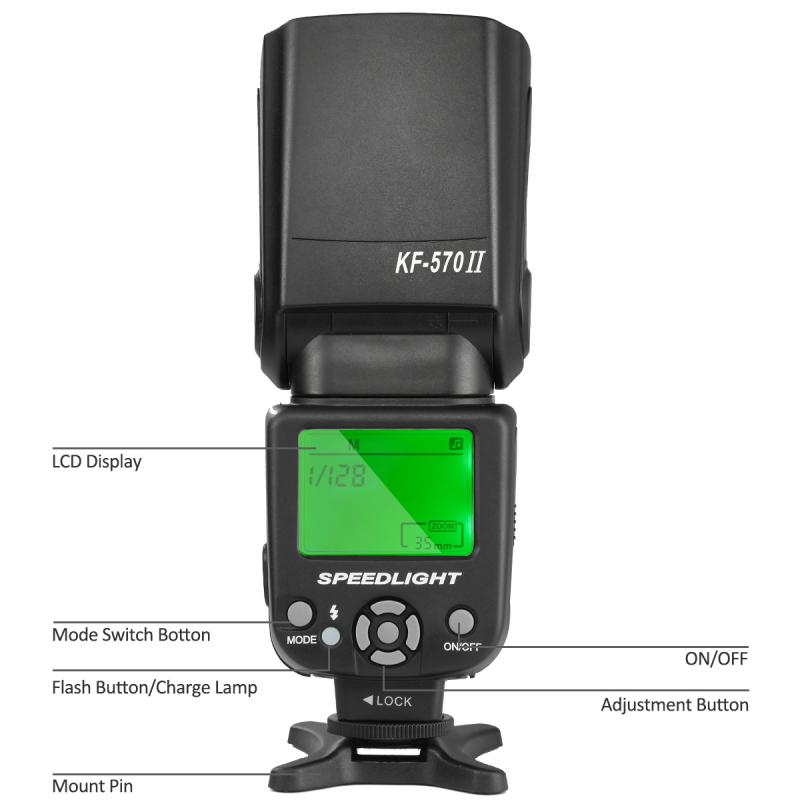
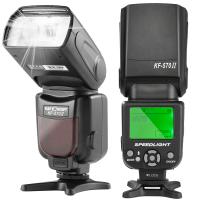
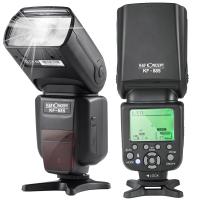
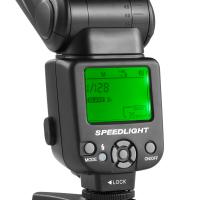
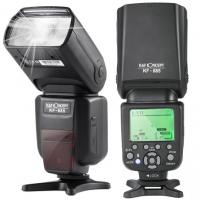
1. Flash Unit: You'll need a compatible flash that can be set to manual mode.
2. Triggers: Wireless triggers or sync cords to fire the flash remotely.
3. Light Stands and Modifiers: These are essential for positioning and shaping the light.
Setting Up the Flash
1. Positioning the Flash: Start by placing your off-camera flash on a stable light stand. The height and angle will depend on the effect you’re aiming for. Common positions include 45 degrees to the subject’s left or right and slightly above eye level.
2. Adjusting the Flash Settings: Set your flash to manual mode. This allows you to manually control the power output. A good starting point is 1/8 power, but this will vary depending on your environment and subject distance.
3. Syncing with the Camera: Attach the trigger to your camera’s hot shoe. Ensure the transmitter (on the camera) and receiver (on the flash) are on the same channel. Test whether the flash fires correctly by taking a few test shots.
Camera Settings
1. ISO: Lower ISO settings (100-400) help reduce noise and maintain image quality.
2. Aperture: Your aperture will control the amount of light hitting the camera sensor. Smaller apertures (higher f-numbers) will reduce the flash intensity on the subject, whereas larger apertures (lower f-numbers) will let in more light.
3. Shutter Speed: Shutter speed controls ambient light. Flash exposure isn’t affected by shutter speed because the flash duration is much shorter. However, check your camera’s maximum flash sync speed (often 1/200 or 1/250 sec) to avoid issues.
Fine-Tuning the Flash Exposure
1. Distance to Subject: Moving the flash closer or further from the subject changes the light intensity. Closer distance means more intense light.
2. Flash Power: Adjusting the flash power directly changes the light output. Use lower power settings for softer light and higher power settings for a more dramatic effect.
3. Modifiers: Using diffusers, softboxes, or umbrellas will soften and spread the light, reducing harsh shadows.
Practical Techniques
1. Key and Fill Lighting: Use the off-camera flash as the key light to create strong directional lighting, then use a reflector or second flash as fill light to soften shadows and add dimension.
2. Backlighting: Position the flash behind the subject to create a rim light that separates them from the background.
3. High-Speed Sync: When shooting in bright conditions or using wide apertures, high-speed sync allows faster shutter speeds than the standard flash sync speed.
Creative Lighting Tips
1. Rembrandt Lighting: Position the flash at a 45-degree angle to the side of the subject’s face, slightly above eye level, to create a small triangle of light on the opposite cheek.
2. Split Lighting: Place the flash directly to the side of the subject to illuminate half of their face, creating a dramatic and moody effect.
3. Loop Lighting: Position the flash slightly higher than eye level and at a 30-45 degree angle to create a small shadow on the opposite side of the nose.
Troubleshooting Common Problems
1. Uneven Exposure: If your images are too bright or too dark, adjust the flash power or aperture accordingly. Experiment with the flash-to-subject distance to find the perfect balance.
2. Sync Issues: Ensure the trigger and flash batteries are fully charged. Double-check that both devices are on the same channel and the flash is in manual mode.
3. Harsh Shadows: Using a larger light source or positioning the flash further away helps soften shadows. Adding modifiers like softboxes will also diffuse the light.
Practice and Patience
Mastering manual off-camera flash requires practice and patience. Start by experimenting in controlled environments, such as your home or studio, before attempting more complex shoots. Over time, you’ll develop an intuitive understanding of how to manipulate light to achieve the desired effects.
Using a manual off-camera flash is an invaluable skill for any serious photographer. It opens up a world of creative possibilities that on-camera lighting simply cannot achieve. By mastering the basic principles outlined in this guide, experimenting with different setups, and practicing consistently, you’ll be able to use off-camera flash to elevate the quality of your photographs significantly. Happy shooting!

