How To Use Mini Camera Hd Video Recorder?
In today's fast-paced world, capturing moments with high-definition clarity has become a necessity for many. Whether you're a professional videographer, a hobbyist, or someone who simply wants to document life's precious moments, a mini camera HD video recorder can be an invaluable tool. This article will guide you through the essential steps and tips on how to effectively use a mini camera HD video recorder, ensuring you get the most out of your device.
Understanding Your Mini Camera HD Video Recorder
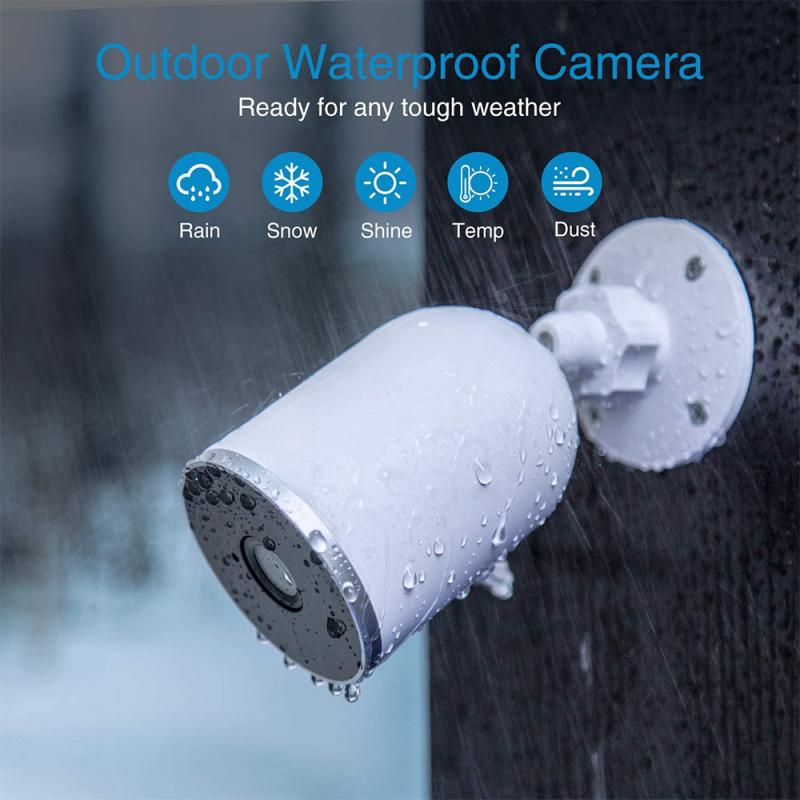
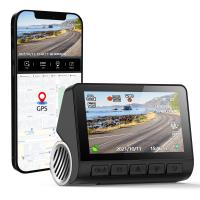
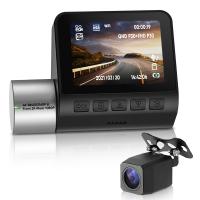
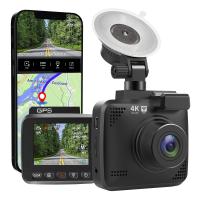
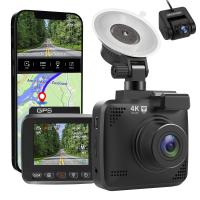
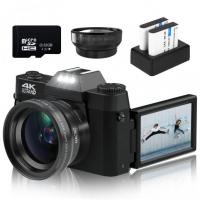
Before diving into the practical usage, it's crucial to familiarize yourself with the basic components and functionalities of your mini camera HD video recorder. Typically, these devices come with the following features:
1. Lens: The part of the camera that captures the image.
2. Microphone: For recording audio.
3. Memory Card Slot: Where you insert the memory card to store your recordings.
4. Battery Compartment: Houses the battery that powers the device.
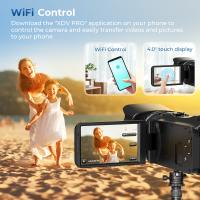
5. Display Screen: Allows you to view what you are recording.
6. Control Buttons: For navigating the menu and controlling the camera functions.
Step-by-Step Guide to Using Your Mini Camera HD Video Recorder

1. Charge the Battery
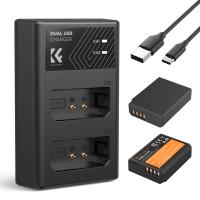
Before using your mini camera, ensure that the battery is fully charged. This will prevent any interruptions during your recording sessions. Most mini cameras come with a USB cable for charging. Connect the camera to a power source using the USB cable and wait until the battery is fully charged.
2. Insert the Memory Card
A memory card is essential for storing your video recordings. Insert the memory card into the designated slot on your mini camera. Ensure that the card is properly seated to avoid any recording issues. It's advisable to use a high-capacity memory card, especially if you plan to record in high definition.
3. Power On the Camera
Once the battery is charged and the memory card is inserted, power on the camera. This is usually done by pressing and holding the power button for a few seconds. The display screen should light up, indicating that the camera is ready for use.
4. Set the Resolution and Frame Rate
To achieve the best video quality, set the resolution and frame rate according to your needs. Most mini cameras offer various resolution settings, such as 720p, 1080p, and even 4K. The frame rate options typically include 24fps, 30fps, and 60fps. Higher resolutions and frame rates provide better video quality but consume more storage space.
5. Adjust the Camera Settings
Navigate through the camera's menu to adjust other settings such as white balance, exposure, and audio levels. These settings can significantly impact the quality of your recordings. For instance, adjusting the white balance ensures that the colors in your video appear natural, while proper exposure settings prevent your footage from being too dark or too bright.
6. Mount the Camera
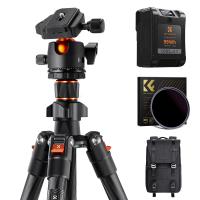
Depending on your recording needs, you may want to mount the camera on a tripod, helmet, or any other stable surface. This helps in capturing steady footage and allows you to focus on the action without worrying about holding the camera.
7. Start Recording
Once everything is set up, press the record button to start capturing your video. Keep an eye on the display screen to ensure that the camera is recording correctly. If your camera has a built-in microphone, make sure it is capturing audio clearly. You may need to adjust the microphone settings or use an external microphone for better audio quality.
8. Review and Save Your Footage
After recording, stop the camera and review your footage on the display screen. This allows you to check for any issues and re-record if necessary. Once satisfied, transfer the footage to your computer or other storage device for editing and sharing.
Tips for Getting the Best Results
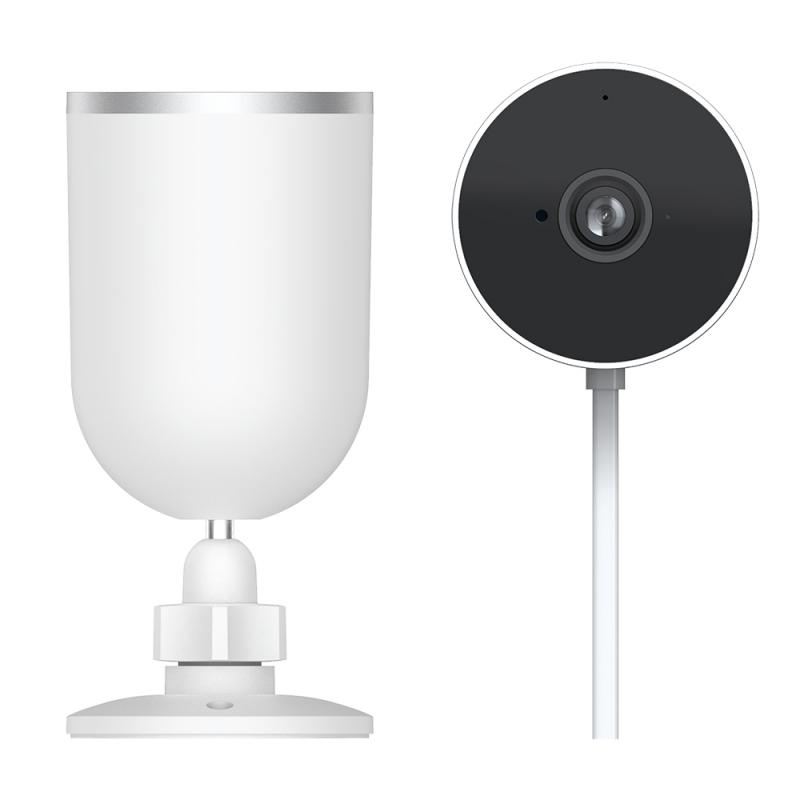
1. Lighting
Good lighting is crucial for high-quality video recordings. Ensure that your subject is well-lit, and avoid shooting in low-light conditions unless your camera is equipped with night vision or low-light capabilities.
2. Stability
Use a tripod or other stabilizing equipment to prevent shaky footage. If you're recording handheld, try to keep your movements smooth and steady.
3. Audio Quality
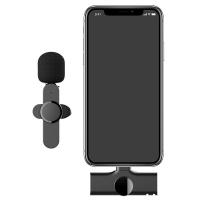
If your mini camera's built-in microphone doesn't provide satisfactory audio quality, consider using an external microphone. This is especially important for recording interviews or any situation where clear audio is essential.
4. Regular Maintenance
Keep your camera lens clean and free from dust or smudges. Regularly check the battery and memory card to ensure they are in good condition. Proper maintenance extends the life of your camera and ensures consistent performance.
Common Issues and Troubleshooting
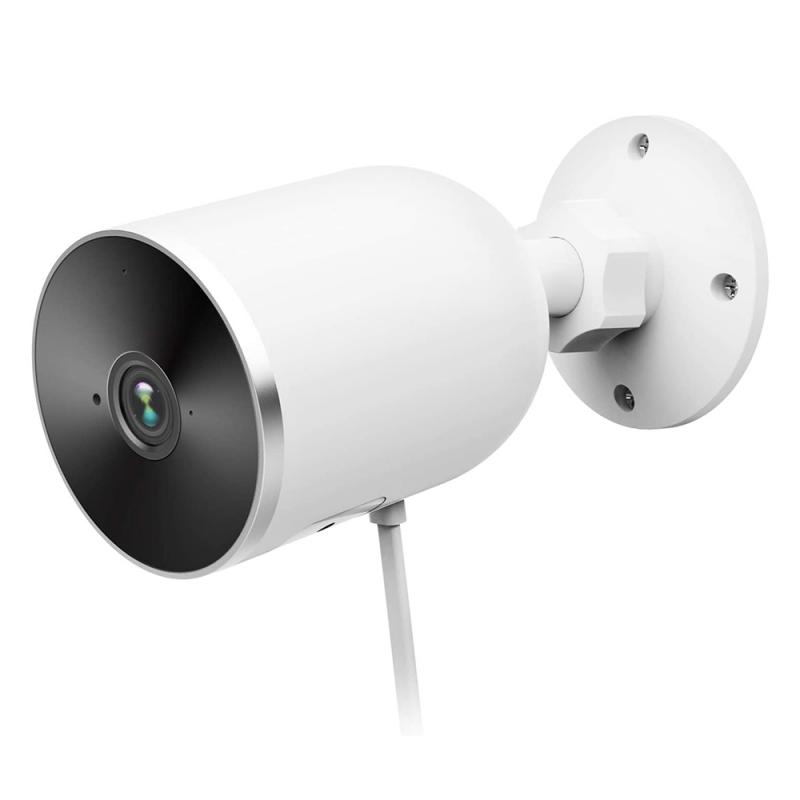
1. Blurry Footage
Blurry footage can result from improper focus or camera shake. Ensure that the camera is focused correctly and use a stabilizing device to prevent shake.
2. Audio Problems
If the audio is unclear or has background noise, check the microphone settings and consider using an external microphone. Ensure that the microphone is not obstructed and is positioned correctly.
3. Storage Issues
Running out of storage space can interrupt your recording. Always use a high-capacity memory card and regularly transfer your footage to a computer or external storage device.
4. Battery Life
If the battery drains quickly, ensure that it is fully charged before use. Carry a spare battery if you plan to record for extended periods.
Using a mini camera HD video recorder can be a rewarding experience, allowing you to capture high-quality videos with ease. By following the steps and tips outlined in this article, you can maximize the potential of your mini camera and produce professional-looking footage. Whether you're documenting personal moments, creating content for social media, or working on a professional project, a mini camera HD video recorder is a versatile tool that can help you achieve your goals. Happy recording!









There are no comments for this blog.