How To Use Video Camera On Laptop?
In today's digital age, the ability to use a video camera on a laptop is essential for various activities, including virtual meetings, online classes, content creation, and social interactions. Whether you're a professional looking to enhance your video conferencing setup or a content creator aiming to produce high-quality videos, understanding how to effectively use a video camera on your laptop can significantly improve your experience. This article will guide you through the process, covering everything from basic setup to advanced tips for optimizing video quality.
1. Understanding Your Laptop's Built-in Camera
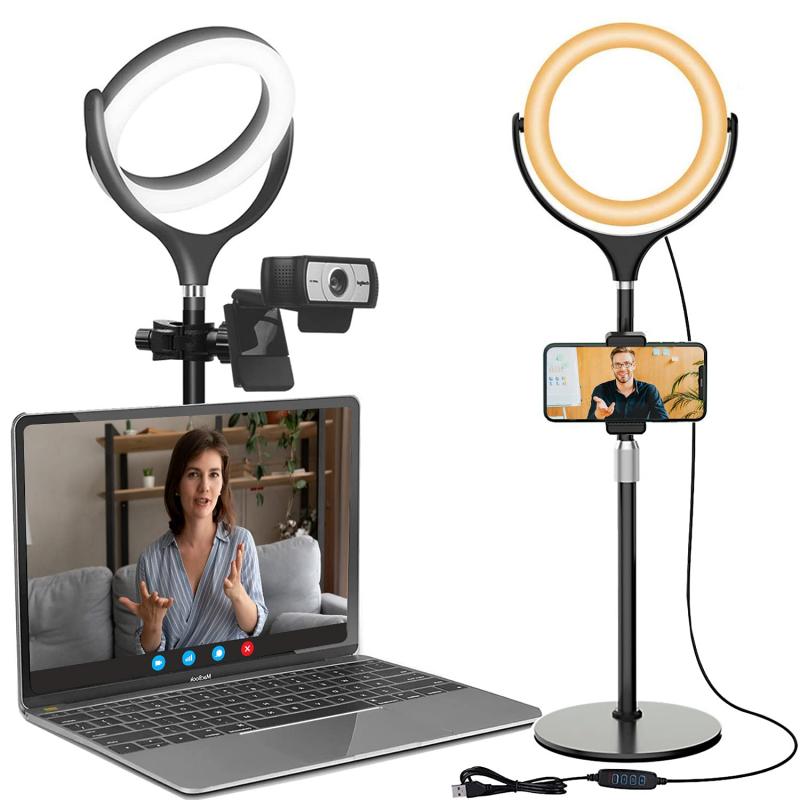
Most modern laptops come equipped with a built-in webcam, which is sufficient for basic video calls and meetings. To use your laptop's built-in camera, follow these steps:
1. Check Camera Availability: Ensure your laptop has a built-in camera. Look for a small lens at the top of your screen.
2. Open Camera App: On Windows, you can open the Camera app by searching for "Camera" in the Start menu. On macOS, use the "Photo Booth" app.
3. Test the Camera: Open the app and check if the camera is working. You should see a live feed from the camera.
2. Using an External Webcam
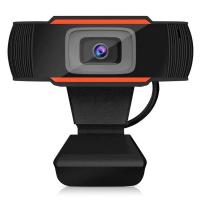
While built-in cameras are convenient, they often lack the quality and flexibility of external webcams. Here's how to set up and use an external webcam:
1. Choose the Right Webcam: Select a webcam that suits your needs. Popular options include Logitech C920, Razer Kiyo, and Microsoft LifeCam.
2. Connect the Webcam: Plug the webcam into a USB port on your laptop. Most webcams are plug-and-play, meaning they don't require additional software.
3. Install Drivers (if necessary): Some webcams may require you to install drivers. Follow the manufacturer's instructions to complete the installation.
4. Select the Webcam in Your Application: Open the application you want to use (e.g., Zoom, Skype, OBS Studio) and select the external webcam as the video source.
3. Optimizing Video Quality
To ensure you get the best video quality from your camera, consider the following tips:
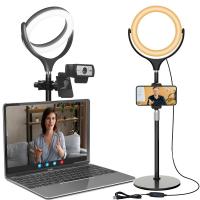
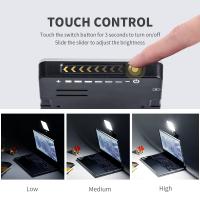
1. Lighting: Good lighting is crucial for high-quality video. Use natural light or invest in a ring light or softbox to illuminate your face evenly.
2. Background: Choose a clean, uncluttered background. Virtual backgrounds can also be used in applications like Zoom.
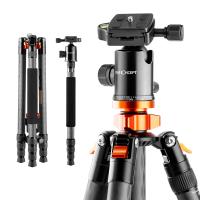
3. Camera Position: Position the camera at eye level to create a natural and flattering angle. Use a tripod or stack books to achieve the right height.
4. Resolution and Frame Rate: Adjust the camera settings to the highest resolution and frame rate supported by your webcam and application.
4. Using Video Cameras for Content Creation
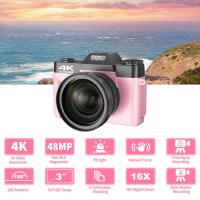
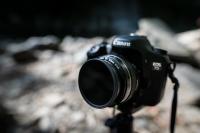
If you're a content creator, you might want to use a DSLR or mirrorless camera for superior video quality. Here's how to set it up:
1. Choose the Right Camera: Popular choices include Canon EOS M50, Sony A6400, and Panasonic Lumix G7.
2. Connect the Camera: Use an HDMI cable to connect the camera to a capture card (e.g., Elgato Cam Link 4K), then plug the capture card into your laptop's USB port.
3. Configure the Camera: Set your camera to video mode and adjust settings like resolution, frame rate, and focus.
4. Select the Camera in Your Application: Open your video recording or streaming software (e.g., OBS Studio, Streamlabs) and select the capture card as the video source.
5. Troubleshooting Common Issues
Even with the best setup, you might encounter issues. Here are some common problems and solutions:
1. Camera Not Detected: Ensure the camera is properly connected and drivers are installed. Try using a different USB port or restarting your laptop.
2. Poor Video Quality: Check your lighting and camera settings. Ensure your internet connection is stable if you're streaming or video calling.
3. Audio Sync Issues: Use an external microphone for better audio quality and sync. Adjust audio settings in your application if necessary.
4. Software Conflicts: Close other applications that might be using the camera. Restart the application you're using to refresh the camera feed.
6. Advanced Tips for Professional Use
For those looking to take their video setup to the next level, consider these advanced tips:
1. Green Screen: Use a green screen for professional virtual backgrounds. Ensure even lighting to avoid shadows.
2. Multiple Cameras: Set up multiple cameras for different angles. Use software like OBS Studio to switch between camera feeds.
3. External Microphone: Invest in a high-quality external microphone for clear audio. Popular options include Blue Yeti, Rode NT-USB, and Audio-Technica AT2020.
4. Video Editing Software: Use video editing software like Adobe Premiere Pro, Final Cut Pro, or DaVinci Resolve to enhance your videos post-production.
Using a video camera on your laptop can significantly enhance your virtual interactions and content creation. Whether you're using a built-in webcam, an external webcam, or a high-end DSLR, understanding the setup process and optimizing your video quality is crucial. By following the steps and tips outlined in this article, you'll be well on your way to achieving professional-grade video on your laptop. Remember, the key to great video is a combination of good lighting, proper camera positioning, and high-quality audio. Happy filming!













There are no comments for this blog.