How To Use Wifi Endoscope?
In today's technologically advanced world, WiFi endoscopes have become an essential tool for both professionals and hobbyists. These devices, which are essentially flexible cameras that can be inserted into tight spaces, are used for a variety of purposes, from plumbing inspections to automotive repairs and even medical examinations. However, many people are still unfamiliar with how to effectively use a WiFi endoscope. This article aims to provide a comprehensive guide on how to use a WiFi endoscope, covering everything from setup to practical applications.
Understanding WiFi Endoscopes
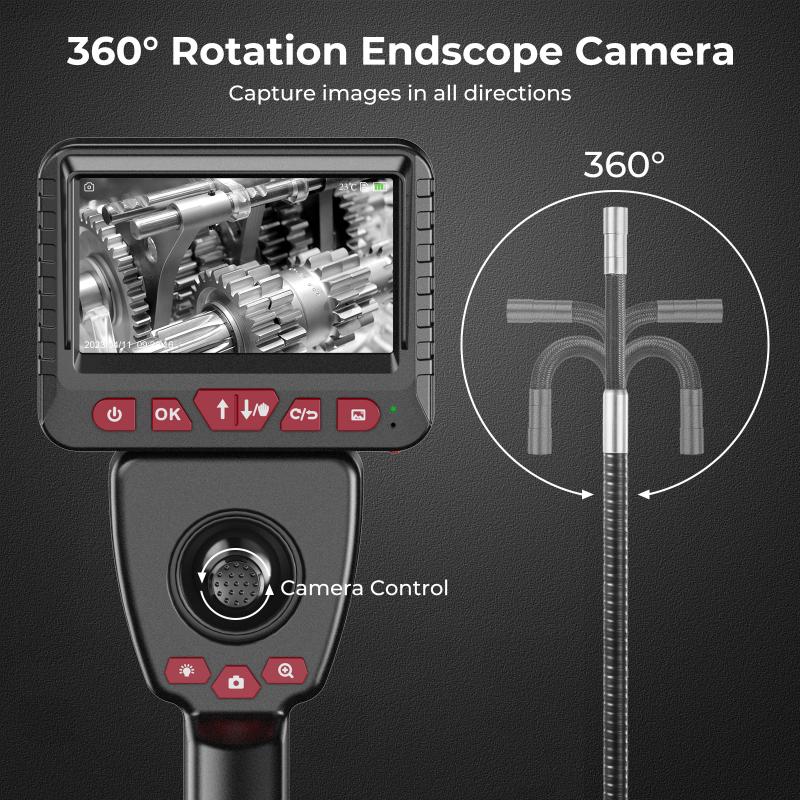
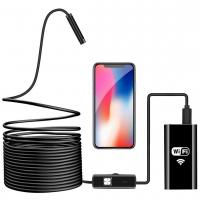
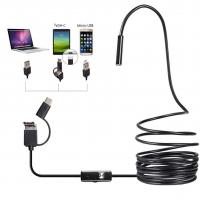
Before diving into the practical steps, it's important to understand what a WiFi endoscope is. A WiFi endoscope is a type of borescope that connects to your smartphone, tablet, or computer via a WiFi connection. It usually consists of a flexible tube with a camera at the end, which can be inserted into hard-to-reach areas. The camera transmits live video feed to your device, allowing you to see inside spaces that would otherwise be inaccessible.
Setting Up Your WiFi Endoscope
1. Unboxing and Initial Inspection
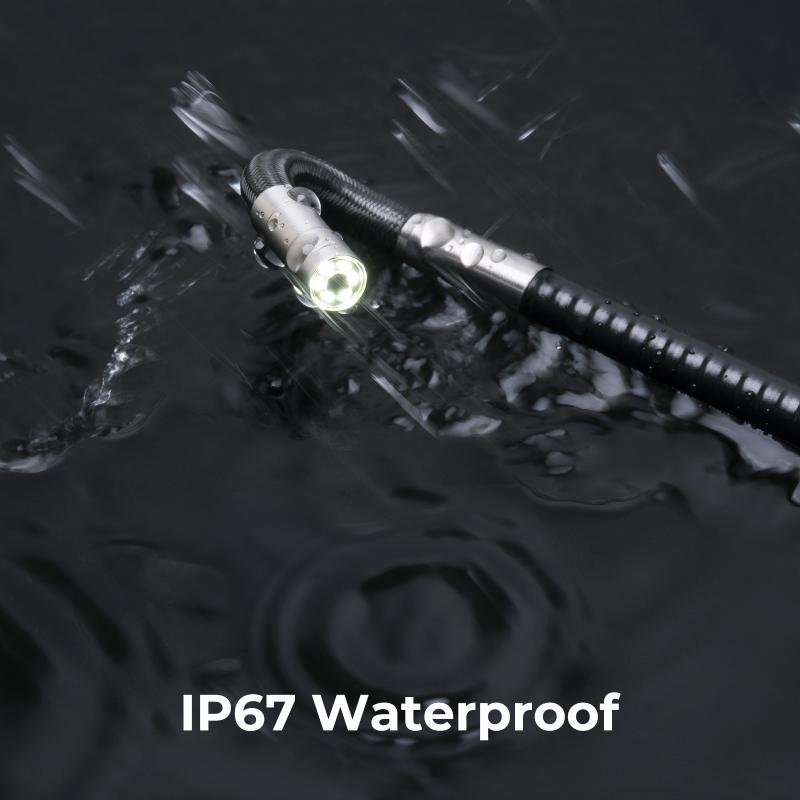
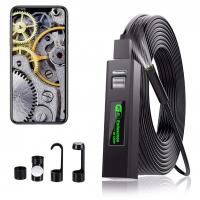
When you first receive your WiFi endoscope, unbox it carefully and inspect all the components. Most kits will include the endoscope itself, a WiFi transmitter, a USB charging cable, and various accessories like hooks, magnets, and mirrors. Make sure all parts are present and in good condition.
2. Charging the Device
Before using the endoscope, ensure that it is fully charged. Connect the USB charging cable to the WiFi transmitter and plug it into a power source. Charging times can vary, so refer to the user manual for specific instructions.
3. Downloading the App
Most WiFi endoscopes require a specific app to be installed on your smartphone or tablet. The user manual will usually provide the name of the app and instructions on how to download it. Common apps include "WiFi View," "HD WiFi," and "Mo-View." Download and install the app from the App Store or Google Play Store.
4. Connecting to WiFi
Once the app is installed, turn on the WiFi transmitter. Go to your device's WiFi settings and look for the network name associated with your endoscope. Connect to this network. Some endoscopes may require a password, which should be provided in the user manual.
5. Launching the App
Open the app you downloaded earlier. The app should automatically detect the endoscope and display the live video feed. If not, refer to the troubleshooting section of the user manual.
Using the WiFi Endoscope
1. Inserting the Endoscope
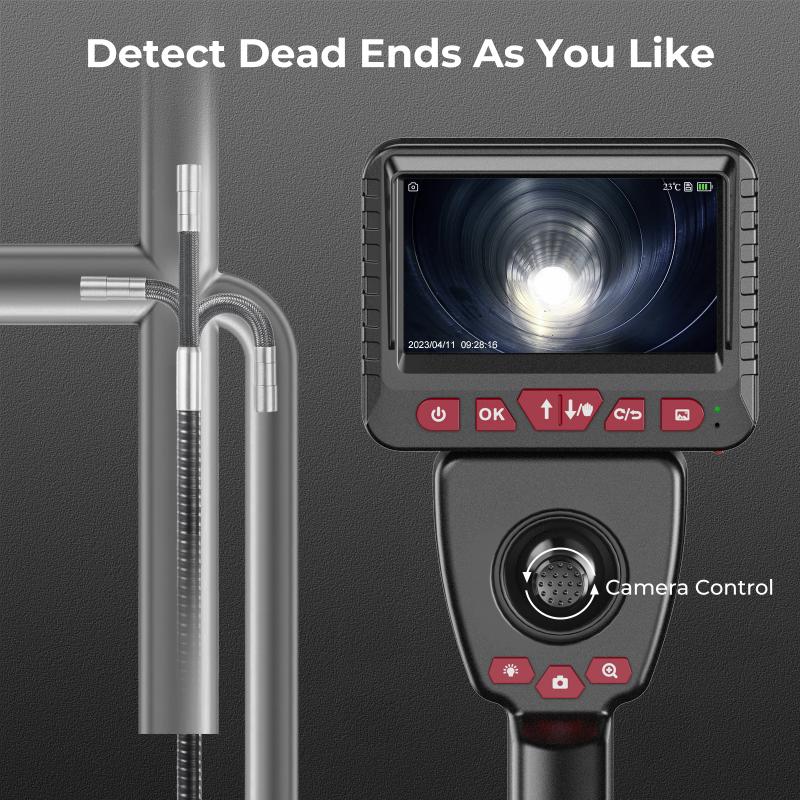
Carefully insert the endoscope into the area you wish to inspect. The flexible tube allows you to navigate through tight spaces. Use the live video feed on your device to guide the endoscope.
2. Adjusting the Camera
Most WiFi endoscopes come with adjustable LED lights around the camera to improve visibility in dark areas. Use the app to adjust the brightness of these lights as needed. Some apps also allow you to adjust the camera's resolution and other settings.
3. Capturing Images and Videos
The app will usually have options to capture images and record videos. Use these features to document your inspection. This can be particularly useful for later analysis or for sharing with others.
4. Using Accessories
Many WiFi endoscopes come with various accessories like hooks, magnets, and mirrors. These can be attached to the end of the endoscope to help retrieve objects, navigate around corners, or get a better view of the inspection area.
Practical Applications
1. Plumbing Inspections
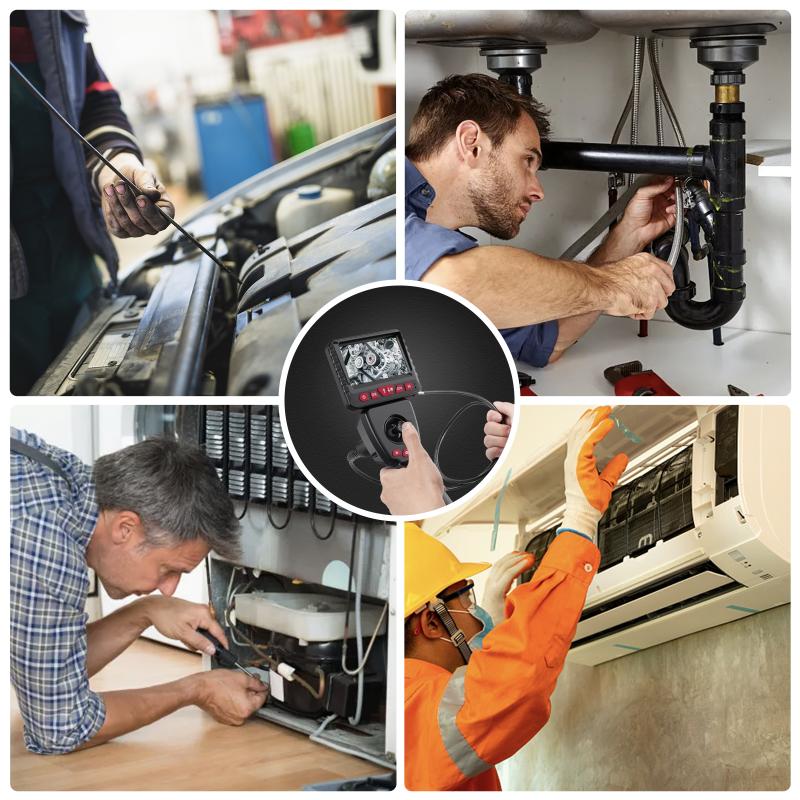
One of the most common uses for WiFi endoscopes is plumbing inspections. Whether you're a professional plumber or a DIY enthusiast, a WiFi endoscope can help you locate blockages, leaks, and other issues within pipes. Insert the endoscope into the pipe and use the live video feed to identify the problem.
2. Automotive Repairs
WiFi endoscopes are also invaluable for automotive repairs. They can be used to inspect engine components, check for wear and tear, and even locate lost screws or bolts. Insert the endoscope into the engine compartment and use the live video feed to guide your inspection.
3. Home Inspections
Home inspectors often use WiFi endoscopes to check for issues in hard-to-reach areas like attics, crawl spaces, and behind walls. This can help identify problems like mold, pests, and structural damage. Insert the endoscope into the inspection area and use the live video feed to conduct a thorough examination.
4. Medical Examinations
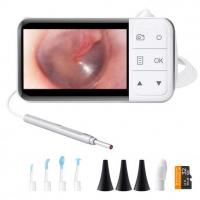
While not a replacement for professional medical equipment, WiFi endoscopes can be used for basic medical examinations. For example, they can be used to inspect the throat, ears, and nasal passages. However, always consult a healthcare professional for serious medical issues.
Troubleshooting Common Issues
1. Connection Problems
If you're having trouble connecting the endoscope to your device, make sure the WiFi transmitter is turned on and fully charged. Also, ensure that your device is connected to the correct WiFi network. Restarting both the endoscope and your device can also help resolve connection issues.
2. Poor Image Quality
If the image quality is poor, try adjusting the LED lights and camera settings in the app. Make sure the camera lens is clean and free of debris. If the problem persists, refer to the user manual for additional troubleshooting steps.
3. App Crashes
If the app crashes frequently, make sure it is up to date. Check for updates in the App Store or Google Play Store. If the problem continues, try uninstalling and reinstalling the app.
WiFi endoscopes are versatile and powerful tools that can be used for a wide range of applications. By following the steps outlined in this guide, you can set up and use your WiFi endoscope effectively. Whether you're conducting a plumbing inspection, performing automotive repairs, or carrying out a home inspection, a WiFi endoscope can provide you with the visibility you need to get the job done. With a little practice, you'll be able to navigate tight spaces and capture high-quality images and videos with ease.


















There are no comments for this blog.