How To Use Wireless Camera Without Receiver?
Wireless cameras are becoming increasingly popular in homes and businesses due to their ease of installation and convenience. However, many people are daunted by the notion of using a wireless camera without a traditional receiver. This article aims to demystify the process and provide a comprehensive guide on how to use a wireless camera without a receiver, while also explaining the technological principles behind it.
Understanding Wireless Camera Technology
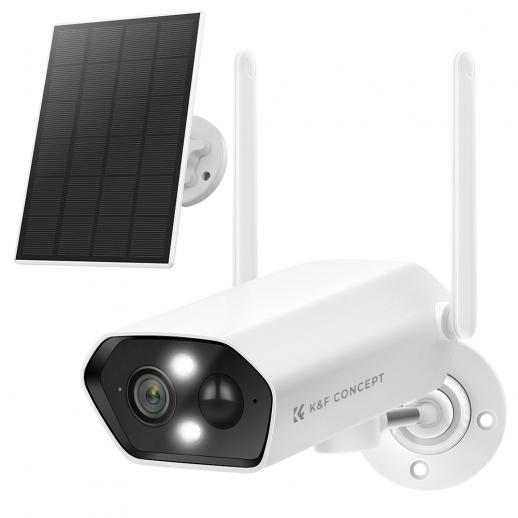
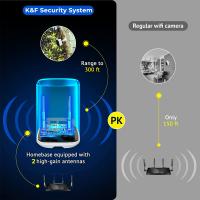
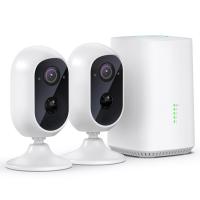
First, let’s delve into the fundamental technology of wireless cameras. Traditional wireless cameras operate by transmitting video signals to a receiver via radio frequencies. The receiver then processes these signals and displays them on a monitor. However, with the advent of advanced networking technology, it’s possible to bypass the need for a dedicated receiver.
Modern wireless cameras are often equipped with Wi-Fi capabilities, allowing them to connect directly to local networks or the internet. This innovation means you can view and manage your camera feed from virtually anywhere in the world, using devices like smartphones, tablets, and computers.
Essential Equipment and Software
To set up a wireless camera without a receiver, you will need the following:
1. Wireless Camera: Ensure it has built-in Wi-Fi capabilities.
2. Wi-Fi Router: This is essential for creating a local network.
3. Smart Device: A smartphone, tablet, or computer that can run viewing and management software.
4. Camera Application Software: Most camera manufacturers provide a dedicated app or software for monitoring and managing the camera feed.
Step-by-Step Guide to Setting Up a Wireless Camera Without a Receiver
1. Initial Camera Setup
Begin by unboxing your wireless camera and ensuring all necessary components are available. Follow these steps for the initial setup:
- Power On the Camera: Connect the camera to a power source. Many modern cameras have a built-in battery, while others might require a direct connection to a power outlet.
- Reset the Camera: If the camera has been used before, resetting it to factory settings ensures you start with a clean slate.
2. Connecting to Wi-Fi
Most wireless cameras are designed to be user-friendly, with an intuitive setup process:
- Access the Settings Menu: Navigate to the settings on your smart device.
- Select Wi-Fi Settings: Look for the camera in the list of available Wi-Fi networks.
- Connect to the Camera’s Network: Enter the required credentials, which are often provided in the camera’s manual.
3. Using the Camera Application
Once the camera is connected to Wi-Fi, the next step is configuring the camera through its dedicated application:
- Download the App: Find the camera’s dedicated app in your device’s app store.
- Create an Account: Some applications require creating an account for better management and remote access.
- Add Device: Use the app to add the camera by following the on-screen instructions. This might involve scanning a QR code on the camera or entering a serial number.
- Configure Settings: Adjust the camera settings according to your preference, such as motion detection sensitivity, event alerts, and scheduling.
4. Viewing and Monitoring
After the camera is connected and configured, you can now view the live feed:
- Open the App: Access the app on your device.
- Select Camera: Navigate to the live feed section.
- Monitor in Real-Time: View and manage your camera feed in real-time. You can usually perform additional functions such as recording footage, taking snapshots, and adjusting settings.
Advanced Features and Troubleshooting
Network Configuration
In some cases, you may need to configure your router’s settings to ensure optimal connectivity:
- Port Forwarding: If you wish to access the camera feed remotely, you might need to set up port forwarding on your router.
- Static IP Address: Assigning a static IP address to your camera can provide a more stable connection.
Integrating with Smart Home Systems
Many wireless cameras are compatible with smart home ecosystems:
- Voice Assistants: Integrate your camera with voice assistants like Amazon Alexa or Google Assistant for voice-controlled monitoring.
- Smart Hubs: Linking your camera to a smart hub can enable coordinated actions with other smart devices, such as turning on lights when motion is detected.
Common Issues and Solutions
While the setup process is generally straightforward, you may encounter issues:
- Connectivity Problems: Ensure the camera is within range of the Wi-Fi router and that there are no significant obstructions.
- App Malfunctions: Regularly update the camera’s app and firmware to the latest versions for optimal performance.
- Security Concerns: Use strong passwords and update them regularly to secure the camera from unauthorized access.
Practical Applications and Benefits
Home Security
For homeowners, the primary benefit is improved security. Wireless cameras provide real-time monitoring and alert you to any unusual activity, giving you peace of mind whether you’re at home or away.
Business Surveillance
Businesses can leverage wireless cameras for surveillance, ensuring the safety of their premises, employees, and inventory. The ease of setup and remote monitoring offers flexibility to business owners.
Baby and Pet Monitoring
Parents and pet owners can use wireless cameras to keep an eye on their little ones. Features like two-way audio enable real-time interaction, providing added convenience and reassurance.
Using a wireless camera without a traditional receiver has never been easier thanks to advancements in networking technology. By following a straightforward setup process and leveraging the power of Wi-Fi, you can enjoy the benefits of real-time monitoring and management of your security camera. Whether for home security, business surveillance, or monitoring loved ones, wireless cameras offer a versatile and user-friendly solution. Remember to keep your device software and firmware updated and use strong security practices to ensure your surveillance system remains effective and secure.













-200x200.jpg)
