How To Write Protect An Sd Card?
In the digital age, Secure Digital (SD) cards have become an essential tool for storing and transferring data. Whether you're a photographer, a tech enthusiast, or just someone who needs extra storage, SD cards offer a convenient and portable solution. However, with the convenience of SD cards comes the risk of accidental data loss or corruption. One effective way to safeguard your data is by write-protecting your SD card. This article will guide you through the various methods to write-protect an SD card, ensuring your valuable data remains secure.
Understanding Write Protection
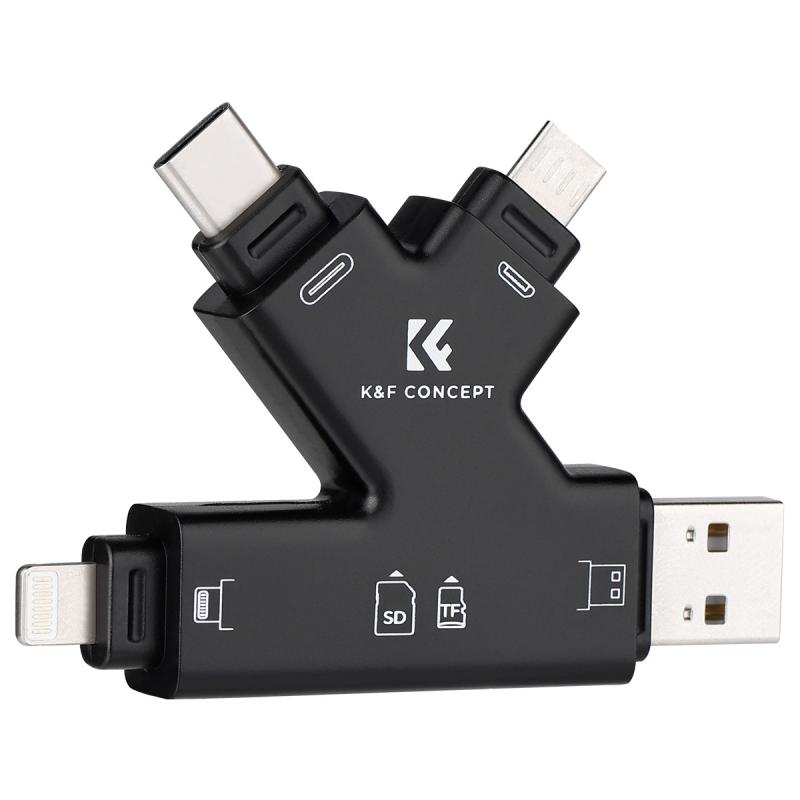
Write protection is a feature that prevents data from being written to or deleted from a storage device. When an SD card is write-protected, you can read the data stored on it, but you cannot modify or delete it. This is particularly useful in scenarios where you want to prevent accidental deletion or overwriting of important files.
Physical Write Protection Switch
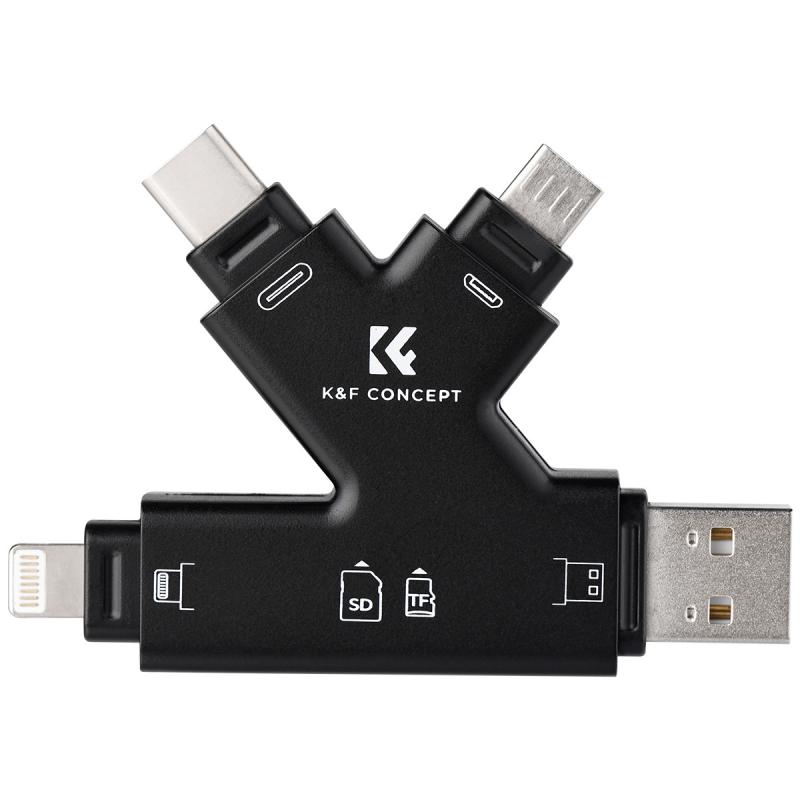
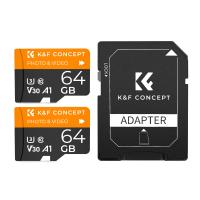
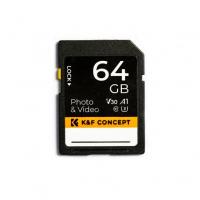
Most standard-sized SD cards come with a physical write protection switch. This small, sliding switch is located on the side of the card. When the switch is in the "Lock" position, the SD card is write-protected. Here’s how to use it:
1. Locate the Switch: Find the small switch on the side of your SD card.
2. Slide to Lock: Move the switch to the "Lock" position. This will enable write protection.
3. Insert the Card: Place the SD card into your device. You should now be able to read the data but not write to it.
Software-Based Write Protection
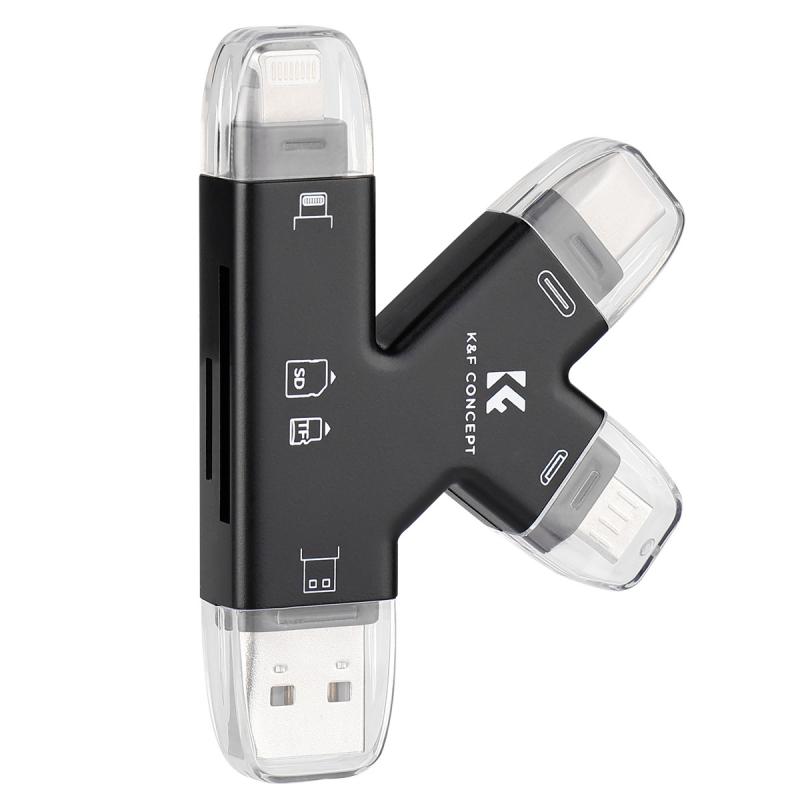
If your SD card does not have a physical switch, or if you prefer a software-based solution, you can use your computer's operating system to write-protect the card. Here’s how to do it on different operating systems:
Windows
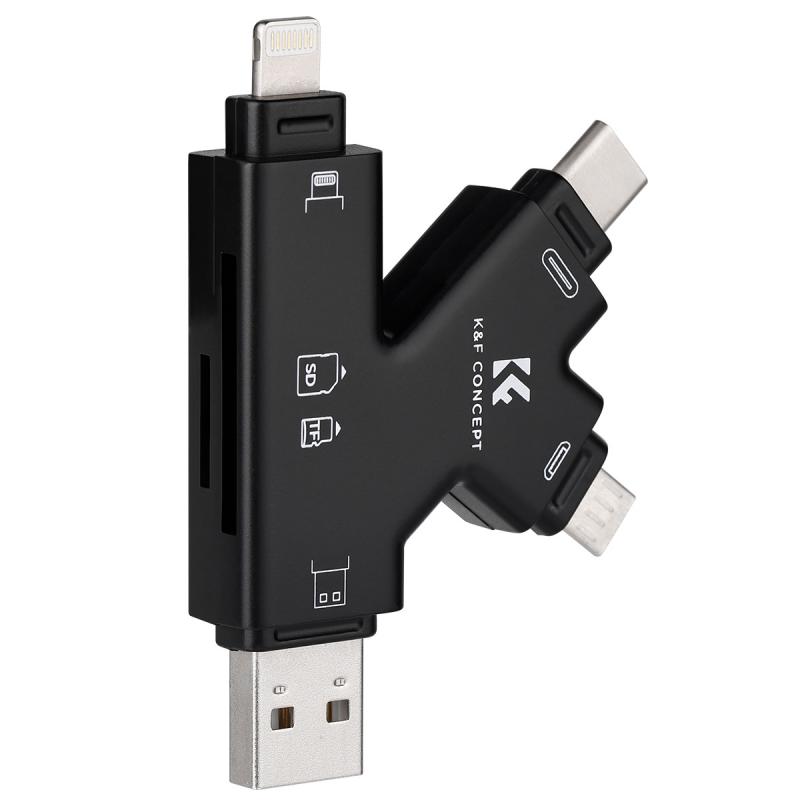
1. Insert the SD Card: Insert the SD card into your computer’s card reader.
2. Open File Explorer: Navigate to "This PC" or "My Computer."
3. Right-Click the SD Card: Find your SD card in the list of drives, right-click on it, and select "Properties."
4. Security Tab: Go to the "Security" tab.
5. Edit Permissions: Click on "Edit" to change permissions. Select your user account and check the "Deny" box for "Write" permissions.
6. Apply Changes: Click "Apply" and then "OK" to save the changes.
macOS
1. Insert the SD Card: Insert the SD card into your Mac’s card reader.
2. Open Finder: Navigate to the SD card in Finder.
3. Get Info: Right-click on the SD card and select "Get Info."
4. Sharing & Permissions: Scroll down to the "Sharing & Permissions" section.
5. Change Permissions: Click the lock icon to make changes. Enter your admin password if prompted. Set the permissions to "Read Only" for your user account.
6. Apply Changes: Close the "Get Info" window to save the changes.
Using Command Line Tools
For advanced users, command line tools offer another method to write-protect an SD card. This can be particularly useful for scripting or automating the process.
Windows Command Prompt
1. Open Command Prompt: Press `Win + R`, type `cmd`, and press Enter.
2. Diskpart Utility: Type `diskpart` and press Enter to open the Diskpart utility.
3. List Disks: Type `list disk` to display all connected drives.
4. Select Disk: Identify your SD card from the list and type `select disk X` (replace X with the disk number of your SD card).
5. Attributes Disk: Type `attributes disk set readonly` to enable write protection.
6. Exit: Type `exit` to close the Diskpart utility.
macOS Terminal
1. Open Terminal: Open the Terminal application.
2. List Disks: Type `diskutil list` to display all connected drives.
3. Unmount Disk: Identify your SD card and type `diskutil unmountDisk /dev/diskX` (replace X with the disk number of your SD card).
4. Enable Read-Only: Type `sudo diskutil enableOwnership /dev/diskX` followed by `sudo chmod 444 /Volumes/YourSDCard` (replace X with the disk number and YourSDCard with the name of your SD card).
5. Remount Disk: Type `diskutil mountDisk /dev/diskX` to remount the SD card.
Using Third-Party Software
Several third-party software solutions can also help you write-protect your SD card. These tools often offer additional features such as data recovery, encryption, and more. Some popular options include:
- SD Card Formatter: A tool specifically designed for formatting and managing SD cards.
- MiniTool Partition Wizard: A comprehensive disk management tool that includes write protection features.
- EaseUS Partition Master: Another robust disk management tool with write protection capabilities.
Troubleshooting Write Protection Issues
Sometimes, you may encounter issues when trying to write-protect your SD card. Here are some common problems and their solutions:
1. Switch Not Working: If the physical switch is not working, try using software-based methods.
2. Permissions Not Changing: Ensure you have administrative privileges on your computer.
3. Card Reader Issues: Sometimes, the card reader itself may be the problem. Try using a different card reader.
4. Corrupted SD Card: If your SD card is corrupted, you may need to format it before applying write protection. Be sure to back up your data first.
Write-protecting your SD card is a simple yet effective way to safeguard your data from accidental deletion or modification. Whether you choose to use the physical switch, software-based methods, command line tools, or third-party software, each method offers a reliable way to protect your valuable data. By following the steps outlined in this article, you can ensure that your SD card remains secure, giving you peace of mind and allowing you to focus on what truly matters.


