What Filter For Moon Camera?
When it comes to capturing the moon with a camera, the right filter can make a significant difference in the quality and detail of your images. Whether you are an amateur astronomer or a professional photographer, understanding the various filters available and their specific uses can help you achieve stunning lunar photographs. In this article, we will delve into the different types of filters suitable for moon photography, their benefits, and how to choose the right one for your needs.
Understanding Moon Photography
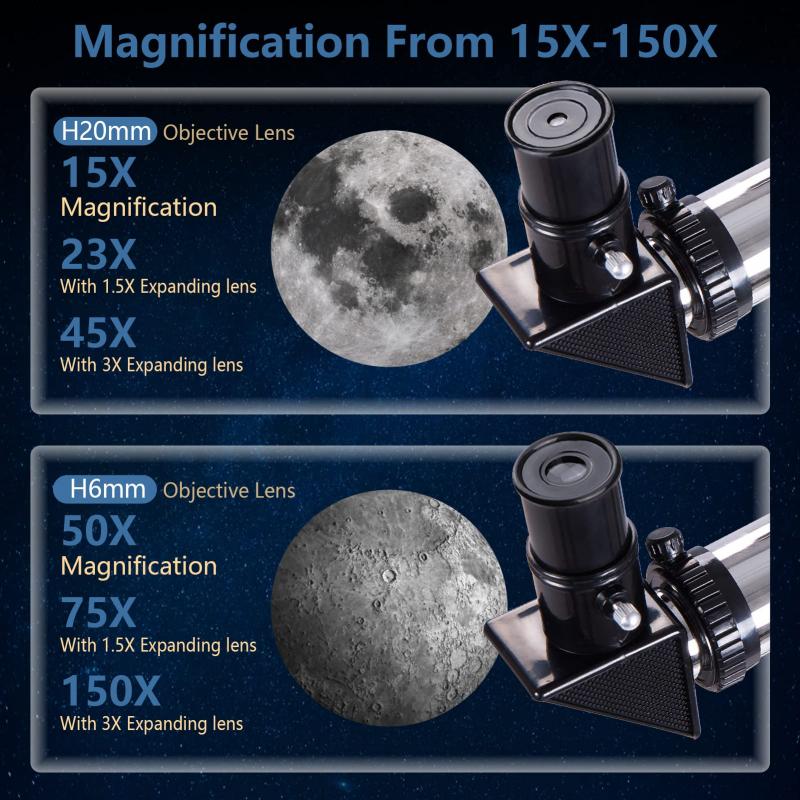
Before diving into the specifics of filters, it's essential to understand the basics of moon photography. The moon is a bright object in the night sky, and capturing its details requires careful consideration of exposure settings, lens choice, and, importantly, filters. The primary goal is to enhance contrast, reduce glare, and bring out the intricate details of the lunar surface.
Types of Filters for Moon Photography
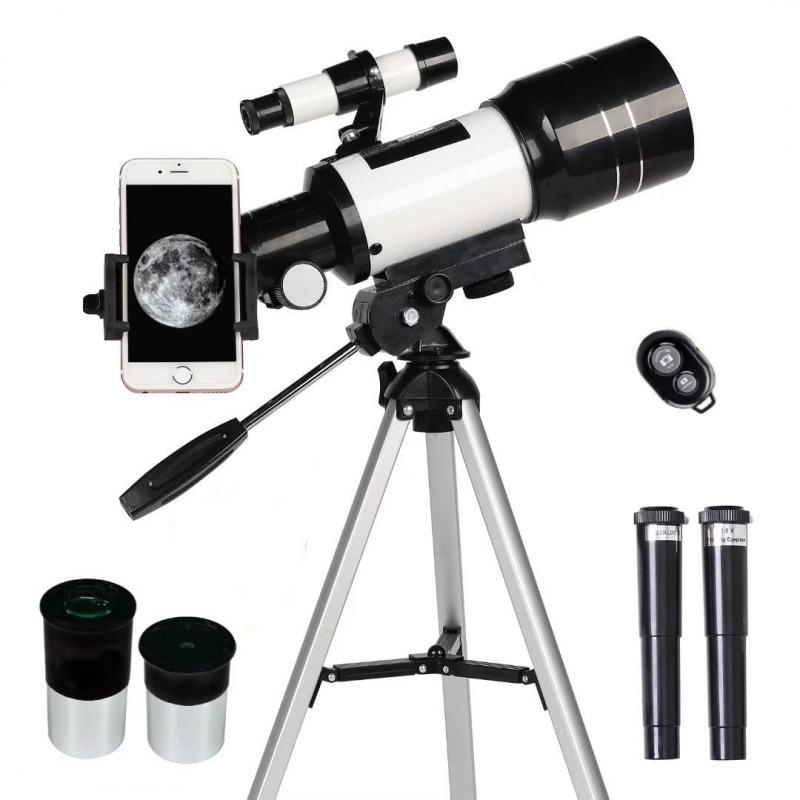
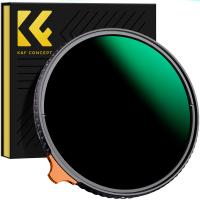
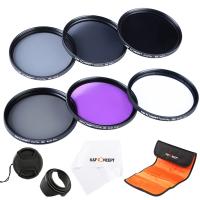
1. Neutral Density (ND) Filters
- Purpose: ND filters reduce the amount of light entering the camera without affecting the color balance. This is particularly useful when the moon is very bright, such as during a full moon.
- Benefits: By reducing the light, ND filters help prevent overexposure, allowing you to capture more details and textures on the moon's surface.
- Usage: ND filters come in various strengths (e.g., ND4, ND8, ND16). The choice depends on the brightness of the moon and your camera settings.
2. Polarizing Filters
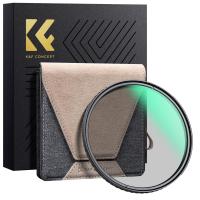
- Purpose: Polarizing filters reduce reflections and glare from the moon's surface, enhancing contrast and detail.
- Benefits: These filters are particularly useful when photographing the moon in conjunction with other elements, such as landscapes or water bodies, as they can reduce unwanted reflections.
- Usage: Rotate the polarizing filter to achieve the desired effect. Note that polarizing filters can also darken the sky, making the moon stand out more prominently.
3. Color Filters
- Purpose: Color filters can enhance specific features of the moon by isolating certain wavelengths of light.
- Benefits: Different color filters can bring out various details. For example, a red filter can enhance the contrast of lunar maria (the dark plains on the moon), while a blue filter can highlight the highland regions.
- Usage: Experiment with different colors (red, blue, green, yellow) to see which one best enhances the features you want to capture.
4. Infrared (IR) Filters
- Purpose: IR filters allow infrared light to pass through while blocking visible light. This can reveal details not visible in standard photography.
- Benefits: Infrared photography can highlight surface features and textures that are otherwise difficult to capture.
- Usage: IR filters require a camera sensitive to infrared light or one that has been modified for IR photography. They are more specialized and may require additional post-processing.
5. UV/IR Cut Filters
- Purpose: These filters block ultraviolet (UV) and infrared (IR) light, allowing only visible light to pass through.
- Benefits: UV/IR cut filters are useful for achieving sharper images by reducing chromatic aberration and improving color accuracy.
- Usage: These filters are particularly beneficial for high-resolution lunar photography, where detail and sharpness are paramount.
Choosing the Right Filter
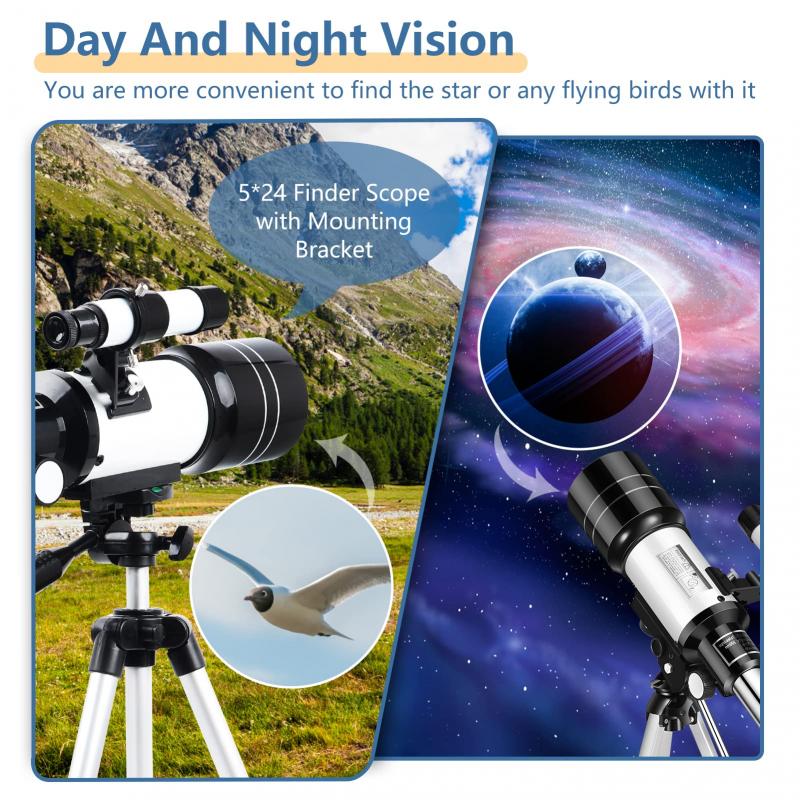
Selecting the right filter for moon photography depends on several factors, including your specific goals, the equipment you have, and the conditions under which you are shooting. Here are some tips to help you make an informed decision:
1. Assess the Brightness of the Moon: During a full moon, the brightness can be overwhelming, making an ND filter a good choice to prevent overexposure. For crescent or gibbous phases, a polarizing or color filter might be more appropriate.
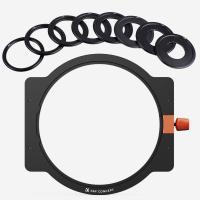
2. Consider Your Camera and Lens: Ensure that the filter you choose is compatible with your camera and lens. Some filters may require specific adapters or modifications.
3. Experiment with Different Filters: Don't be afraid to try various filters to see which one works best for your needs. Each filter can bring out different aspects of the moon's surface, so experimentation is key.
4. Post-Processing: Remember that filters are just one part of the equation. Post-processing can further enhance your lunar images. Software like Adobe Photoshop or Lightroom can help you adjust contrast, sharpness, and color balance.
Practical Tips for Moon Photography
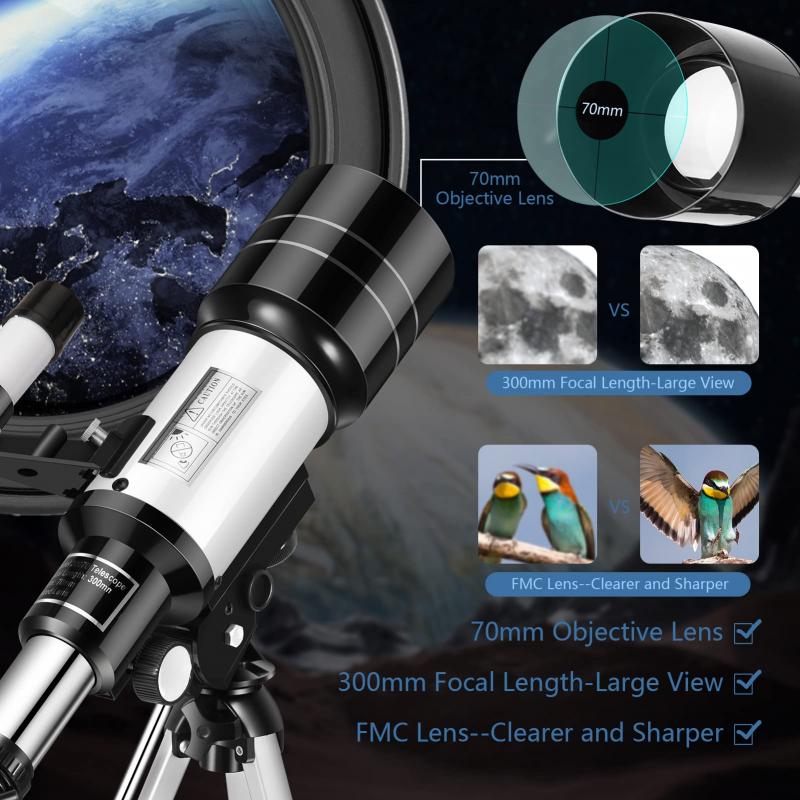
In addition to using the right filters, here are some practical tips to help you capture stunning images of the moon:
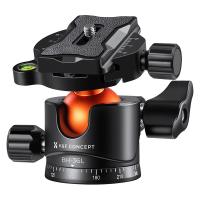
1. Use a Tripod: Stability is crucial for sharp lunar images. A sturdy tripod will help eliminate camera shake, especially when using long exposure times.
2. Manual Focus: Autofocus can struggle with the moon's brightness and contrast. Switch to manual focus and use live view to fine-tune the focus for maximum sharpness.
3. Optimal Exposure Settings: Start with a low ISO (100-200) to reduce noise. Use a moderate aperture (f/8 to f/11) for a good depth of field. Adjust the shutter speed based on the moon's brightness and the filter you are using.
4. Shoot in RAW: Shooting in RAW format gives you more flexibility in post-processing, allowing you to recover details and adjust exposure more effectively.
5. Timing and Location: The best time to photograph the moon is during its rise or set when it is closer to the horizon. This can add interesting foreground elements to your composition. Also, consider the weather and atmospheric conditions, as clear skies will yield the best results.
Moon photography is a rewarding endeavor that allows you to capture the beauty and intricacy of our closest celestial neighbor. By understanding the different types of filters available and how to use them effectively, you can enhance your lunar images and bring out details that are otherwise difficult to capture. Whether you are using ND filters to manage brightness, polarizing filters to reduce glare, or color filters to highlight specific features, each type of filter offers unique benefits that can elevate your moon photography to new heights. Remember to experiment, practice, and refine your techniques to achieve the best results. Happy shooting!









-200x200.jpg)
