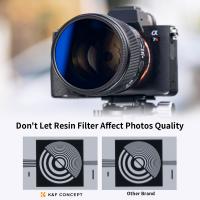
What Is A Camera Propeller Filter?
In the world of photography and videography, achieving the perfect shot often requires more than just a high-quality camera and lens. Accessories play a crucial role in enhancing the final output, and one such accessory that has gained significant attention is the camera propeller filter. This article delves into what a camera propeller filter is, its uses, benefits, and how it can elevate your photography and videography experience.
Understanding Camera Propeller Filters
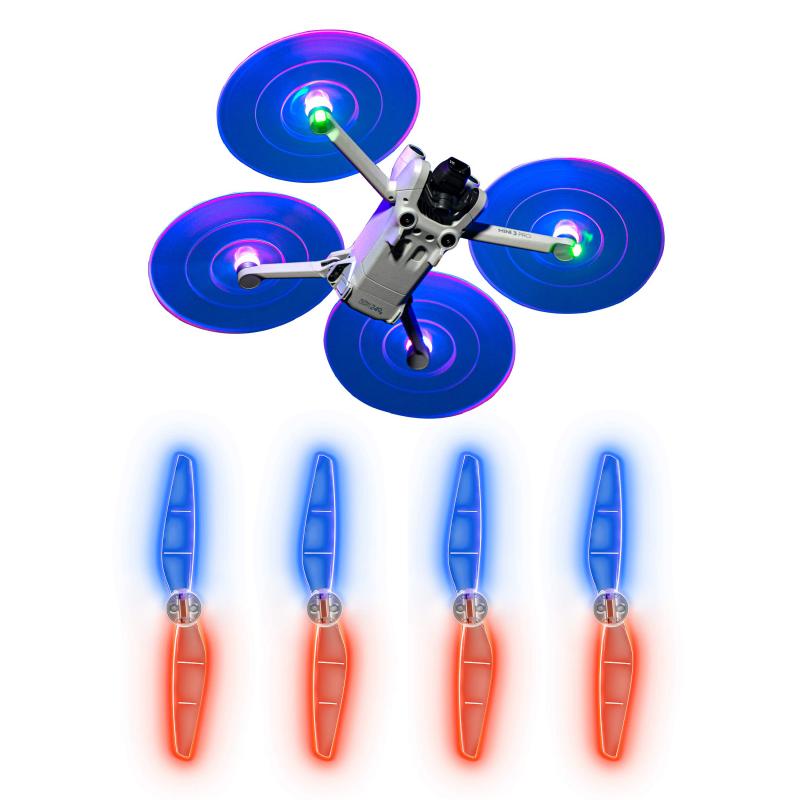
A camera propeller filter, also known as a propeller guard filter or propeller effect filter, is a specialized filter designed to mitigate the visual interference caused by propeller blades in aerial photography and videography. When using drones or other aerial devices equipped with propellers, the spinning blades can often create unwanted visual artifacts, such as flickering or distortion, in the captured footage. These artifacts can be particularly problematic when shooting in bright light conditions or at high shutter speeds.
How Camera Propeller Filters Work
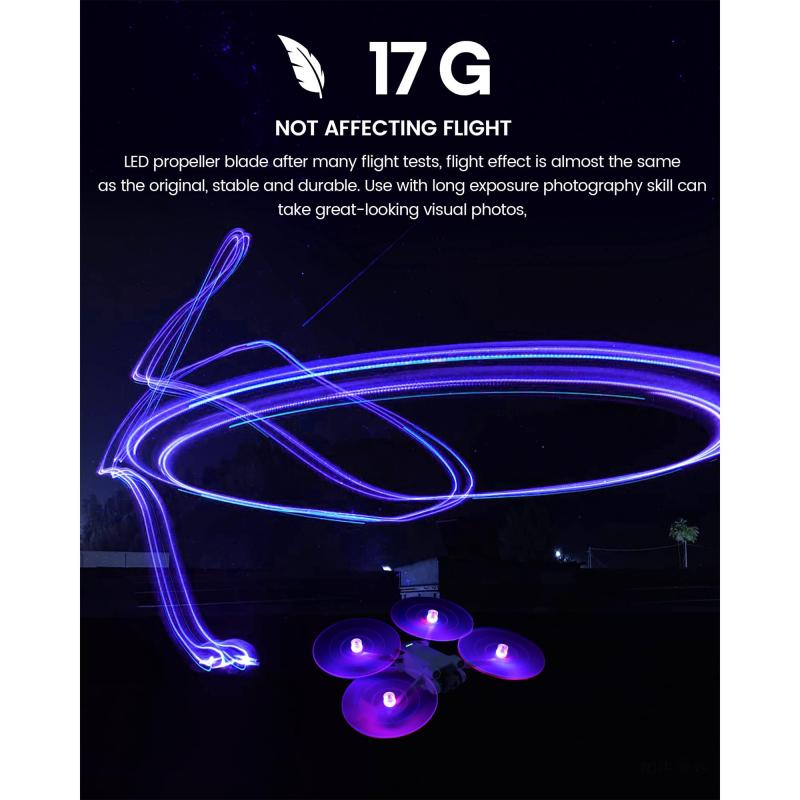
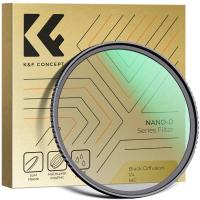
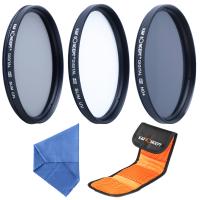
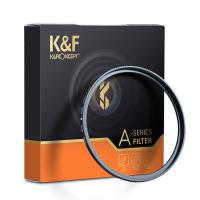
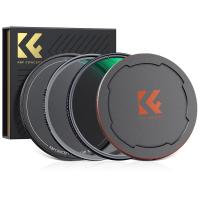
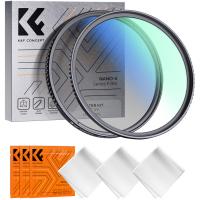
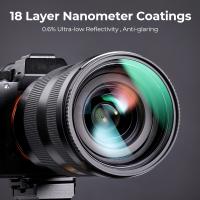
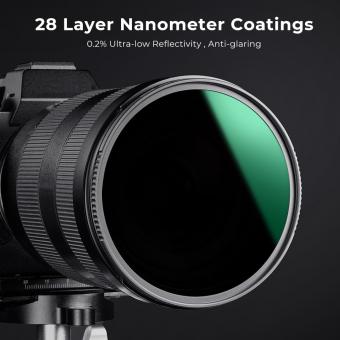
Camera propeller filters work by reducing the shutter speed of the camera, which in turn minimizes the visibility of the propeller blades in the footage. This is typically achieved through the use of neutral density (ND) filters, which limit the amount of light entering the camera lens. By reducing the light, the camera is forced to use a slower shutter speed, thereby reducing the chances of capturing the fast-moving propeller blades.
There are different types of ND filters available, ranging from ND2 to ND1000, each indicating the level of light reduction. The choice of ND filter depends on the lighting conditions and the desired effect. For instance, an ND8 filter reduces the light by three stops, making it suitable for moderately bright conditions, while an ND64 filter reduces the light by six stops, ideal for very bright environments.
Benefits of Using Camera Propeller Filters
1. Enhanced Image Quality: By minimizing the visual interference caused by propeller blades, camera propeller filters help in capturing clearer and more professional-looking footage. This is particularly important for commercial projects where high-quality visuals are paramount.
2. Improved Aesthetic Appeal: The use of ND filters can also enhance the overall aesthetic appeal of the footage by allowing for more creative control over exposure and depth of field. This can result in more visually appealing shots with balanced lighting and contrast.
3. Versatility in Shooting Conditions: Camera propeller filters enable photographers and videographers to shoot in a variety of lighting conditions without worrying about overexposure or propeller interference. This versatility is especially beneficial for outdoor shoots where lighting can be unpredictable.
4. Professionalism: Using a camera propeller filter demonstrates a commitment to quality and professionalism. It shows that the photographer or videographer is equipped with the necessary tools to handle different shooting scenarios effectively.
Choosing the Right Camera Propeller Filter
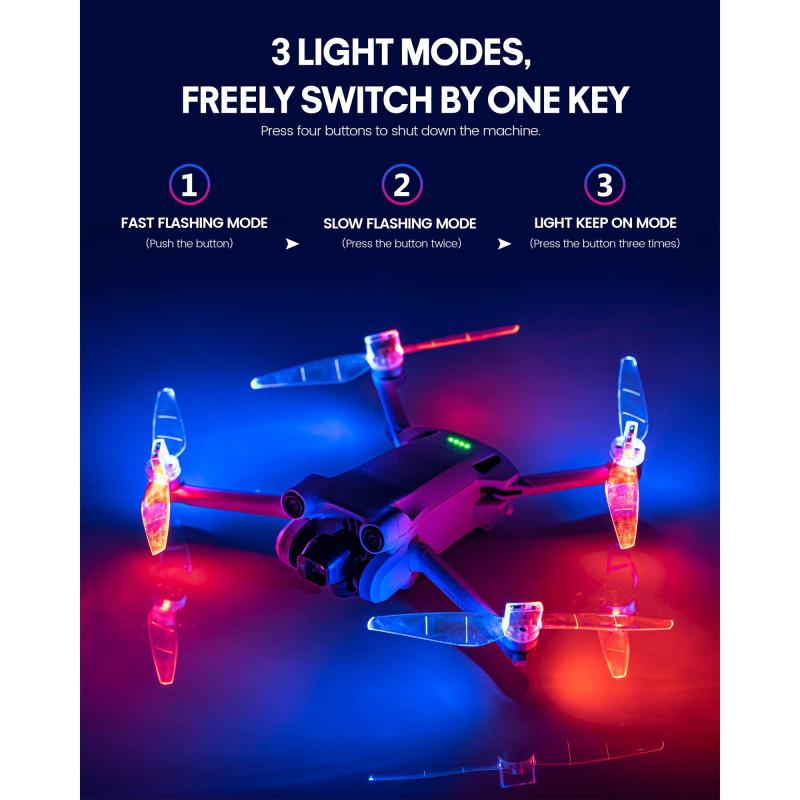
Selecting the appropriate camera propeller filter involves considering several factors:
1. Lighting Conditions: Assess the lighting conditions of your shooting environment. For bright, sunny days, a higher-density ND filter (e.g., ND64 or ND1000) may be necessary. For overcast or shaded conditions, a lower-density ND filter (e.g., ND4 or ND8) might suffice.
2. Type of Drone: Different drones have varying propeller sizes and speeds, which can affect the choice of filter. Ensure that the filter you choose is compatible with your specific drone model.
3. Desired Effect: Consider the creative effect you wish to achieve. If you want to create a motion blur effect, a higher-density ND filter will be more suitable. For minimal interference, a lower-density ND filter may be adequate.
4. Quality of the Filter: Invest in high-quality filters from reputable brands. Cheap filters may not provide the desired effect and can even degrade the image quality.
Practical Tips for Using Camera Propeller Filters
1. Test Different Filters: Experiment with different ND filters to understand their impact on your footage. This will help you determine the best filter for various shooting conditions.
2. Monitor Exposure Settings: Keep an eye on your camera’s exposure settings when using ND filters. Adjust the ISO and aperture settings as needed to achieve the desired exposure.
3. Use a Gimbal: To further enhance the stability and quality of your footage, consider using a gimbal. This will help in reducing any additional vibrations or movements caused by the drone.
4. Regular Maintenance: Clean your filters regularly to ensure they remain free of dust and smudges. This will help in maintaining the clarity and quality of your footage.
Camera propeller filters are an invaluable tool for photographers and videographers who use drones for aerial shots. By reducing the visual interference caused by propeller blades, these filters help in capturing clearer, more professional-looking footage. Whether you are shooting a commercial project or simply exploring your creative potential, investing in a high-quality camera propeller filter can significantly enhance your work.
Understanding the different types of ND filters and their applications will allow you to make informed decisions and achieve the best possible results in various shooting conditions. With the right filter and proper techniques, you can elevate your aerial photography and videography to new heights, delivering stunning visuals that captivate and impress your audience.




-340x340.jpg)


