What Is A Pinhole Camera For Kids?
In today's digital age, where high-tech gadgets and sophisticated cameras dominate the market, the simplicity and educational value of a pinhole camera often go unnoticed. However, for children, a pinhole camera can be an excellent tool to understand the basics of photography, optics, and even physics. This article aims to delve into what a pinhole camera is, its educational benefits for kids, and how to make one at home.
What is a Pinhole Camera?
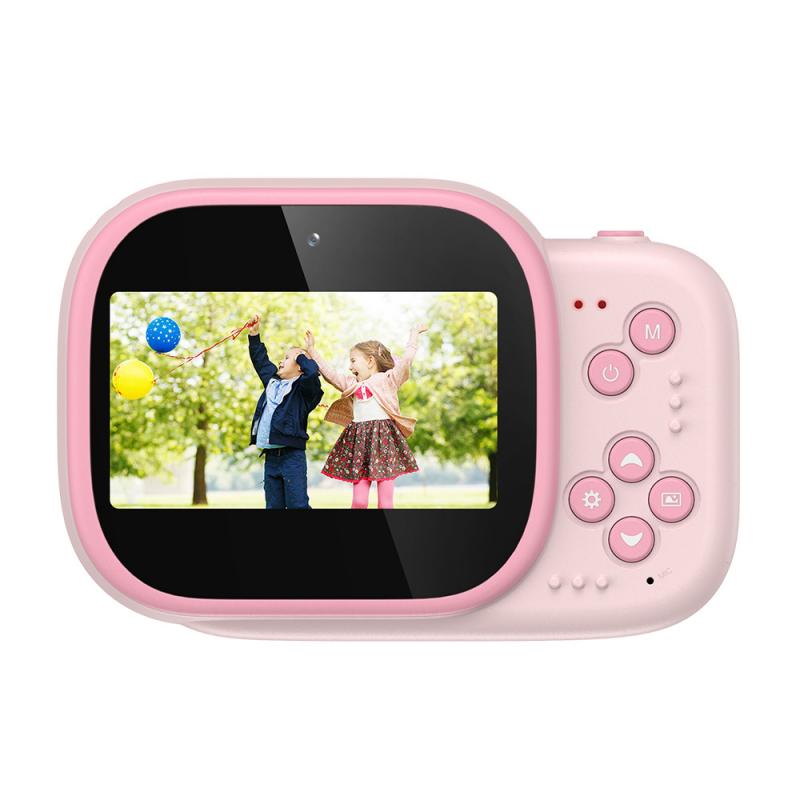
A pinhole camera is a simple type of camera without a lens but with a tiny aperture—a pinhole. Light from a scene passes through this single point and projects an inverted image on the opposite side of the box or container. The concept is based on the principle of camera obscura, which dates back to ancient times. Despite its simplicity, a pinhole camera can produce surprisingly clear and detailed images.
Educational Benefits of a Pinhole Camera for Kids
Understanding Basic Photography
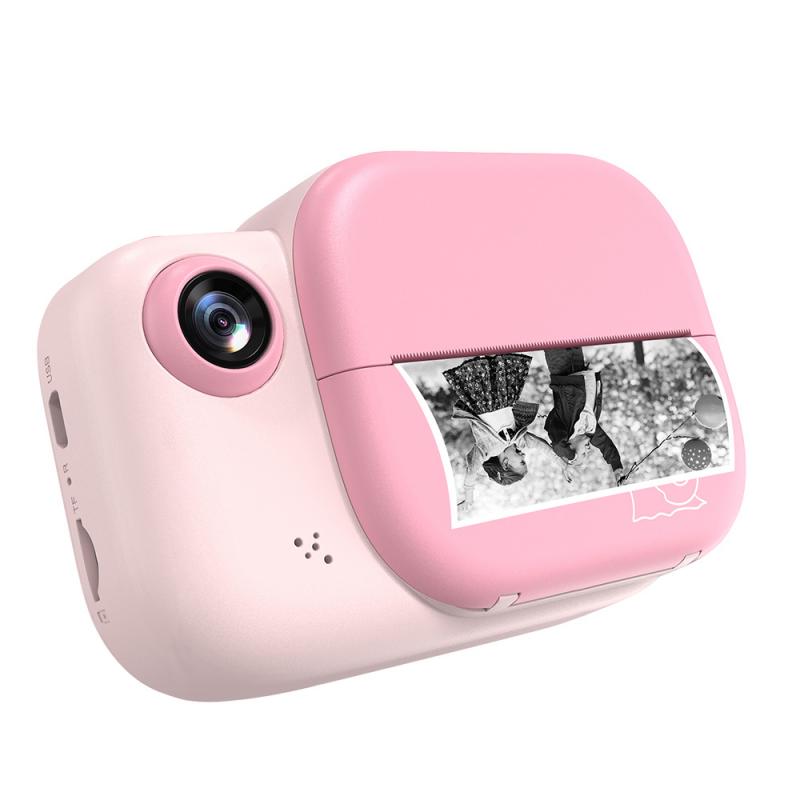
One of the primary educational benefits of a pinhole camera is that it introduces children to the fundamentals of photography. Unlike digital cameras, which automate most processes, a pinhole camera requires manual operation. This hands-on experience helps kids understand how light interacts with surfaces to create images.
Learning About Optics
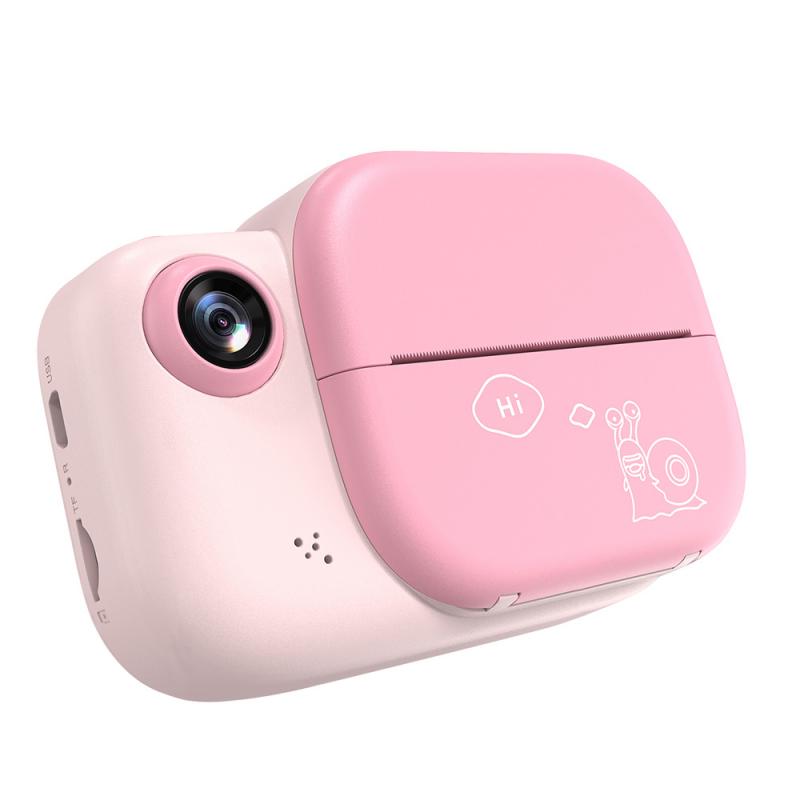
A pinhole camera is an excellent tool for teaching children about the principles of optics. By experimenting with different sizes of pinholes and distances between the pinhole and the projection surface, kids can observe how these variables affect the clarity and size of the image. This hands-on learning can make abstract concepts more tangible.
Encouraging Creativity
Building and using a pinhole camera can stimulate a child's creativity. From designing the camera body to choosing subjects to photograph, the entire process encourages imaginative thinking. Moreover, the unique, often ethereal quality of pinhole photographs can inspire kids to explore artistic photography.
Developing Patience and Precision
Using a pinhole camera requires a level of patience and precision that can be beneficial for children. The process of setting up the camera, waiting for the right lighting conditions, and developing the photographs (if using photographic paper) teaches kids the value of careful planning and attention to detail.
How to Make a Pinhole Camera at Home
Creating a pinhole camera at home is a fun and educational project that can be done with readily available materials. Here’s a step-by-step guide to making a simple pinhole camera:
Materials Needed
- A small box or container (a shoebox works well)
- Aluminum foil
- Black tape
- A pin or needle
- Photographic paper or film
- Scissors
- A piece of black construction paper
Step-by-Step Instructions
1. Prepare the Box: Paint the inside of the box black or line it with black construction paper to prevent light reflections. This will ensure a clearer image.
2. Create the Pinhole: Cut a small square (about 1 inch by 1 inch) from the center of one side of the box. Cover this hole with a piece of aluminum foil and tape it securely. Use a pin or needle to make a tiny hole in the center of the foil. This will be your pinhole.
3. Make the Shutter: Cut a small piece of black tape to act as a shutter. You can place this over the pinhole to control the exposure time.
4. Insert the Photographic Paper: In a dark room, tape a piece of photographic paper or film to the inside of the box, opposite the pinhole. Make sure the emulsion side is facing the pinhole.
5. Seal the Box: Close the box securely to ensure no light can enter except through the pinhole.
6. Take a Photograph: Point the pinhole camera at your subject and remove the tape shutter to expose the photographic paper. The exposure time can vary depending on the lighting conditions but generally ranges from a few seconds to a few minutes.
7. Develop the Image: If you are using photographic paper, you will need to develop it using standard photographic chemicals. If you are using film, follow the appropriate developing process.
Practical Tips for Using a Pinhole Camera
Experiment with Exposure Times
One of the most critical aspects of using a pinhole camera is getting the exposure time right. Too short an exposure will result in an underexposed image, while too long an exposure will overexpose it. Encourage kids to experiment with different exposure times to see how it affects the final image.
Try Different Pinhole Sizes
The size of the pinhole can significantly impact the image quality. A smaller pinhole will produce a sharper image but will require a longer exposure time. Conversely, a larger pinhole will allow more light to enter, reducing the exposure time but resulting in a blurrier image. Experimenting with different pinhole sizes can be a valuable learning experience.
Use a Tripod
To avoid blurry images, it's essential to keep the pinhole camera steady during exposure. Using a tripod or placing the camera on a stable surface can help achieve this.
Explore Different Subjects
Encourage kids to photograph a variety of subjects, from landscapes to close-up objects. This will help them understand how different lighting conditions and distances affect the final image.
A pinhole camera is more than just a simple photographic device; it's a powerful educational tool that can teach children about the basics of photography, optics, and even patience and creativity. By building and using a pinhole camera, kids can gain a deeper understanding of how images are formed and develop a greater appreciation for the art and science of photography. So, gather some materials, follow the steps outlined above, and embark on a fun and educational journey into the world of pinhole photography with your kids.

