What Is Studio Flash Lighting In Photography?
Studio flash lighting is a cornerstone of professional photography, providing photographers with the ability to control and manipulate light to achieve desired effects. This article delves into the intricacies of studio flash lighting, exploring its components, benefits, and practical applications. Whether you're a budding photographer or a seasoned professional, understanding studio flash lighting can significantly enhance your photographic skills and outcomes.
Understanding Studio Flash Lighting
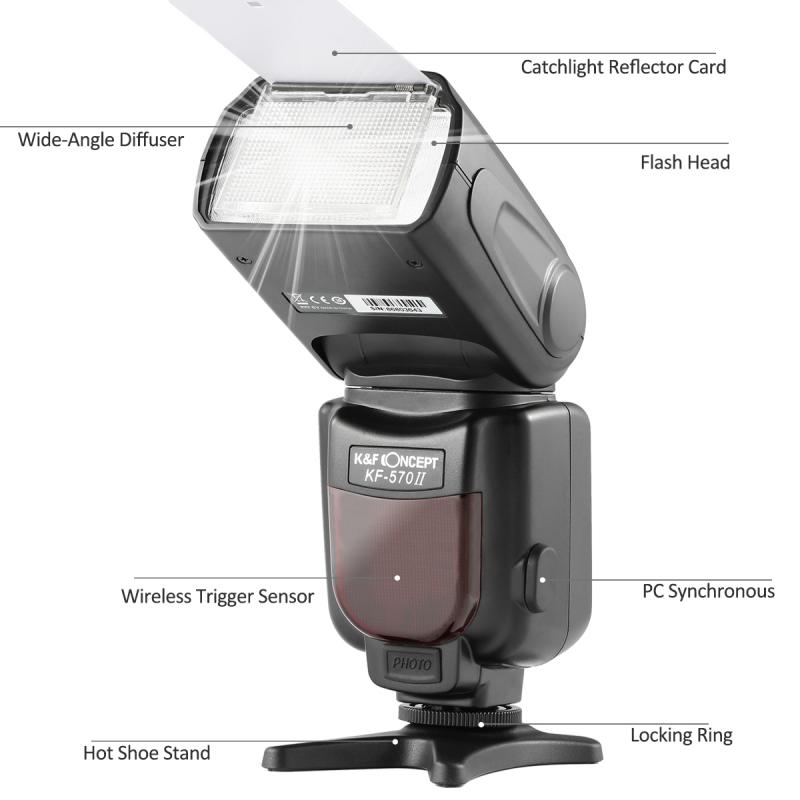
Studio flash lighting, also known as strobe lighting, is a type of artificial light used in photography studios. Unlike continuous lighting, which remains on throughout the shoot, studio flash lighting emits a brief, intense burst of light. This burst can be precisely controlled in terms of duration, intensity, and direction, making it an invaluable tool for photographers.
Components of Studio Flash Lighting
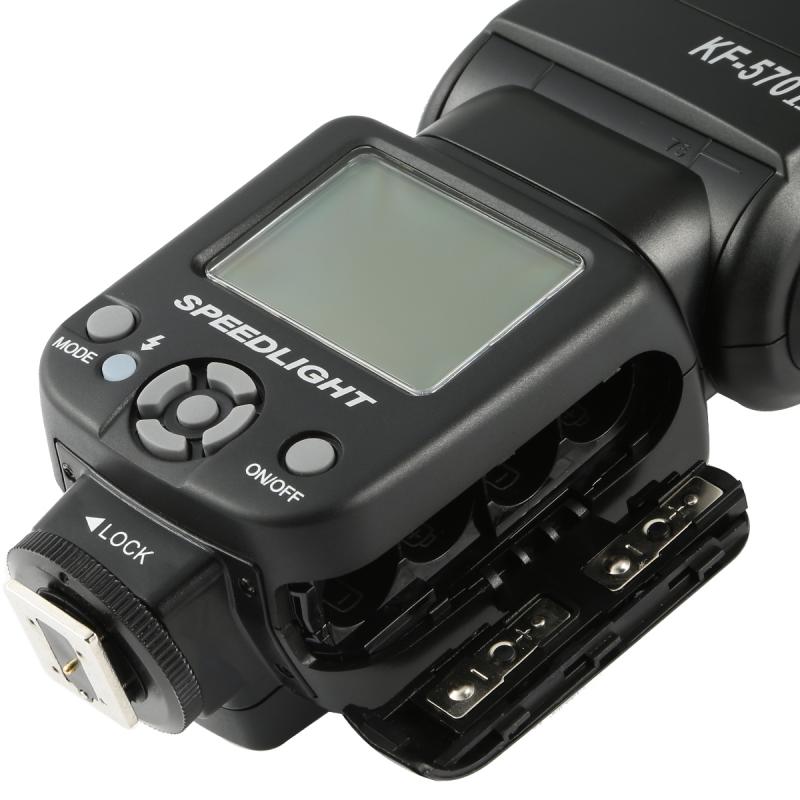
1. Flash Head: The core component that produces the flash of light. It typically includes a flash tube, modeling light, and a reflector.
2. Power Pack: Supplies power to the flash head. Some systems have built-in power packs, while others use separate units.
3. Light Modifiers: These include softboxes, umbrellas, and reflectors that shape and diffuse the light to achieve different effects.
4. Triggers and Sync Cords: Devices that synchronize the camera with the flash, ensuring the light fires at the precise moment the shutter is released.
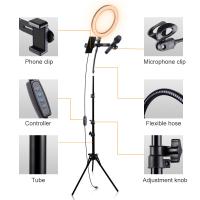
5. Stands and Mounts: Equipment to position and secure the flash heads and modifiers.
Benefits of Studio Flash Lighting
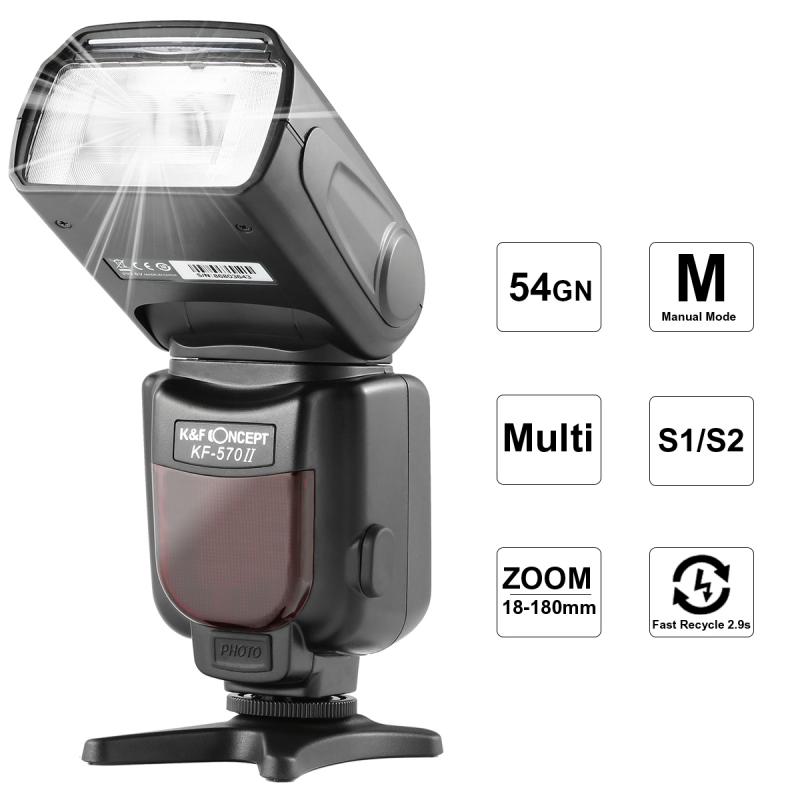
1. Control Over Lighting: Studio flash lighting allows photographers to control the intensity, direction, and quality of light. This control is crucial for creating consistent and professional-looking images.
2. Freeze Motion: The brief duration of the flash can freeze fast-moving subjects, making it ideal for capturing sharp images of dynamic scenes.
3. Versatility: With various light modifiers, photographers can create a wide range of lighting effects, from soft and diffused to hard and dramatic.
4. Color Accuracy: Studio flash lighting typically offers better color accuracy compared to continuous lighting, which can be affected by ambient light sources.
Practical Applications of Studio Flash Lighting
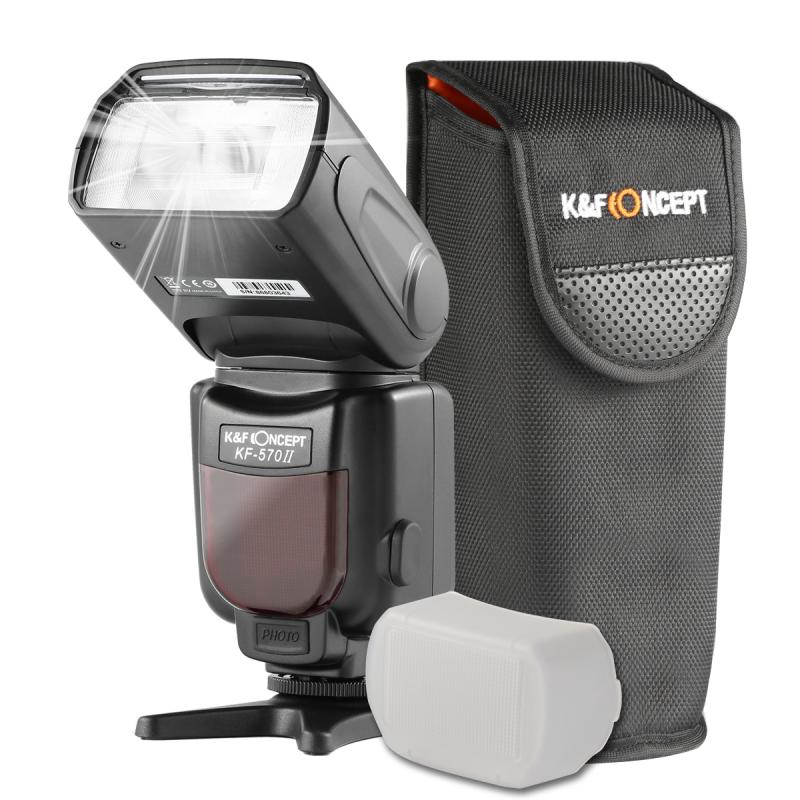
1. Portrait Photography: Studio flash lighting is widely used in portrait photography to create flattering and well-lit images. By adjusting the position and intensity of the lights, photographers can highlight facial features and create desired shadows.
2. Product Photography: In product photography, studio flash lighting ensures that products are evenly lit, highlighting their features and details. This is particularly important for e-commerce and advertising.
3. Fashion Photography: Fashion photographers use studio flash lighting to create dramatic and high-contrast images that showcase clothing and accessories.
4. Event Photography: While not as common as in-studio use, portable studio flash systems can be used in event photography to provide consistent lighting in various environments.
Setting Up Studio Flash Lighting
1. Determine the Lighting Setup: Decide on the number of lights and their positions. Common setups include one-light, two-light, and three-light configurations.
2. Position the Lights: Place the main light (key light) to one side of the subject to create depth and dimension. Add fill lights to reduce shadows and background lights to separate the subject from the background.
3. Adjust the Power: Set the power levels of each light to achieve the desired exposure. Use a light meter to measure the light intensity and ensure consistent results.
4. Modify the Light: Attach light modifiers to shape and diffuse the light. Experiment with different modifiers to achieve various effects.
5. Test and Adjust: Take test shots and adjust the lighting setup as needed. Pay attention to shadows, highlights, and overall exposure.
Tips for Using Studio Flash Lighting
1. Understand Light Ratios: Learn about light ratios and how they affect the contrast and mood of your images. A higher ratio creates more contrast, while a lower ratio produces softer lighting.
2. Use a Light Meter: A light meter helps measure the intensity of light and ensures accurate exposure. This is especially important when using multiple lights.
3. Experiment with Modifiers: Different light modifiers can drastically change the look of your images. Experiment with softboxes, umbrellas, and reflectors to find the best setup for your needs.
4. Practice Posing: Work with your subjects to find flattering poses that complement the lighting setup. Good communication and direction are key to achieving the desired results.
5. Stay Consistent: Consistency is crucial in studio photography. Keep detailed notes of your lighting setups and settings to replicate successful shots in future sessions.
Common Challenges and Solutions
1. Overexposure: If your images are too bright, reduce the power of the flash or move the lights further away from the subject. You can also use neutral density filters to decrease the light intensity.
2. Underexposure: If your images are too dark, increase the power of the flash or move the lights closer to the subject. Ensure that your camera settings (aperture, shutter speed, ISO) are appropriate for the lighting conditions.
3. Harsh Shadows: To soften shadows, use larger light modifiers or add fill lights. Adjust the angle and distance of the lights to achieve a more even illumination.
4. Color Casts: Ensure that your flash lighting matches the color temperature of any ambient light sources. Use gels or adjust the white balance settings on your camera to correct color casts.
Studio flash lighting is an essential tool for photographers seeking to elevate their work to a professional level. By understanding the components, benefits, and practical applications of studio flash lighting, photographers can gain greater control over their images and achieve consistent, high-quality results. Whether you're shooting portraits, products, or fashion, mastering studio flash lighting will open up new creative possibilities and enhance your photographic skills. With practice and experimentation, you'll be able to harness the power of studio flash lighting to create stunning and impactful images.


