What Nd Filter To Photograph The Sun?
Photographing the sun is a fascinating yet challenging endeavor that requires careful consideration of equipment and techniques to ensure both safety and quality. One of the most critical components in this process is the use of Neutral Density (ND) filters. These filters reduce the amount of light entering the camera lens, allowing for proper exposure and protection of both the camera sensor and the photographer's eyes. In this article, we will delve into the various aspects of using ND filters for solar photography, including the types of ND filters, their strengths, and practical tips for achieving the best results.
Understanding ND Filters
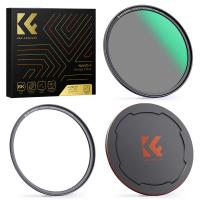
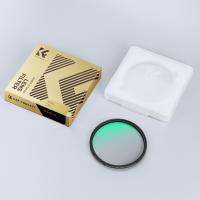
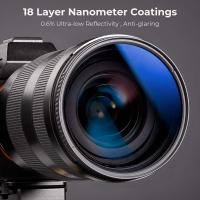
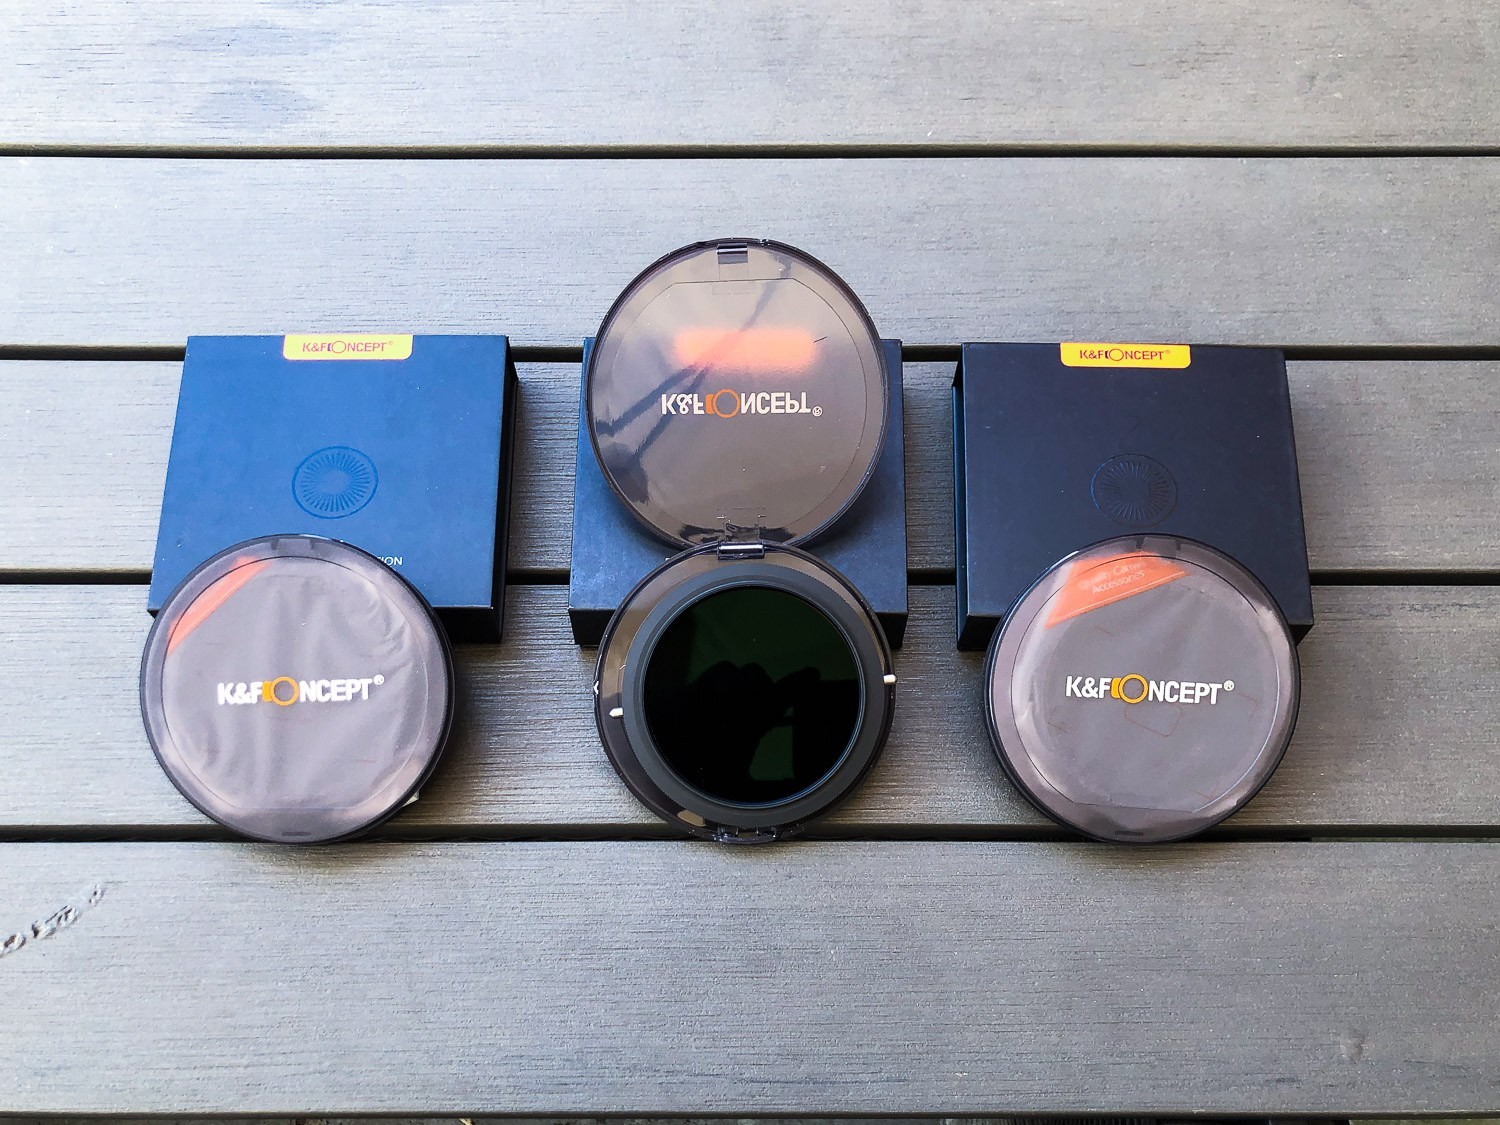
Neutral Density filters are optical filters that reduce the intensity of all wavelengths or colors of light equally, without altering the color balance of the scene. They are essential in situations where the light is too bright to achieve a correct exposure with the camera settings alone. ND filters come in various strengths, typically measured in stops, which indicate how much light they block. For example, an ND2 filter reduces the light by one stop, an ND4 by two stops, and so on.
Types of ND Filters for Solar Photography
When it comes to photographing the sun, not all ND filters are created equal. The sun is an extremely bright object, and standard ND filters used for landscape photography may not provide sufficient light reduction. Here are the types of ND filters that are most commonly used for solar photography:
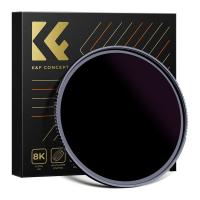
1. Solar ND Filters: These are specifically designed for solar observation and photography. They offer extremely high light reduction, often in the range of ND100000 (16.5 stops) or more. These filters are essential for safely capturing detailed images of the sun without damaging your camera sensor or your eyes.
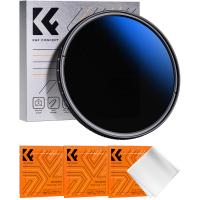
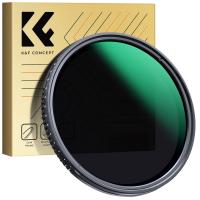
2. Variable ND Filters: While not typically recommended for direct solar photography due to potential uneven light reduction and risk of damage, some high-quality variable ND filters can be used in conjunction with other solar filters for partial solar photography, such as during sunrise or sunset when the sun's intensity is lower.
3. Stacked ND Filters: In some cases, photographers may stack multiple ND filters to achieve the desired light reduction. For example, combining an ND1000 (10 stops) with an ND64 (6 stops) can provide a total of 16 stops of light reduction. However, this method can introduce issues such as vignetting and reduced image quality.
Choosing the Right ND Filter
Selecting the appropriate ND filter for solar photography depends on several factors, including the time of day, atmospheric conditions, and the specific details you wish to capture. Here are some guidelines to help you choose the right ND filter:
1. Daytime Solar Photography: For photographing the sun during the day, a dedicated solar ND filter with at least ND100000 (16.5 stops) is recommended. This level of light reduction ensures that the sun's brightness is sufficiently diminished to prevent sensor damage and achieve proper exposure.
2. Partial Solar Photography: During sunrise or sunset, the sun's intensity is lower, and you may be able to use a combination of standard ND filters. For example, an ND1000 (10 stops) combined with an ND64 (6 stops) can be effective. However, always exercise caution and never look directly at the sun through the camera viewfinder without proper solar filtration.
3. Solar Eclipses: For capturing solar eclipses, a solar ND filter is essential. The filter should be in place during all phases of the eclipse, except for the brief moments of totality when the sun is completely obscured by the moon. During totality, you can safely remove the filter to capture the corona and other details.
Practical Tips for Solar Photography
Photographing the sun requires not only the right equipment but also careful planning and technique. Here are some practical tips to help you achieve the best results:
1. Safety First: Never look directly at the sun through your camera's optical viewfinder without a proper solar filter. Use live view mode or an electronic viewfinder if available. Always ensure that your solar filter is securely attached and free of any damage.
2. Use a Tripod: A sturdy tripod is essential for solar photography to keep your camera stable and avoid any movement that could blur your images. This is especially important when using long focal lengths.
3. Manual Focus: Autofocus may struggle with the intense light of the sun, so switch to manual focus. Use live view mode to zoom in and fine-tune the focus for sharp details.
4. Exposure Settings: Start with a low ISO setting (e.g., ISO 100) and a small aperture (e.g., f/16) to minimize the amount of light entering the camera. Adjust the shutter speed to achieve the correct exposure. Bracketing your shots can help ensure you capture a range of exposures to choose from.
5. Post-Processing: Solar images often benefit from post-processing to enhance details and contrast. Use software like Adobe Lightroom or Photoshop to adjust levels, curves, and sharpness. Be cautious not to over-process, as this can introduce artifacts and reduce image quality.
Photographing the sun is a rewarding yet challenging pursuit that requires careful preparation and the right equipment. ND filters play a crucial role in safely capturing solar images, and choosing the appropriate filter is essential for achieving the best results. Whether you are photographing the sun during the day, at sunrise or sunset, or during a solar eclipse, understanding the types and strengths of ND filters will help you make informed decisions and capture stunning images of our closest star. Always prioritize safety, use proper techniques, and enjoy the process of exploring the fascinating world of solar photography.

