What's A Good Lighting Budget Video?
When it comes to creating a good lighting setup for video production on a budget, there are several important factors to consider. Proper lighting is one of the most crucial elements in achieving professional-looking videos, as it can make or break the quality of your production. Fortunately, you don’t need an expensive lighting kit to achieve great results. In this article, we’ll explore how you can set up effective lighting for your videos while keeping costs low, discuss the different types of lighting you can use, and provide practical tips for maximizing your budget without sacrificing quality.
Understanding the Basics of Lighting for Video
Before diving into specific products or setups, it’s essential to understand the basic principles of lighting. There are three main types of lighting used in video production:
1. Key Light: This is your primary light source, typically positioned in front of the subject. It provides the main illumination and establishes the overall mood of the scene.
2. Fill Light: The fill light helps soften shadows created by the key light. It’s usually positioned at an angle to the key light to provide additional light without overpowering the subject.
3. Back Light (or Rim Light): This light is placed behind the subject to create separation from the background and add depth to the shot.
In addition to these, you may also use background lighting to enhance the setting or add color effects, but for budget-friendly setups, focusing on the first three types is usually sufficient.
Essential Lighting Equipment on a Budget
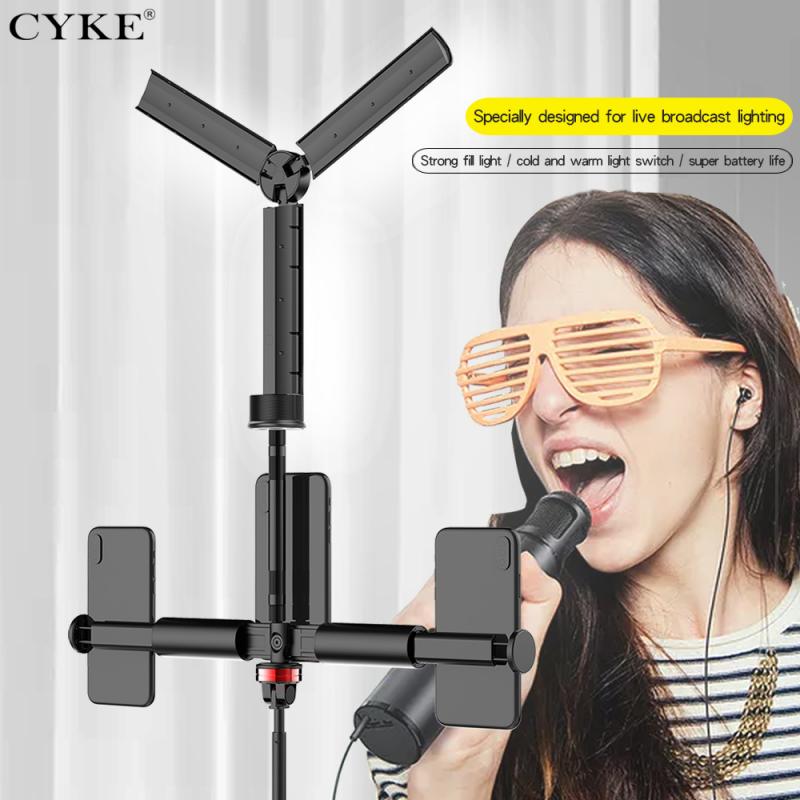
While high-end professional lighting kits can cost thousands of dollars, you can still create a great video setup with a modest budget. Below, we’ll go over some essential types of lights that won’t break the bank.
1. LED Panel Lights
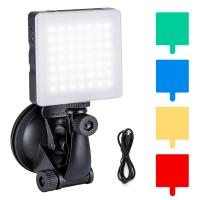
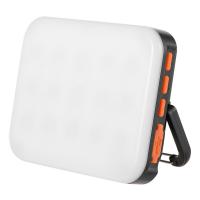
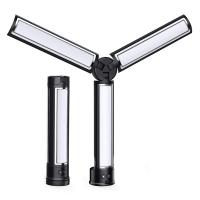
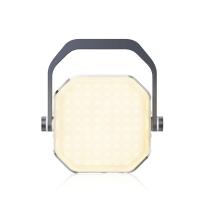
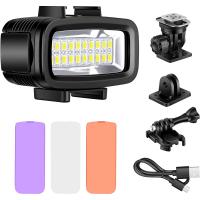
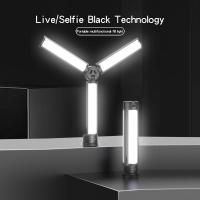
LED panel lights are a popular choice for affordable video lighting. These lights are energy-efficient, portable, and produce a consistent light output. You can find budget-friendly LED panels that come with adjustable brightness and color temperature controls. These features allow you to fine-tune the lighting based on the environment or the mood you want to create.
- Pros: Compact, adjustable, relatively inexpensive, cool to the touch, long-lasting
- Cons: Can sometimes have limited power output compared to more expensive options
Many budget-friendly LED panel lights come with built-in color temperature adjustment, meaning you can control whether the light is warm (yellowish) or cool (blueish). This versatility allows you to mimic natural lighting, which is essential when filming indoors or in varying light conditions.
For around $50-$150, you can find quality LED lights from brands like Neewer, GVM, or Viltrox that are highly rated for YouTube videos, tutorials, and interviews.
2. Softbox Lights
Softboxes are another affordable option that’s perfect for diffusing light. They create a soft, even light source that’s flattering for the subject, which is why they’re often used for portrait or interview-style videos. A softbox works by diffusing the light from a bulb or LED panel, reducing harsh shadows and creating a more natural, appealing look.
- Pros: Softens the light, flattering on skin tones, inexpensive
- Cons: Bulky, not as portable as LED panels
Softbox kits can range from $30 to $150, depending on size and brand. The bigger the softbox, the more even and diffused the light will be. A good setup typically includes at least one softbox as the key light, with another for fill or background lighting.
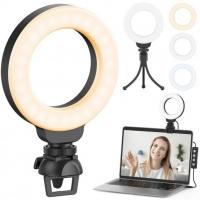
3. Ring Lights
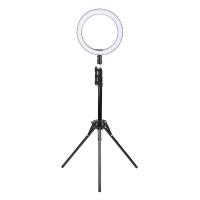
For solo creators, YouTubers, and content producers who focus on vlogging or beauty tutorials, a ring light can be a fantastic option. Ring lights create a flattering, uniform light source that’s especially great for face-focused shots. Their circular shape casts an even light across the subject’s face, reducing shadows and highlighting the eyes.
- Pros: Even lighting, excellent for close-up shots, portable
- Cons: Limited coverage for larger scenes, may need additional lights for fill or background
Ring lights are highly affordable, typically priced between $50 and $200. If you’re filming primarily headshots or close-up shots, a ring light can be an excellent tool to improve your video quality.
4. Clamp Lights or DIY Lighting
For the ultimate budget setup, you can use simple clamp lights with inexpensive LED bulbs. These lights are highly versatile because you can attach them almost anywhere and adjust the angle easily. To soften the light, you can use a DIY diffusion material, such as a shower curtain, white bedsheet, or frosted plastic. While this setup may not be as professional as a dedicated lighting kit, it can work surprisingly well if used creatively.
- Pros: Extremely affordable, customizable, easy to set up
- Cons: Requires some DIY work, may not produce the most even light
A basic clamp light setup can cost as little as $10 to $30, and you can use it alongside your existing lights to fill in shadows or illuminate the background.
Positioning Your Lights for Best Effect
Lighting placement is just as important as the equipment you use. Poorly positioned lights can create unwanted shadows or make your video look flat and unprofessional. Here are some common configurations for different types of videos:
1. Basic 3-Point Lighting Setup
This is a classic lighting setup used in many types of video production. The three-point system involves using a key light, fill light, and back light.
- Key Light: Place your primary light about 45 degrees to the left or right of the subject at a 45-degree angle above their head. This creates natural-looking shadows and depth.
- Fill Light: Position the fill light opposite the key light, at about the same height. The goal of the fill light is to soften shadows without eliminating them entirely.
- Back Light: Place this light behind the subject to separate them from the background and create a sense of depth. It also adds a rim of light around the subject's head or shoulders.
This setup works well for interviews, talking-head videos, and general content creation.
2. YouTuber Lighting Setup
For YouTubers, particularly those doing tutorials, unboxings, or gaming videos, the main focus is usually on the face. For a simple and effective setup, you can use a ring light as the key light and a softbox or LED panel as the fill light.
- Key Light: Position the ring light directly in front of you, slightly above eye level, so it highlights your face and reduces shadows.
- Fill Light: Use a softbox or LED panel to soften any harsh shadows created by the ring light.
- Back Light: If you want to add more depth, you can place a small LED panel behind you.
This setup is budget-friendly and will work well for most solo video production needs.
3. Product Photography or B-Roll Lighting
For shooting products or B-roll (secondary footage), lighting needs to be more focused on even distribution without harsh shadows. You can use softboxes or LED panels placed at different angles to light the product uniformly.
- Key Light: Position the key light above or to the side of the product at a 45-degree angle to avoid reflections or harsh shadows.
- Fill Light: Use a softbox or LED panel on the opposite side to reduce shadows and ensure the product is evenly lit.
- Back Light: Use a backlight to separate the product from the background and add contrast.
Additional Tips for Budget Lighting
1. White Reflectors: If you can’t afford multiple lights, reflectors are a great way to bounce light back onto the subject. You can buy inexpensive reflectors or even use white foam boards or silver/gold-colored surfaces to add a natural glow to your setup.
2. Use Natural Light: If you're shooting indoors during the day, use windows and natural light as a key source. However, make sure to diffuse it (with curtains or a diffuser) to avoid harsh shadows and uneven lighting.
3. Avoid Over-lighting: It's tempting to use every light you have, but too much light can wash out your subject. Keep it subtle and aim for a balance between highlights and shadows.
4. Use Gels or Filters: If you're using basic light sources (like LED panels or clamp lights), you can add color gels to adjust the lighting temperature or create different moods.
Conclusion: Achieving Great Video Lighting Without Breaking the Bank
Good lighting is crucial for creating high-quality videos, but that doesn’t mean you need an expensive professional setup. With a few affordable tools like LED panel lights, softboxes, and ring lights, combined with some clever DIY tricks, you can create a professional-looking lighting setup on a tight budget. The key is to experiment with different setups and positioning to see what works best for your content and environment.
By understanding the basic principles of lighting and choosing the right equipment for your needs, you can significantly improve the quality of your videos. Remember, good lighting is not just about illuminating your subject—it's about creating mood, depth, and a visually appealing scene that engages your audience.













There are no comments for this blog.