Where Can I Find My Camera In Laptop?
In today's digital age, laptops have become an essential tool for both personal and professional use. One of the key features of modern laptops is the built-in camera, which is crucial for video conferencing, online classes, and even casual video chats with friends and family. However, many users often find themselves puzzled about where to locate their laptop camera and how to ensure it is functioning correctly. This article aims to provide a comprehensive guide on finding and using your laptop camera, addressing common issues, and offering practical solutions.
Locating the Camera on Your Laptop
The first step in using your laptop camera is to locate it. Most modern laptops come with a built-in camera, typically positioned at the top center of the screen bezel. This placement is ideal for capturing your face during video calls. Here are some steps to help you find it:
1. Visual Inspection: Open your laptop and look at the top center of the screen bezel. You should see a small lens, which is the camera. Some laptops also have a small LED light next to the camera that lights up when the camera is in use.
2. Check the Specifications: If you can't find the camera through a visual inspection, refer to your laptop's user manual or the manufacturer's website. The specifications section will usually indicate whether your laptop has a built-in camera and its location.
3. Look for a Camera Icon: Some laptops have a small camera icon or an indentation around the camera area, making it easier to identify.
Ensuring Your Camera is Enabled
Once you've located the camera, the next step is to ensure it is enabled and functioning correctly. Here are some steps to follow:
1. Check the Privacy Shutter: Some laptops come with a physical privacy shutter that covers the camera for security reasons. Make sure this shutter is open.
2. Enable the Camera in Settings:
- Windows: Go to `Settings` > `Privacy` > `Camera`. Ensure that the camera access for the device is turned on and that apps are allowed to use the camera.
- Mac: Go to `System Preferences` > `Security & Privacy` > `Camera`. Ensure that the camera access is enabled for the apps you want to use.
3. Update Camera Drivers: Outdated or missing drivers can cause the camera to malfunction. To update the drivers:
- Windows: Open `Device Manager`, find `Imaging devices`, right-click on your camera, and select `Update driver`.
- Mac: macOS usually handles driver updates automatically, but ensure your system is up to date by going to `System Preferences` > `Software Update`.
Testing Your Camera
Before you start using your camera for important meetings or classes, it's a good idea to test it to ensure it is working correctly. Here are some ways to test your camera:
1. Built-in Camera App:
- Windows: Use the `Camera` app. Open the Start menu, type `Camera`, and select the app. You should see a live feed from your camera.
- Mac: Use the `Photo Booth` app. Open `Applications`, find `Photo Booth`, and launch it. You should see a live feed from your camera.
2. Online Camera Test: There are several websites that allow you to test your camera online. Simply search for "online camera test" and follow the instructions on the website.
3. Video Conferencing Apps: Most video conferencing apps like Zoom, Skype, and Microsoft Teams have built-in camera testing features. Open the app, go to the settings or preferences, and look for the video or camera section to test your camera.
Troubleshooting Common Camera Issues
Despite following the above steps, you might still encounter issues with your laptop camera. Here are some common problems and their solutions:
1. Camera Not Detected:
- Ensure the camera is enabled in the device settings.
- Check for any physical obstructions or privacy shutters.
- Update or reinstall the camera drivers.
2. Camera Shows a Black Screen:
- Restart your laptop to reset the camera.
- Close any other apps that might be using the camera.
- Check the camera settings in the app you are using to ensure the correct camera is selected.
3. Poor Image Quality:
- Clean the camera lens with a soft, dry cloth.
- Ensure you have adequate lighting in the room.
- Adjust the camera settings in the app you are using to improve image quality.
4. Camera Not Working After Windows Update:
- Sometimes, Windows updates can cause issues with the camera. Roll back the update or check for any new updates that might fix the issue.
- Reinstall the camera drivers.
Enhancing Your Camera Experience
To get the most out of your laptop camera, consider the following tips:
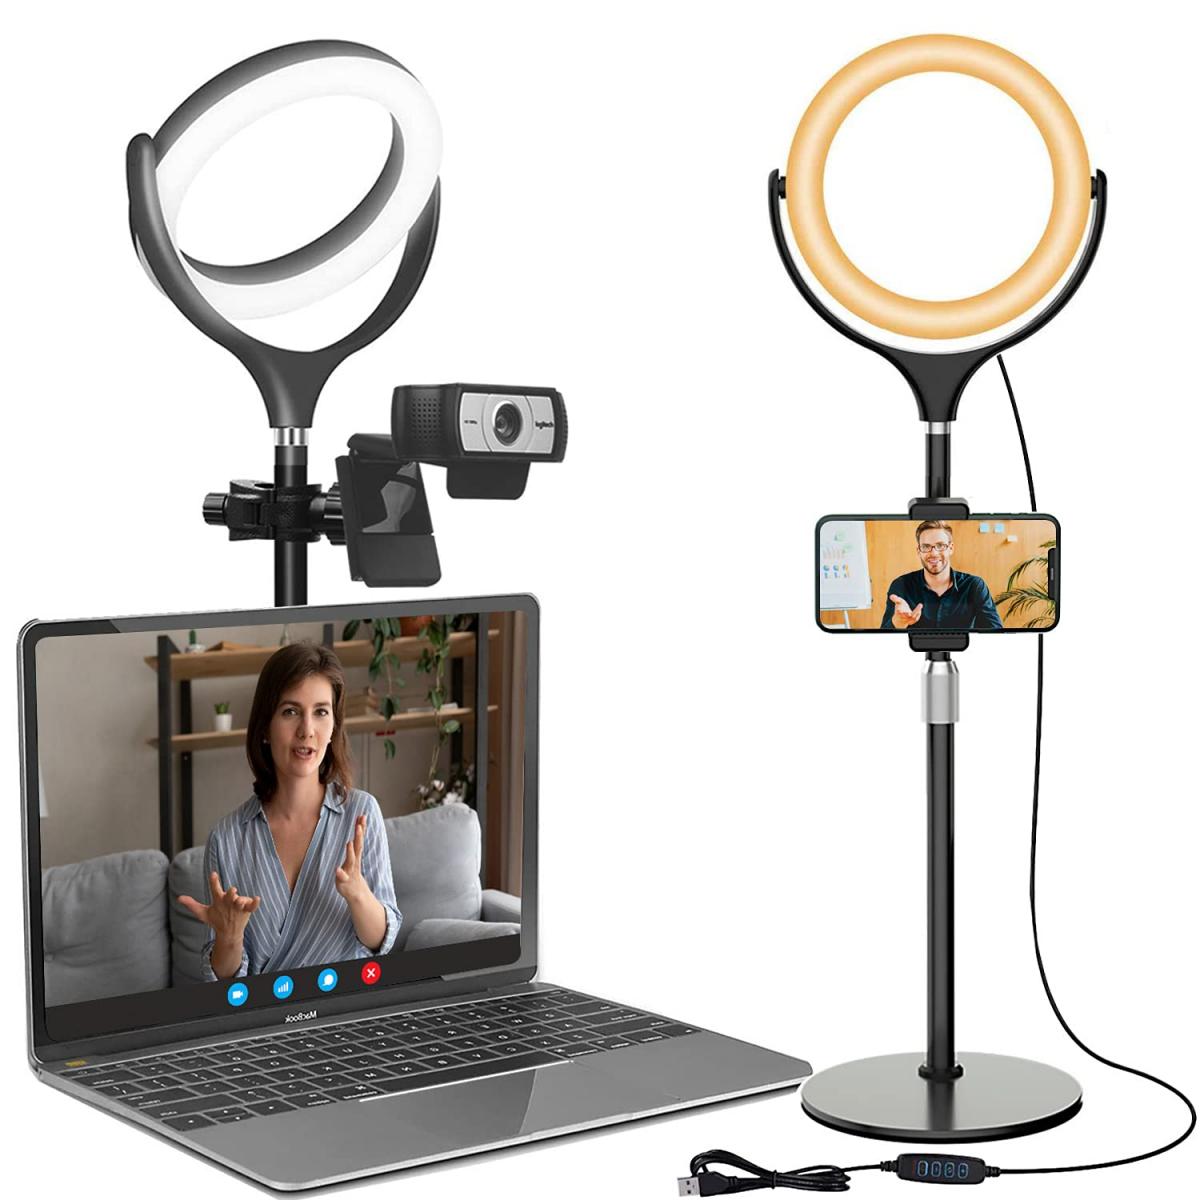
1. Use External Lighting: Good lighting can significantly improve the quality of your video. Consider using a ring light or positioning yourself near a window for natural light.
2. Adjust Camera Angle: Ensure the camera is at eye level to create a more natural and engaging video experience.
3. Use External Microphone: While most laptop cameras come with built-in microphones, using an external microphone can improve audio quality.
4. Background and Environment: Choose a clean and professional background for your video calls. Avoid clutter and distractions.
Finding and using your laptop camera doesn't have to be a daunting task. By following the steps outlined in this guide, you can easily locate your camera, ensure it is enabled, test its functionality, and troubleshoot common issues. With a few additional tips to enhance your camera experience, you'll be well-prepared for any video conferencing, online classes, or virtual hangouts that come your way. Remember, the key to a successful video call is not just the camera itself, but also the environment and settings you choose to complement it.










There are no comments for this blog.