Where To Install Sd Card On Switch?
The Nintendo Switch is a versatile gaming console that has captured the hearts of millions of gamers worldwide. One of its key features is the ability to expand its storage capacity using a microSD card. However, many users often find themselves puzzled about where and how to install the SD card on their Switch. In this article, we will provide a comprehensive guide on installing an SD card on your Nintendo Switch, addressing common questions and concerns, and offering practical tips to ensure a smooth experience.
Understanding the Need for an SD Card
Before diving into the installation process, it's essential to understand why you might need an SD card for your Nintendo Switch. The console comes with a limited amount of internal storage—32GB for the standard model and 64GB for the OLED model. With the increasing size of game files and downloadable content (DLC), this storage can quickly fill up. An SD card allows you to expand your storage capacity, enabling you to download and store more games, updates, and other content without worrying about running out of space.
Choosing the Right SD Card
Not all SD cards are created equal, and choosing the right one for your Nintendo Switch is crucial for optimal performance. Here are some factors to consider:
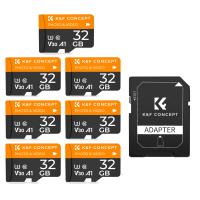
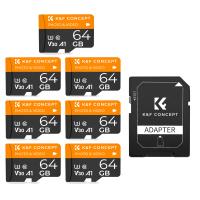
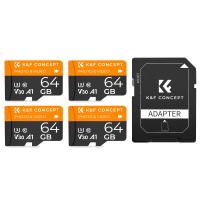
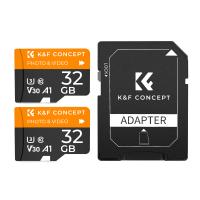
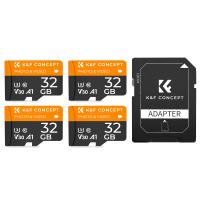
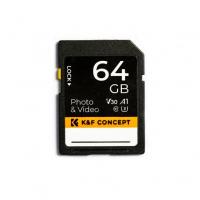
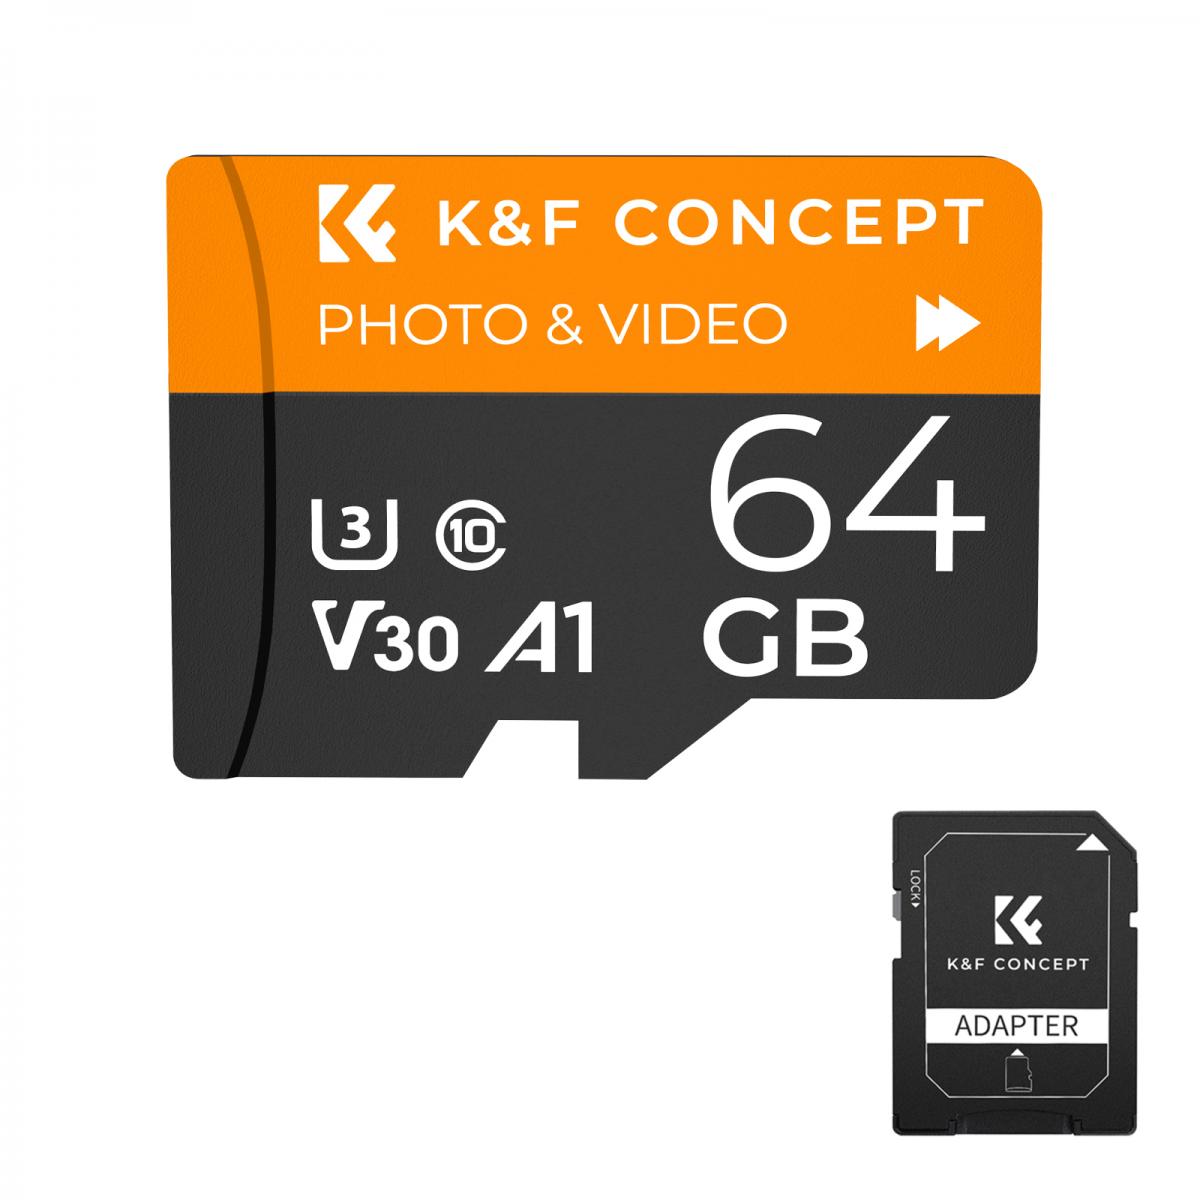
1. Capacity: The Nintendo Switch supports microSD cards up to 2TB. However, cards with such high capacity are rare and expensive. Commonly used capacities range from 64GB to 512GB, depending on your storage needs and budget.
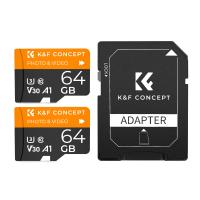
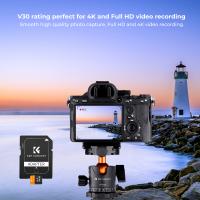
2. Speed: Look for microSD cards with a high read and write speed. The Nintendo Switch benefits from cards with a UHS-I (Ultra High Speed) rating. A card with a speed class of U3 or higher is recommended for faster loading times and smoother gameplay.
3. Brand: Stick to reputable brands like SanDisk, Samsung, and Kingston. These brands are known for their reliability and performance, reducing the risk of data corruption or card failure.
Installing the SD Card
Now that you've chosen the right SD card, it's time to install it on your Nintendo Switch. Follow these steps:
1. Power Off the Console: Before inserting or removing the SD card, make sure your Nintendo Switch is completely powered off. This prevents any potential data corruption or damage to the card or console.
2. Locate the SD Card Slot: The SD card slot on the Nintendo Switch is located behind the kickstand on the back of the console. Gently lift the kickstand to reveal the slot.
3. Insert the SD Card: Hold the SD card with the label facing away from the console and the metal contacts facing down. Carefully insert the card into the slot until you hear a click, indicating that it is securely in place.
4. Power On the Console: Once the SD card is installed, power on your Nintendo Switch. The console will automatically recognize the new storage and prompt you to format the card if necessary. Follow the on-screen instructions to complete the formatting process.
Managing Your SD Card
After installing the SD card, you can manage your storage settings to make the most of the expanded capacity. Here are some tips:
1. Move Data to the SD Card: You can transfer existing data from the internal storage to the SD card. Go to System Settings > Data Management > Move Data Between System / microSD Card. Select the data you want to move and follow the prompts.
2. Set Default Download Location: To ensure that future downloads are saved to the SD card, go to System Settings > Data Management > Download Location and select microSD Card.
3. Regular Backups: Periodically back up your SD card data to a computer or external storage device. This protects your data in case of card failure or corruption.
Troubleshooting Common Issues
While installing and using an SD card on your Nintendo Switch is generally straightforward, you may encounter some issues. Here are common problems and their solutions:
1. SD Card Not Recognized: If your console does not recognize the SD card, ensure it is properly inserted and formatted. If the problem persists, try using a different SD card to rule out compatibility issues.
2. Slow Performance: If you experience slow loading times or lag, it may be due to a low-speed SD card. Consider upgrading to a card with a higher speed class.
3. Data Corruption: To minimize the risk of data corruption, always power off your console before removing the SD card. Additionally, avoid using counterfeit or low-quality cards.
Expanding your Nintendo Switch's storage with an SD card is a simple yet effective way to enhance your gaming experience. By choosing the right card, following the proper installation steps, and managing your storage settings, you can enjoy a seamless and worry-free experience. Whether you're a casual gamer or a hardcore enthusiast, having ample storage ensures you can keep all your favorite games and content at your fingertips. So, go ahead and upgrade your Nintendo Switch with an SD card today, and game on without limits!


