Where To Mount Outdoor Camera?
Mounting an outdoor camera is a crucial step in ensuring the security and surveillance of your property. The placement of the camera can significantly impact its effectiveness in capturing clear and useful footage. In this article, we will explore the various considerations and best practices for mounting an outdoor camera, addressing common user demands and concerns.
Understanding the Purpose of Your Outdoor Camera
Before deciding where to mount your outdoor camera, it is essential to understand its primary purpose. Are you looking to monitor the front door, the backyard, or the entire perimeter of your property? Different objectives will require different mounting locations. Here are some common purposes and the corresponding ideal locations:
1. Front Door Monitoring: To keep an eye on visitors, package deliveries, and potential intruders.
2. Backyard Surveillance: To monitor activities in the backyard, including children playing or pets.
3. Perimeter Security: To cover the entire boundary of your property, ensuring no blind spots.
Key Considerations for Mounting an Outdoor Camera
1. Field of View: The camera's field of view (FOV) is crucial in determining the area it can cover. Wide-angle lenses can cover more area but may sacrifice some detail. Ensure the camera's FOV aligns with your surveillance needs.
2. Height and Angle: Mounting the camera at the right height and angle is essential for capturing clear footage. Typically, cameras should be mounted 8-10 feet above the ground to avoid tampering and provide a good vantage point.
3. Lighting Conditions: Consider the lighting conditions in the area where you plan to mount the camera. Ensure the camera can handle low-light conditions or has night vision capabilities if needed.
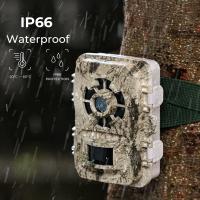
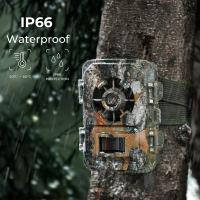
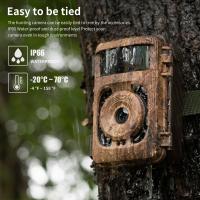
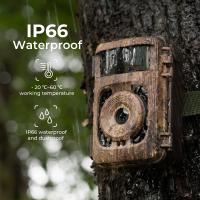
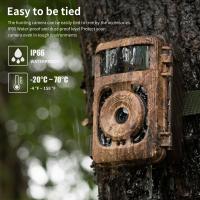
4. Weather Protection: Outdoor cameras should be weatherproof to withstand various environmental conditions. Ensure the camera is rated for outdoor use and is protected from rain, snow, and extreme temperatures.
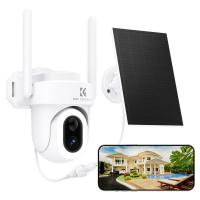
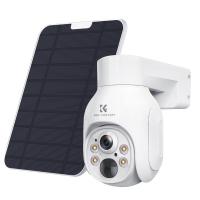
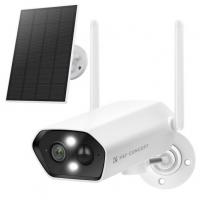
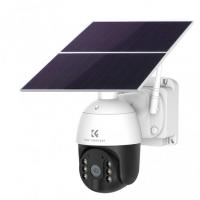
5. Power Source: Determine how the camera will be powered. Some cameras require a wired connection, while others are battery-operated or solar-powered. Ensure the power source is reliable and accessible.
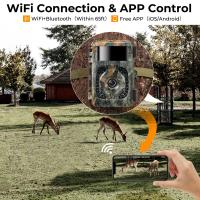
6. Connectivity: Ensure the camera has a stable connection to your home network, whether through Wi-Fi or a wired connection. A weak signal can result in poor video quality or intermittent connectivity.
Best Locations to Mount an Outdoor Camera
1. Front Door: Mounting a camera at the front door is one of the most common and effective placements. Position the camera to capture a clear view of anyone approaching the door. A doorbell camera can also be a good option for this purpose.
2. Backyard: For backyard surveillance, mount the camera on the exterior wall of your house, facing the yard. Ensure it covers entry points such as gates or back doors. If you have a large yard, consider multiple cameras to cover different areas.
3. Garage and Driveway: Mount a camera above the garage door or on the side of the garage to monitor the driveway. This placement can help you keep an eye on vehicles and any activity around the garage.
4. Side Entrances: If your property has side entrances, mount cameras to cover these areas. Side entrances can be vulnerable points for intruders, so it's essential to monitor them.
5. Perimeter Fencing: For comprehensive perimeter security, mount cameras on fence posts or exterior walls facing outward. Ensure the cameras cover the entire boundary without leaving blind spots.
6. Overlooking Windows: Windows can be entry points for burglars. Mount cameras to monitor ground-level windows, especially those that are not easily visible from the street.
Practical Tips for Effective Camera Mounting
1. Avoid Direct Sunlight: Position the camera to avoid direct sunlight, which can cause glare and affect image quality. If necessary, use a sunshade or hood to protect the lens.
2. Use Secure Mounts: Ensure the camera is securely mounted using appropriate brackets and screws. A loose camera can be easily tampered with or knocked out of position.
3. Regular Maintenance: Periodically check the camera for dirt, debris, or obstructions that may affect its performance. Clean the lens and ensure the camera is functioning correctly.
4. Test the View: Before finalizing the camera's position, test the view to ensure it covers the desired area. Make adjustments as needed to optimize the coverage.
5. Consider Privacy: Be mindful of privacy concerns when mounting cameras. Avoid pointing cameras directly into neighbors' properties or private areas.
Mounting an outdoor camera is a critical step in enhancing the security of your property. By carefully considering factors such as the field of view, height, angle, lighting conditions, weather protection, power source, and connectivity, you can ensure your camera is positioned for optimal performance. Whether you are monitoring the front door, backyard, driveway, or entire perimeter, following best practices and practical tips will help you achieve effective surveillance and peace of mind.
Investing time and effort into the proper placement of your outdoor camera will pay off in the long run, providing you with clear and reliable footage to protect your home and loved ones. Remember to regularly maintain and test your camera to ensure it continues to function effectively. With the right approach, your outdoor camera can be a valuable tool in your overall security strategy.


