Where To Place Webcam?
A well-positioned webcam can make a significant difference in your virtual interactions, ranging from work meetings and online classes to streaming or video calls with family and friends. Understanding the best practices for webcam placement can significantly enhance the quality of your video output, thereby creating a more engaging and professional experience for both you and your viewers.
Why Webcam Placement Matters
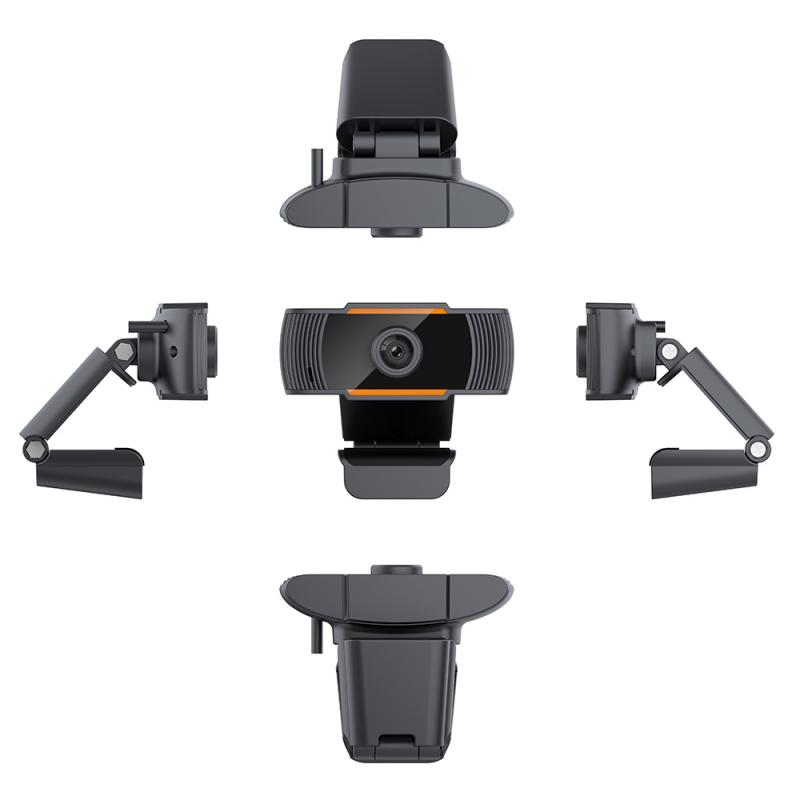
The placement of your webcam isn't just about convenience; it's about creating a visually appealing and professional setting. When you position your webcam correctly, it:
- Ensures Proper Eye Contact: Mimics a face-to-face conversation.
- Enhances Lighting Quality: Leverages natural or artificial light sources to illuminate your face properly.
- Improves Background: Reduces distractions to keep the focus on you.
- Optimizes Camera Angle: Prevents unflattering angles and enhances your appearance on screen.
Detailing the Demand for Proper Webcam Placement

1. At Eye Level:
- Eye Contact: Enhanced eye contact makes your interactions feel more personal and engaging.
- Proportions: This angle replicates how you would be viewed in a real-life conversation.
2. Good Lighting Conditions:
- Natural Light: Helps to avoid shadows and highlights natural skin tones.
- Artificial Light: Placement near a light source ensures consistent lighting.
3. Neutral Background:
- Professional Environment: A clean and uncluttered backdrop keeps the focus on you.
- Distraction-Free: Reduces the chance of unexpected interruptions during important communications.
4. Stability and Security:
- Tripod or Mount: Ensures that the camera remains steady, avoiding shaky and unstable video.
- Fixed Position: Avoids the hassle of adjusting the webcam repeatedly.
5. Field of View:
- Appropriate Framing: Ensures that your face and upper torso are visible, providing a comfortable view without excessive space above your head.
- Adjustable Zoom: Some webcams offer digital zoom to further fine-tune the framing.
Practical Tips for Webcam Placement
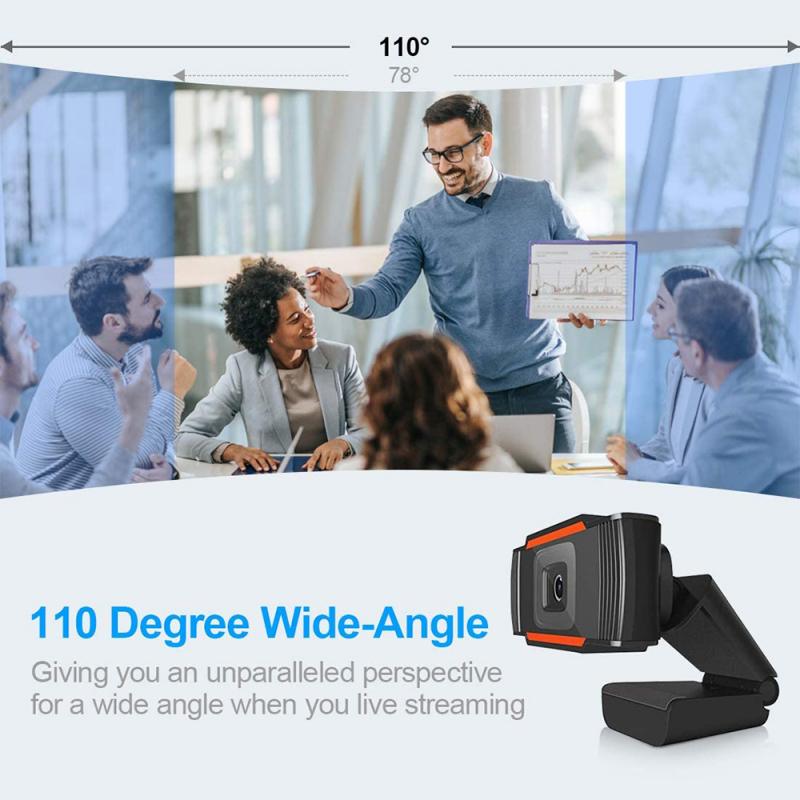
1. Positioning at Eye Level
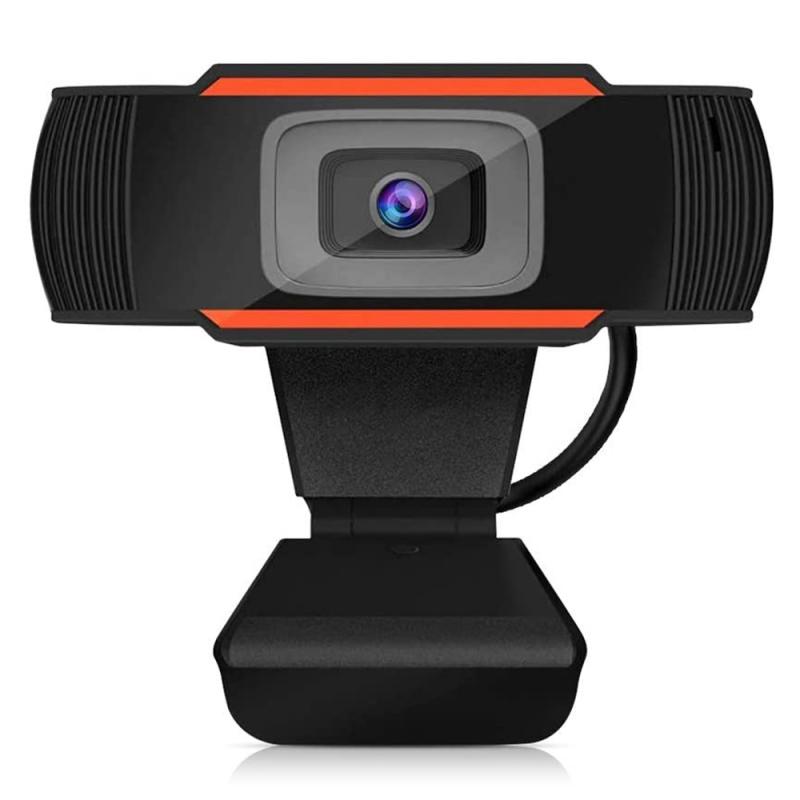
Place your webcam at eye level to mimic face-to-face contact. If the webcam is too low, it might create an unflattering angle and capture an unpreferable view, such as the underside of your chin. Conversely, placing it too high can give the impression of looking down on someone. Use a stack of books, a stand, or a dedicated webcam mount for optimal placement.
2. Choosing Good Lighting
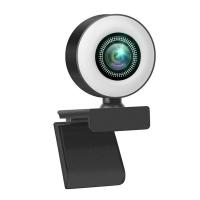
Good lighting is crucial for high-quality video. Natural light from a window is ideal, but ensure it's not directly behind you, which could cause you to appear in silhouette. Front-facing light sources, including softbox lights or ring lights, provide even illumination and significantly enhance video quality.
3. Optimizing the Background
A good background is professional and distraction-free. Choose a plain wall or a tidy space behind you. Virtual backgrounds can work, but they can also be distracting if not done well. A bookshelf, a piece of art, or a neutral curtain can serve as excellent backdrops.
4. Ensuring Stability
Ensure your webcam is stable and won’t shake or move. A sturdy tripod or a webcam with a secure clip can help maintain steadiness. Avoid placing it on an unstable surface like a laptop lid where typing can cause vibrations.
5. Adjusting the Field of View
Your webcam’s field of view should capture you from the torso up, making it feel like a natural conversation. Test different placements and angles, ensuring that your frame isn't too crowded or too spacious. Most webcams have built-in software that allows you to fine-tune the settings.
Advanced Tips: Maximizing Your Webcam Experience
1. External Webcams
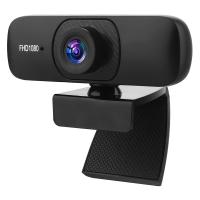
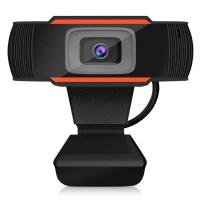
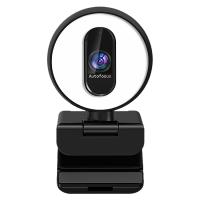
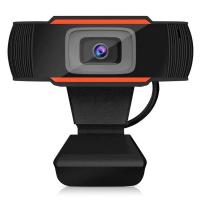
While built-in laptop webcams are convenient, external webcams often offer superior video quality and flexibility. They can be positioned independently of your laptop, providing more control over framing and lighting.
2. Audio Considerations
Good video is often accompanied by clear audio. Position your microphone away from noisy environments and consider using an external mic for the best sound quality.
3. Software Enhancements
Many webcams come with software that enhances video quality and offers additional settings like brightness, contrast, and background blurring. Familiarize yourself with these features to optimize your video.
4. Cable Management
Tidy up any dangling cables to avoid them showing in your video frame or causing distractions. Velcro strips or cable organizers can help keep your space orderly.
Common Mistakes to Avoid
1. Bad Angles
Avoid angles that are too high or too low. This can distort your facial features and create an unprofessional look.
2. Poor Lighting
Bright backlighting or insufficient front lighting are common issues that detract from video quality. Always be mindful of your primary light source.
3. Cluttered Backgrounds
A busy or messy background can be distracting. Keep your backdrop simple and neat.
4. Overhead Lighting
Overhead lights can create harsh shadows and unflattering looks. Use diffused lighting for a softer, more natural appearance.
In today's digital age, the importance of proper webcam placement cannot be overstated. By paying attention to the position, lighting, background, stability, and field of view, you can significantly improve the quality of your virtual presence. Whether you're leading a business meeting, attending an online class, or joining a video call with friends, these tips will ensure that you look your best and bring a touch of professionalism to your virtual interactions.
Remember, small adjustments can make a big difference. Investing a little time to perfect your setup will pay off in clearer communication and a more engaging video experience.













There are no comments for this blog.