Where To Set Up Ring Light?
In the age of digital content creation, mastering lighting has become crucial for achieving professional-quality results. Among the array of lighting tools available, the ring light stands out as a popular choice for enhancing video and photography. Whether you're a YouTuber, a beauty influencer, or someone looking to improve their Zoom call appearance, knowing where to set up a ring light can make all the difference. This article will guide you through the optimal placement and use of a ring light to meet your specific needs.
Understanding What a Ring Light Does
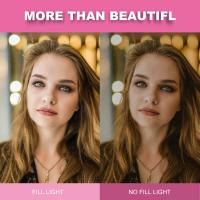
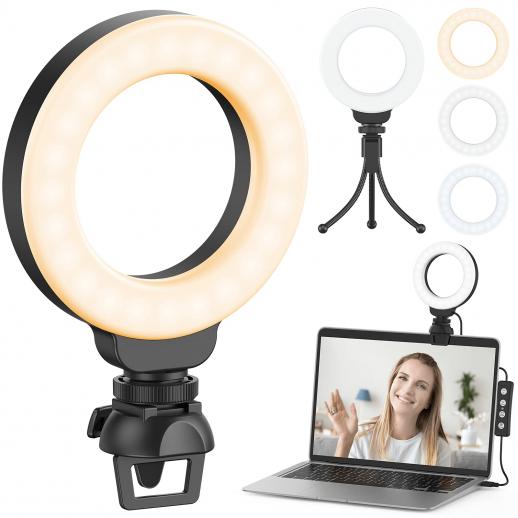
Before diving into the specifics, it’s essential to understand what a ring light does and why it’s so useful. A ring light is a circular, continuous light source that provides even, shadow-free lighting. The design ensures that light encircles the subject, eliminating harsh shadows and highlighting facial features with a soft, flattering glow. This makes it ideal for close-up shots, portrait photography, and video conferencing.
Initial Setup and Essential Considerations
1. Determine the Purpose: The first step is to identify the reason you’re using the ring light. Are you using it for makeup tutorials, product photography, live streaming, or virtual meetings? Understanding the purpose helps you decide the correct intensity, color temperature, and position.
2. Choose the Right Size: Ring lights come in various sizes, typically ranging from 8 inches to 18 inches in diameter. Larger lights provide more diffused, softer light, while smaller ones are suitable for more focused lighting. Assess the size based on your needs and available space.
3. Adjust the Angle: The angle at which you position your ring light matters significantly. A straight-on angle is generally recommended for reducing shadows and maintaining uniform lighting. However, specific tasks might require slight adjustments to avoid unwanted glare or reflections.
Ideal Placement for Different Usages
1. For Makeup Application and Beauty Tutorials
- Position: Place the ring light directly in front of the face, at eye level. This ensures that the light is evenly distributed across your face, eliminating shadows that may distort your makeup.
- Distance: Keep the ring light about 1-2 feet away from your face to avoid harsh lighting and to ensure a flattering brightness.
- Tips: Use a daylight or white color temperature setting to replicate natural light, which is best for makeup application.
2. For YouTube and Content Creation
- Position: Set the ring light in front of you, directly behind the camera. This ensures that the camera captures your face with the most even lighting possible, minimizing shadows.
- Distance: Maintain a distance of about 2-3 feet between the ring light and you to achieve a balanced look without overpowering brightness.
- Tips: Use a soft, warm light setting if your content is more lifestyle-oriented, or stick to a neutral white light for professional and tech-related videos.
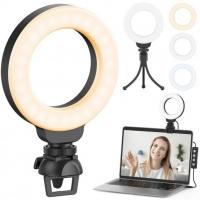
3. For Zoom Calls and Virtual Meetings
- Position: Place the ring light at a 45-degree angle to your face, slightly above eye level. This helps in reducing glare on eyeglasses, if worn, and provides a natural look.
- Distance: Distance between 1-2 feet works well to avoid a washed-out appearance while still benefiting from enhanced facial illumination.
- Tips: Opt for a dimmable ring light so you can easily adjust the brightness according to the ambient lighting conditions in your room.
4. For Product Photography
- Position: Aim to position the ring light directly overhead or at a slight angle, focusing on the product. This ensures that the light encapsulates the product evenly, highlighting key features.
- Distance: Depending on the size of the product, the ring light may need to be anywhere from 1-3 feet away to appropriately highlight the object without creating harsh shadows.
- Tips: Experiment with different angles and distances to see how the light interacts with the product’s features. Using a white backdrop can amplify the light’s effectiveness.
Common Challenges and How to Overcome Them
1. Managing Reflections: Shiny objects or glasses can create unwanted reflections. In such cases, adjusting the angle of the light or adding a diffuser can disperse the light more evenly and soften reflections.
2. Balancing with Natural Light: Natural light can be unpredictable. Combining a ring light with natural light needs careful balancing to avoid one source overpowering the other. Use curtains or blinds to moderate natural light and make the ring light the primary source.
3. Avoiding Overexposure: Close proximity to a ring light can lead to overexposure, washing out details. This is where adjustable brightness features come in handy. Start with a lower setting and gradually increase as needed.
Additional Accessories and Enhancements
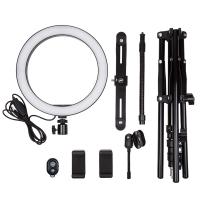
1. Diffusers and Filters: Many ring lights come with diffusers or filters that can soften the light or change its color temperature. These accessories are invaluable for tailoring the light to specific needs, reducing harshness, and achieving the desired mood.
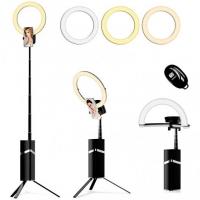
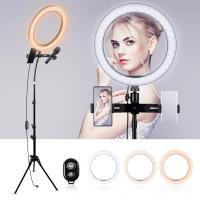
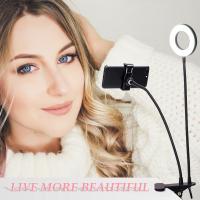
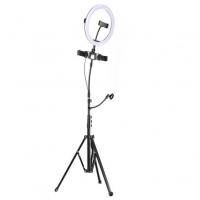
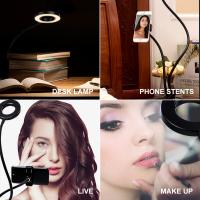
2. Smartphone Mounts: For those creating content with mobile devices, ring lights with integrated smartphone holders ensure stable and centered shots. This setup is particularly helpful for vloggers and influencers.
3. Portable Ring Lights: Smaller, battery-operated ring lights are excellent for on-the-go content creation. Although they may not be as powerful as larger models, they offer flexibility and convenience.
Conclusion and Final Thoughts
In conclusion, knowing where to set up a ring light significantly enhances the quality of your visual content, whether it’s photography, videography, or virtual communication. Follow this guide to understand the ideal placement for your specific use case, overcome common challenges, and leverage additional accessories for optimal results. Remember, the ultimate goal is to achieve natural, flattering light that enhances your subject without overpowering or underwhelming your visual presentation. Happy lighting!


