Camera Settings When Using Flash?
When it comes to photography, mastering the use of flash can significantly enhance the quality of your images, especially in low-light conditions or when you need to fill in shadows. However, using flash effectively requires a good understanding of camera settings and how they interact with the flash. In this article, we will delve into the essential camera settings to consider when using flash, providing practical tips and insights to help you achieve the best results.
Understanding Flash Photography
Before diving into the specific settings, it's important to understand the basics of flash photography. A flash is essentially a burst of light that helps illuminate a scene. It can be built into the camera or an external unit. The primary purposes of using flash are to provide additional light in low-light situations, fill in shadows, and freeze motion.
Key Camera Settings for Flash Photography
1. ISO Settings
- What is ISO? ISO measures the sensitivity of your camera's sensor to light. A lower ISO value (e.g., 100 or 200) means less sensitivity, while a higher ISO value (e.g., 800 or 1600) means more sensitivity.
- Using ISO with Flash: When using flash, it's generally advisable to keep the ISO as low as possible to minimize noise and maintain image quality. However, in very low-light conditions, you might need to increase the ISO slightly to ensure proper exposure.
2. Aperture (f-stop)
- What is Aperture? Aperture controls the amount of light entering the camera through the lens. It is measured in f-stops (e.g., f/2.8, f/4, f/5.6).
- Using Aperture with Flash: A wider aperture (lower f-stop number) allows more light to hit the sensor, which can be useful in low-light conditions. However, a narrower aperture (higher f-stop number) can help achieve a greater depth of field, which is beneficial for group shots or scenes where you want everything in focus.
3. Shutter Speed
- What is Shutter Speed? Shutter speed determines how long the camera's sensor is exposed to light. It is measured in seconds or fractions of a second (e.g., 1/60, 1/200).
- Using Shutter Speed with Flash: When using flash, the shutter speed is typically limited by the camera's sync speed, which is the fastest shutter speed at which the camera can synchronize with the flash. This is usually around 1/200 or 1/250 of a second. Using a slower shutter speed can help capture more ambient light, while a faster shutter speed can freeze motion.
4. Flash Power
- What is Flash Power? Flash power refers to the intensity of the light emitted by the flash. It can usually be adjusted manually or automatically by the camera.
- Adjusting Flash Power: In manual mode, you can control the flash power to achieve the desired exposure. Reducing the flash power can prevent overexposure and create a more natural look, while increasing the flash power can help illuminate distant subjects.
5. Flash Mode
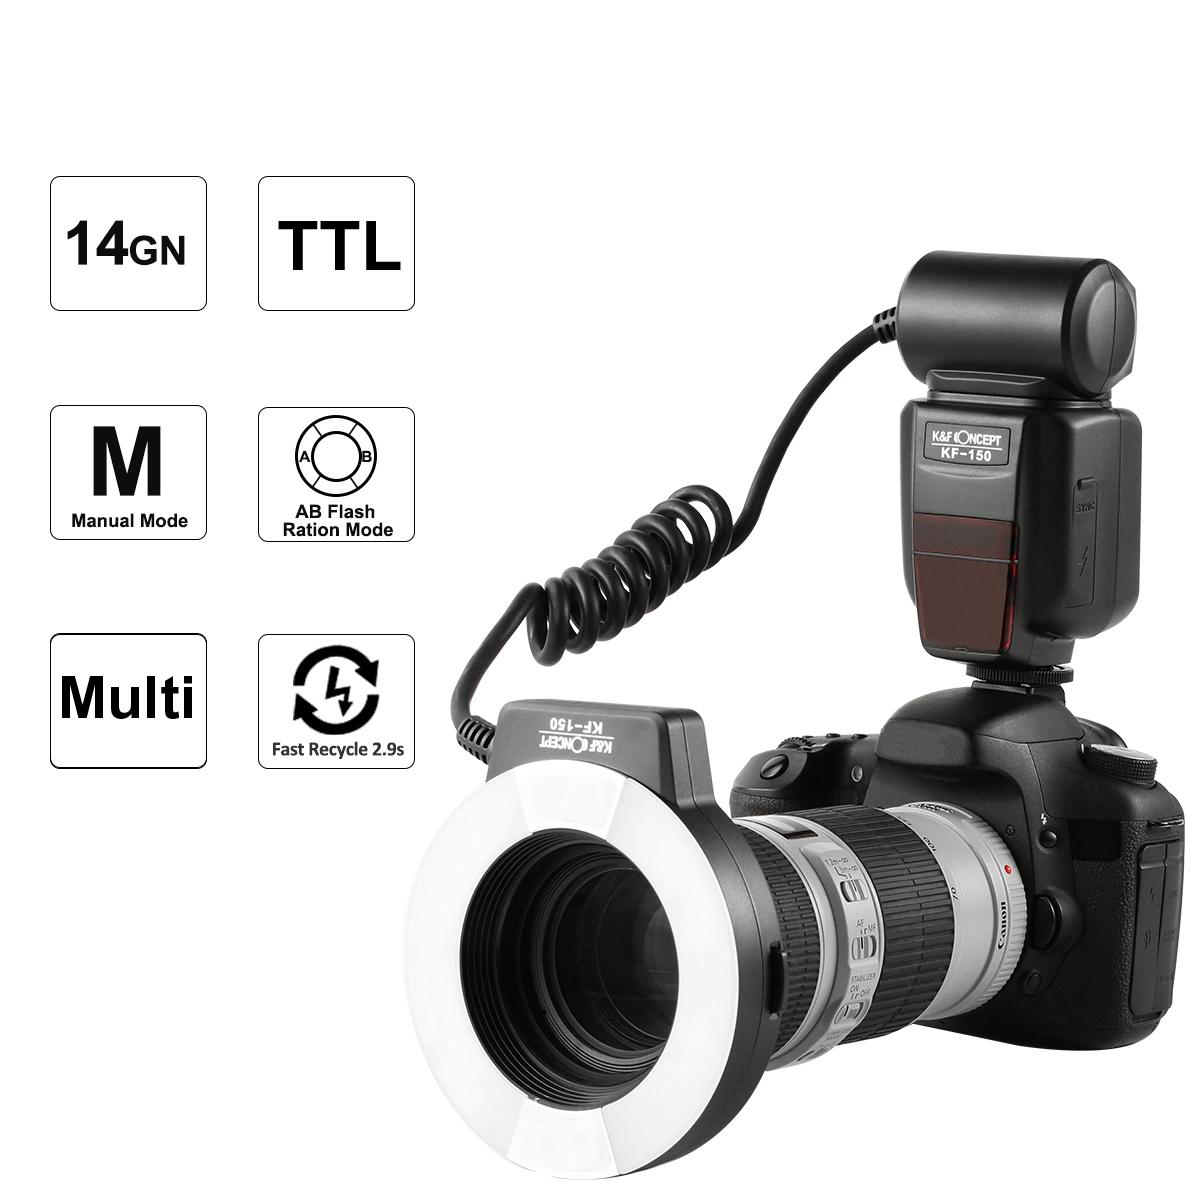
- What is Flash Mode? Flash mode determines how the flash fires. Common modes include TTL (Through The Lens), manual, and various creative modes like rear curtain sync and high-speed sync.
- Choosing Flash Mode: TTL mode automatically adjusts the flash output based on the camera's metering, making it convenient for most situations. Manual mode gives you full control over the flash power, which is useful for consistent results. Creative modes like rear curtain sync can create interesting effects by firing the flash at the end of the exposure.
6. White Balance
- What is White Balance? White balance adjusts the color temperature of your images to ensure accurate colors.
- Setting White Balance with Flash: When using flash, it's important to set the white balance to match the color temperature of the flash. Most flashes have a color temperature of around 5500K, which corresponds to the daylight white balance setting on most cameras.
Practical Tips for Using Flash
1. Bounce Flash: Instead of pointing the flash directly at your subject, try bouncing it off a ceiling or wall to create softer, more diffused light. This can help reduce harsh shadows and create a more natural look.
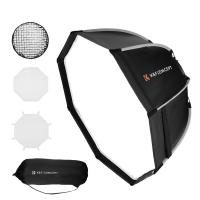
2. Diffusers and Modifiers: Using diffusers or flash modifiers can help soften the light and reduce the intensity of the flash. This is particularly useful for portrait photography, where harsh light can create unflattering shadows.
3. Fill Flash: In bright outdoor conditions, use fill flash to illuminate shadows on your subject's face. This can help balance the exposure and create a more evenly lit image.
4. Off-Camera Flash: For more creative control, consider using an off-camera flash. This allows you to position the flash at different angles and distances from your subject, creating more dynamic lighting effects.
5. Experiment with Flash Compensation: Flash compensation allows you to adjust the flash output without changing the overall exposure. This can be useful for fine-tuning the balance between the flash and ambient light.
Common Challenges and Solutions
1. Overexposure: If your images are overexposed, try reducing the flash power, narrowing the aperture, or lowering the ISO. You can also use flash compensation to decrease the flash output.
2. Underexposure: If your images are underexposed, increase the flash power, widen the aperture, or raise the ISO. You can also use a slower shutter speed to capture more ambient light.
3. Red-Eye: Red-eye occurs when the flash reflects off the subject's retina. To reduce red-eye, use the red-eye reduction mode on your camera, or position the flash away from the camera lens.
4. Harsh Shadows: Harsh shadows can be softened by bouncing the flash, using a diffuser, or adjusting the flash angle. Experiment with different techniques to find the best solution for your scene.
Mastering flash photography involves understanding and balancing various camera settings to achieve the desired results. By adjusting the ISO, aperture, shutter speed, flash power, flash mode, and white balance, you can effectively use flash to enhance your images. Additionally, practical tips like bouncing the flash, using diffusers, and experimenting with flash compensation can help you overcome common challenges and create more professional-looking photos. With practice and experimentation, you'll be able to harness the power of flash to elevate your photography to the next level.



![4K Digital Camera for Photography & Video [Autofocus and Stabilisation] 48MP 16X Digital Zoom 3” 180° Flip Screen Vlog Camera with 32G SD Card, Flash 4K Digital Camera for Photography & Video [Autofocus and Stabilisation] 48MP 16X Digital Zoom 3” 180° Flip Screen Vlog Camera with 32G SD Card, Flash](https://img.kentfaith.com/cache/catalog/products/us/GW41.0065/GW41.0065-1-200x200.jpg)












There are no comments for this blog.