Can You Record Voice With Airpods?
In today's fast-paced world, wireless technology has become an integral part of our daily lives, and Apple's AirPods are among the leading devices in this category. Known for their sleek design, seamless integration with Apple products, and high-quality audio, AirPods have increasingly become a popular choice for a wide range of activities, including listening to music, making phone calls, and accessing voice-activated assistants like Siri. One question that often arises among users is whether AirPods can be used to record voice. This article aims to provide a comprehensive answer to that question, addressing various practical concerns and scenarios.
Understanding AirPods and Their Microphone Capabilities
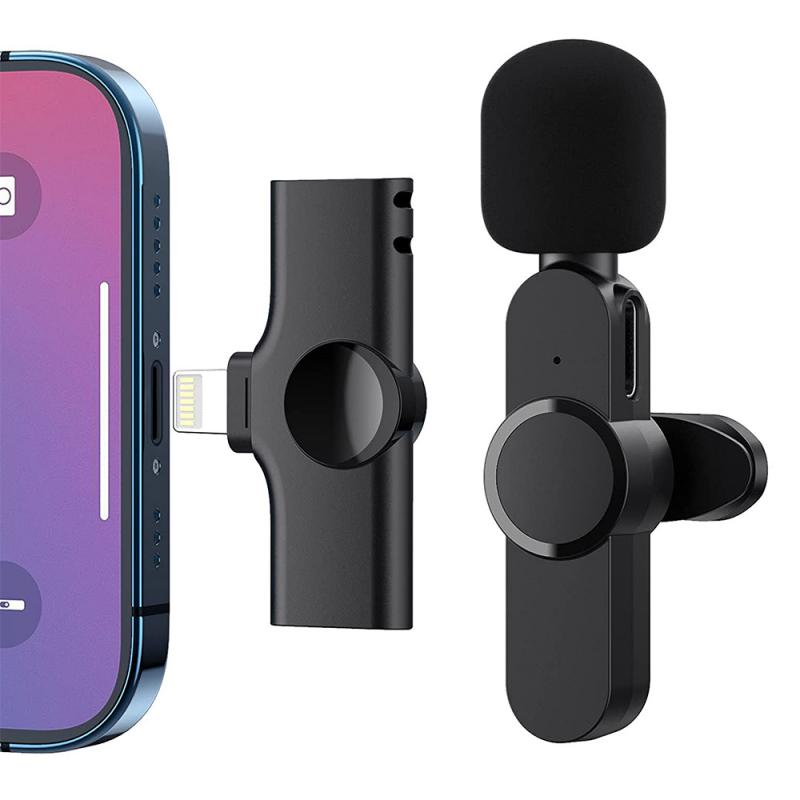
First, it's essential to understand that AirPods come equipped with built-in microphones. These microphones are designed primarily for communication tasks such as making phone calls or interacting with Siri. The quality of these microphones is surprisingly good, considering their size and the fact that they are wireless. However, they are not intended to replace professional-grade recording equipment.
The microphone technology in AirPods uses beamforming and noise-canceling techniques to focus on the user's voice and reduce background noise. These features make AirPods quite effective for clear communication during calls. So, theoretically, if AirPods can capture audio clearly for communication, they should be able to record voice as well. But, what does that mean in practical terms?
Recording Voice with AirPods on Different Devices
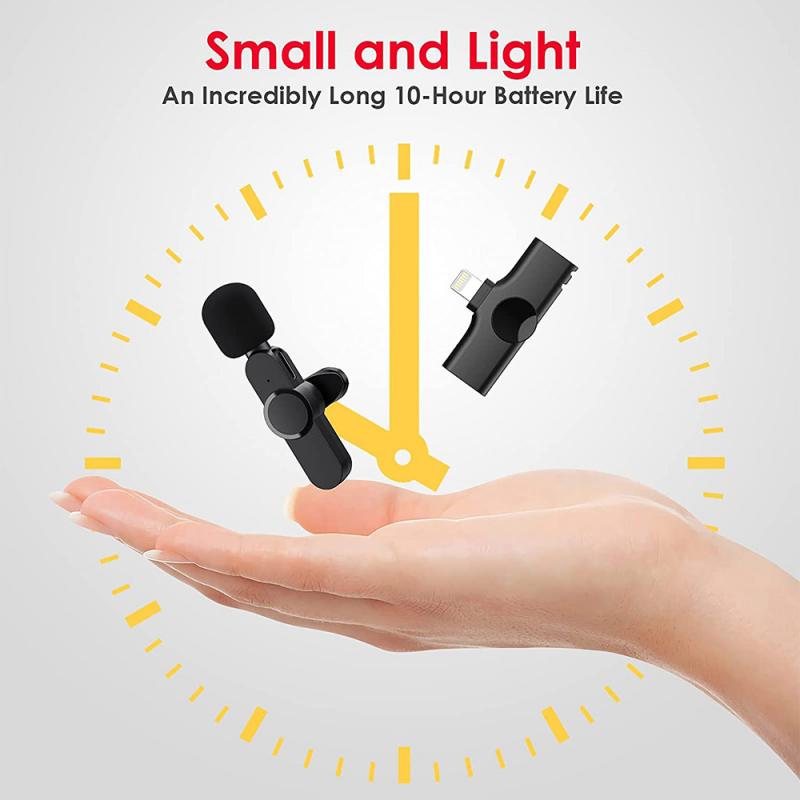
1. Recording Voice on iPhone or iPad
Recording voice using AirPods on an iPhone or iPad is quite straightforward. Most iPhones and iPads come with a built-in Voice Memos app that can be used for this purpose. Here is a step-by-step guide:
1. Pair your AirPods: Ensure that your AirPods are paired with your iPhone or iPad. You can do this by opening the AirPods case near your device and following the on-screen instructions.
2. Open Voice Memos: Launch the Voice Memos app on your device.
3. Start Recording: Tap the red record button to start recording. Your voice will be captured through the AirPods’ microphone.
4. Stop Recording: Tap the red button again when you’re finished.
When you play back the recording, you’ll hear your voice captured via the AirPods' microphone. This method is useful for taking quick notes, recording meetings, or capturing spontaneous ideas.
2. Recording Voice on a Mac
Using AirPods to record voice on a Mac also offers a seamless experience. Here’s how you can do it:
1. Pair your AirPods: Ensure your AirPods are connected to your Mac via Bluetooth.
2. Open a Recording App: Launch an app that allows you to record audio, such as QuickTime Player or GarageBand.
3. Select AirPods as Input Device: In the app settings, choose your AirPods as the input device for recording. For QuickTime, for instance, you can do this by selecting "New Audio Recording" and clicking the arrow next to the record button to choose your input device.
4. Start Recording: Press the record button to begin recording.
Quality and Limitations of Voice Recording with AirPods
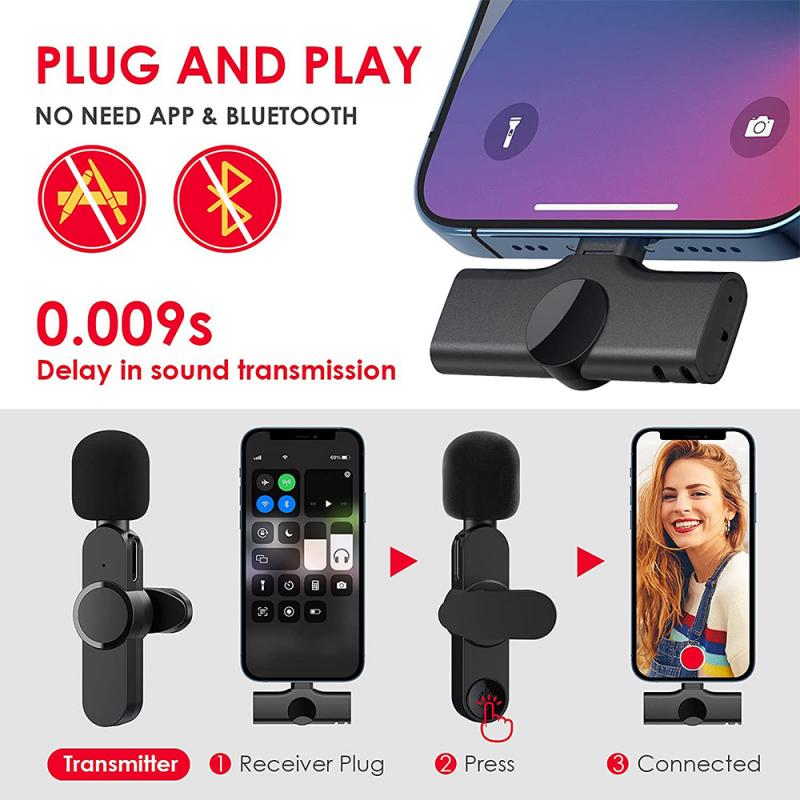
While AirPods can technically be used to record voice, the quality of the recording can vary based on several factors:
1. Audio Quality
- Voice Clarity: The clarity of your voice will be sufficient for general purposes but may fall short of professional recording standards. This is fine for personal notes, casual podcasts, or online meetings.
- Noise Cancellation: AirPods incorporate noise-canceling features, which can help reduce background noise. This is useful in relatively quiet environments but may not be as effective in noisy settings.
2. Distance and Environment
- Optimal Distance: For best results, ensure the AirPods are correctly positioned in your ears. The farther the microphones are from your mouth, the less clear your voice will be.
- Ambient Noise: Recording in a quiet environment will yield the best results. Excessive background noise can interfere with the clarity, despite the noise canceling functionalities.
Use Cases and Scenarios
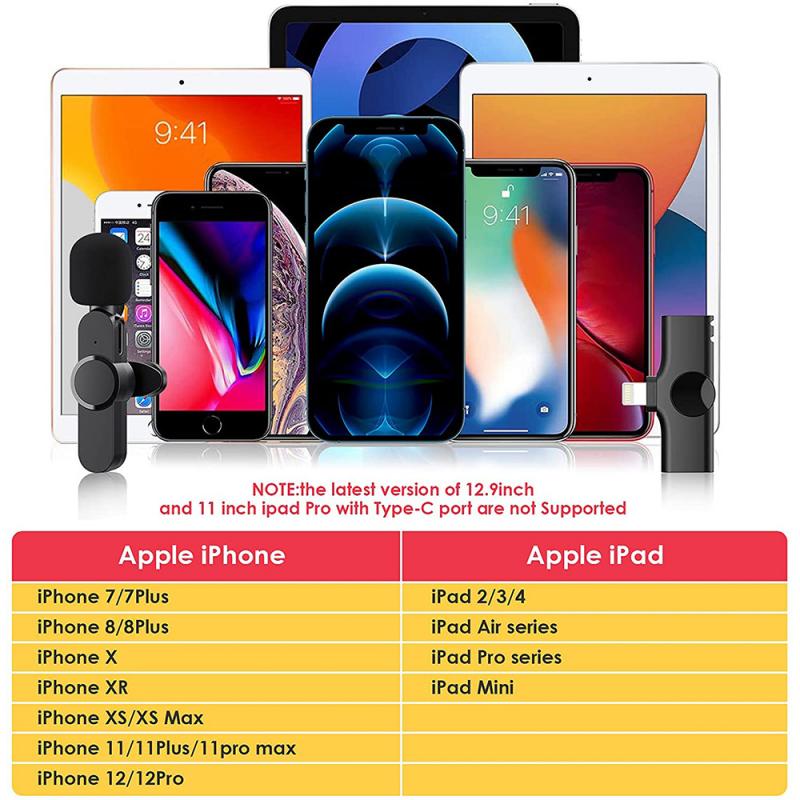
1. Podcasting
For podcasters who are just starting, using AirPods can be an efficient and cost-effective solution. While the audio may not reach studio-quality levels, it is sufficient for entry-level recordings or episodes where high fidelity is not critical.
2. Online Meetings and Classes
AirPods excel in online meeting scenarios. The built-in microphones deliver clear audio, and the wireless nature allows for movement, making them an excellent choice for Zoom meetings, online classes, or webinars.
3. Field Interviews and Journalism
For journalists and field interviewers, AirPods offer a convenient way to capture interviews on the go. The portability and ease of use can help ensure that no critical interactions are missed.
Practical Tips for Improved Recording with AirPods
While recording with AirPods is easy, enhancing the quality of your recordings involves some practical considerations:
1. Regular Maintenance: Clean your AirPods regularly to ensure the microphones are not blocked by dirt or earwax.
2. Stable Connection: Ensure a stable Bluetooth connection to avoid interruptions or signal drops during recording.
3. Try Different Apps: Experiment with different recording apps to find the one that works best for your needs. Some apps offer advanced features like noise reduction filters that can improve audio quality.
In summary, AirPods can indeed be used to record voice, and they offer a practical and convenient solution for various recording scenarios. Whether you're noting down ideas on your iPhone, engaging in online classes, or even starting a podcast, AirPods can cater to your needs. However, it's crucial to set the right expectations concerning audio quality. While the microphones in AirPods are excellent for calls and general recordings, they may not replace professional recording equipment for high-fidelity audio needs.
Understanding these capabilities and limitations will help you make the most out of your AirPods and leverage them effectively for your specific use cases. With a little practice and the right settings, you can achieve satisfactory results for most everyday recording tasks.









There are no comments for this blog.