Can You Record Your Voice While Screen Recording?
In today's digital era, the way we consume and create content has undergone a significant transformation. From streaming videos to hosting webinars, the demand for how-to guides and tutorials has skyrocketed. One recurring query in this burgeoning landscape is, "Can you record your voice while screen recording?" For many, especially educators, content creators, and professionals, the ability to capture video and audio simultaneously is crucial. This article aims to provide detailed, actionable advice on how to effectively record your voice while screen recording.
Why Record Your Voice While Screen Recording?
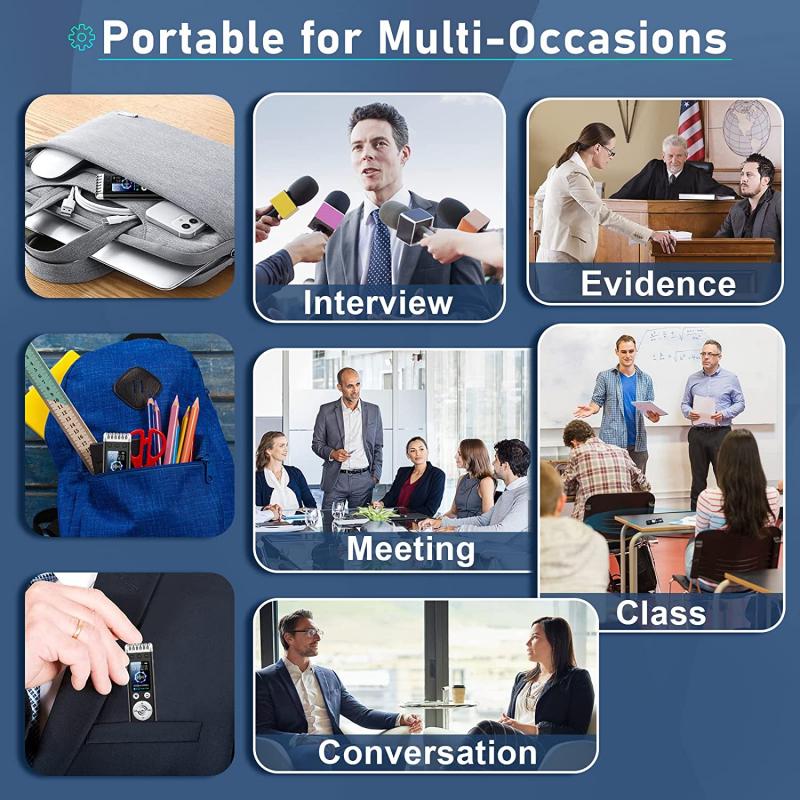
Before diving into the 'how-to,' it's essential to understand the 'why.' The combination of on-screen activity and voice narration can significantly enhance the viewer's understanding and engagement. Here are some primary reasons why you might want to do this:
1. Academic Purposes: Teachers and educators can explain complex concepts more effectively.
2. Tutorials: Tech enthusiasts and DIY hobbyists can provide step-by-step instructions.
3. Business Demonstrations: Sales and marketing teams can offer detailed product walkthroughs.
4. Gaming: Gamers can share their strategies or reactions in real-time.
Selecting the Right Software
When it comes to recording your voice while screen recording, selecting the right software is vital. Here are some popular options:
1. OBS Studio:
- Pros: Highly customizable, free, open-source.
- Cons: Steeper learning curve.
2. Camtasia:
- Pros: User-friendly interface, built-in editing tools.
- Cons: Licensing fee.
3. ScreenFlow (Mac only):
- Pros: High-quality video output, robust editing features.
- Cons: Costly.
4. Loom:
- Pros: Easy to use, cloud storage.
- Cons: Limited free version.
Hardware Considerations
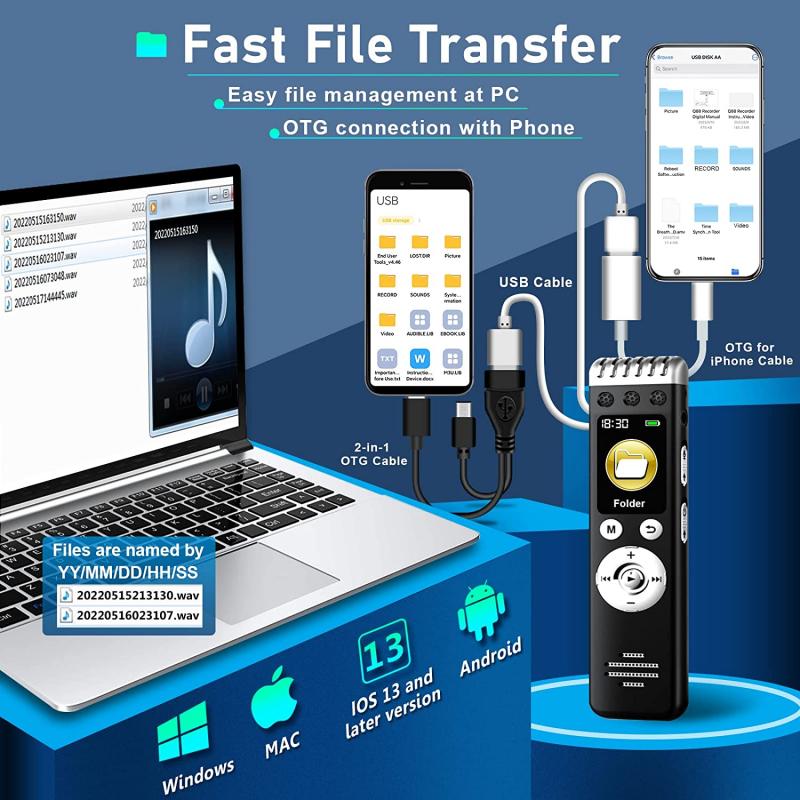
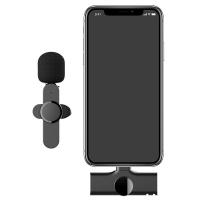
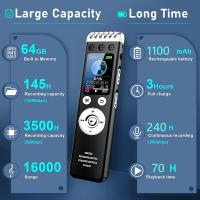
While software handles the bulk of the task, don’t overlook the hardware. A good microphone will make a world of difference in the quality of your voice recording:
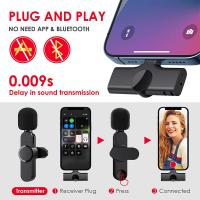
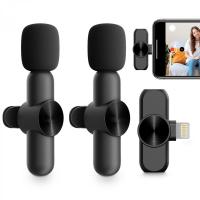
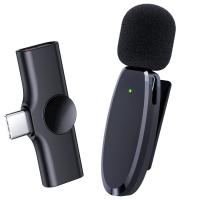
1. USB Microphones: These are plug-and-play and generally offer excellent sound quality.
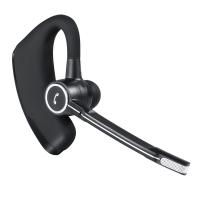
2. Headsets: Ideal for mobility and can deliver decent sound quality.
3. Built-in Microphones: Convenient, but usually inferior in quality.
Step-by-Step Guide to Record Your Voice While Screen Recording
Using OBS Studio
1. Download and Install:
Download and install OBS Studio from the official website.
2. Setting Up:
Open OBS Studio and click on the ‘+’ button in the ‘Sources’ panel to add a new source. Select ‘Display Capture’ to capture your screen.
3. Audio Input:
Click on the ‘+’ button in the ‘Sources’ panel again, but this time select ‘Audio Input Capture.’ Choose your microphone from the list of devices.
4. Configuration:
Make sure your microphone is not muted in the ‘Audio Mixer’ panel. Adjust the volume levels as needed.
5. Start Recording:
Click ‘Start Recording’ in the lower right corner. To stop, click ‘Stop Recording.’
Using Camtasia
1. Download and Install:
Download and install Camtasia.
2. New Recording Session:
Open Camtasia and click on ‘New Recording.’
3. Screen and Audio:
Check the boxes for both ‘Screen’ and ‘Audio.’ Make sure to select your microphone from the audio dropdown menu.
4. Custom Settings:
Adjust screen capture area and audio levels.
5. Start Recording:
Click ‘Start Recording.’ To finish, click the Camtasia icon in the system tray and select ‘Stop Recording.’
Using ScreenFlow (Mac)
1. Download and Install:
Download and install ScreenFlow.
2. New Recording:
Open ScreenFlow and select ‘New Recording.’
3. Choose Sources:
Select options for ‘Record Desktop from’ and ‘Record Audio from.’ Choose your microphone from the list.
4. Adjust Settings:
Configure your screen capture area and audio settings.
5. Start Recording:
Click the red record button. To stop, click the ScreenFlow icon in the menu bar and select ‘Stop Recording.’
Tips for Better Voice Recording
1. Quiet Environment:
Make sure you're in a quiet room to avoid background noise.
2. Microphone Placement:
Position the microphone about 6-8 inches from your mouth.
3. Voice Warm-Up:
Spend a few minutes warming up your voice to ensure clarity and reduce strain.
4. Script Preparation:
Prepare a script or bullet points to keep your narration organized and coherent.
5. Post-Processing:
Use noise reduction and equalization features in your chosen software to enhance the audio quality.
Troubleshooting Common Issues
Audio Sync Problems
- Solution: Use software that allows for post-production editing, where you can manually adjust the timing of your audio and video tracks.
Low-Quality Audio
- Solution: Upgrade your microphone or use a noise reduction filter in post-production.
Screen Recording Lag
- Solution: Close unwanted applications to free up system resources. Consider lowering the resolution of your recording.
File Size Management
- Solution: Use a more efficient video format like MP4 for lower file sizes without sacrificing quality.
Recording both your screen and voice at the same time can greatly enhance the effectiveness of your content. Whether you’re a teacher, a business professional, or a content creator, mastering this skill will provide high value to your audience. By choosing the right software and hardware, and by following best practices for clear and engaging narration, you can create professional-quality tutorials and presentations that resonate with your audience. So go ahead, start recording and elevate your digital content to new heights!














There are no comments for this blog.