Can You Turn Your Iphone Into A Projector?
In today’s digital age, we are often looking for ways to enhance and expand the functionality of our devices. One popular question that many iPhone users ask is whether it’s possible to turn their phone into a projector. The simple answer is yes, but it requires some additional equipment and steps. This article will guide you through the process, explain the options available, discuss the pros and cons, and provide practical tips to improve your experience.
Understanding the Basics: How Can an iPhone Become a Projector?
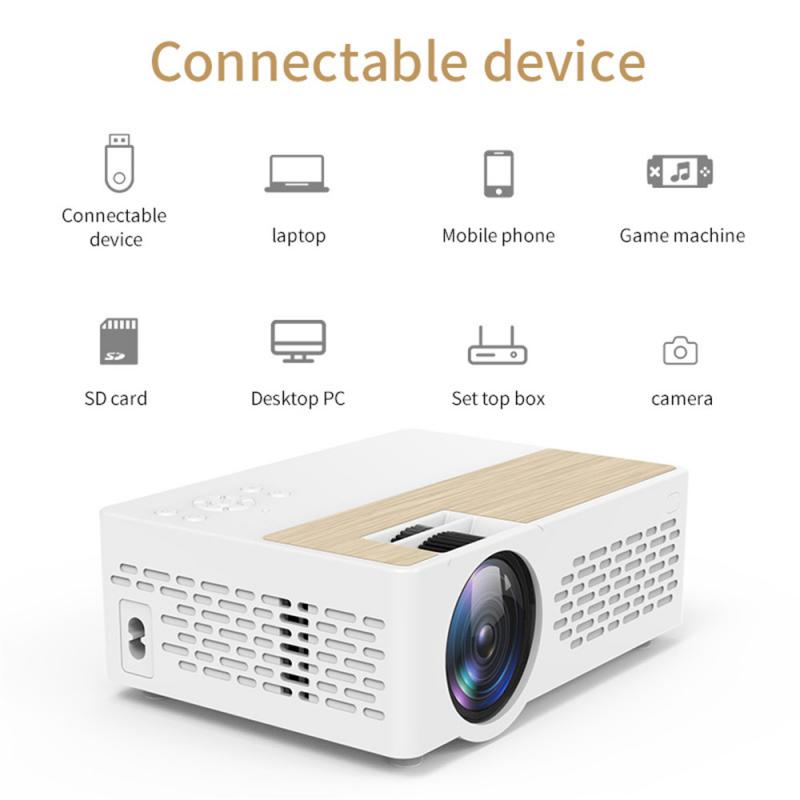
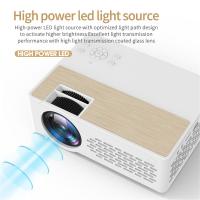
An iPhone, by itself, lacks the built-in hardware to project images or videos onto a larger surface. However, with the right accessories, you can achieve this functionality. The most common way to turn your iPhone into a projector involves using a portable mini projector that can be connected to your device. These mini projectors are equipped with lenses and lighting systems capable of casting an image from your phone onto a wall or screen.
Types of Projectors Compatible with iPhones
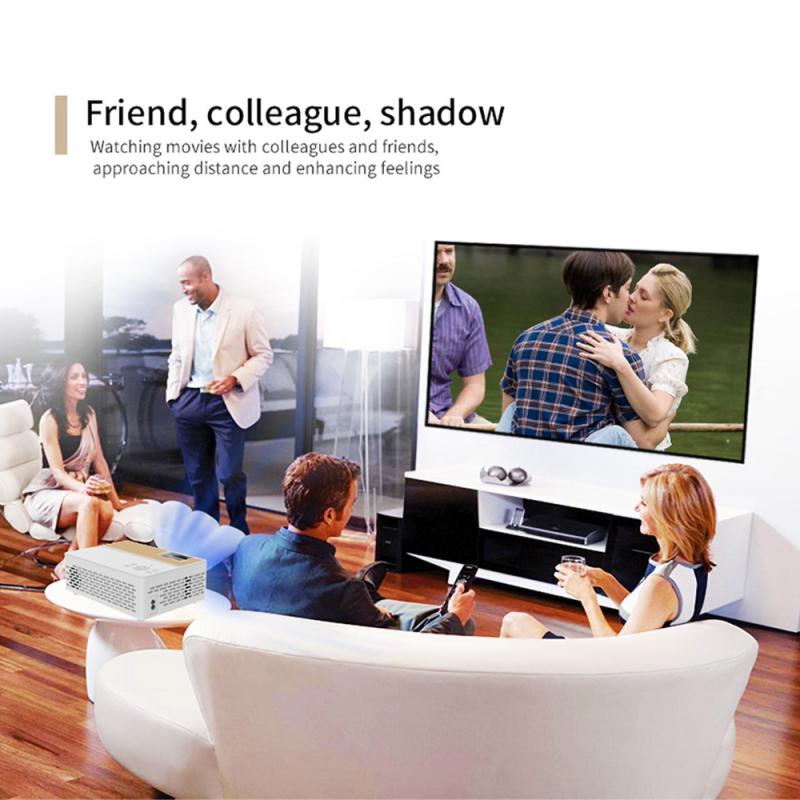
When considering an iPhone-compatible projector, there are a few essential factors to consider:
1. Portable Pico Projectors: These small, lightweight projectors are easily portable and typically connect to iPhones via HDMI or wirelessly. They are convenient for on-the-go presentations or impromptu movie nights.
2. Dedicated iPhone Projectors: These are designed specifically to work seamlessly with iPhones. Often, they come with built-in docks or connectors for easy setup.
3. Standard Mini Projectors: Although they are larger than pico projectors, mini projectors are still quite portable and offer higher brightness and resolution. They can be connected to an iPhone but may require additional adapters.
Step-by-Step Guide: Turning Your iPhone into a Projector
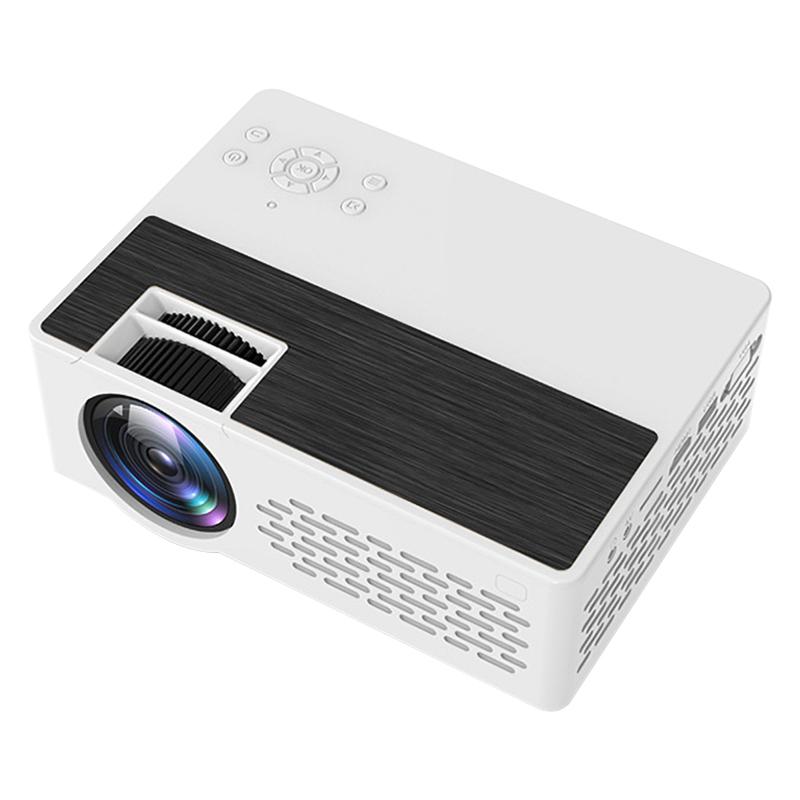
Step 1: Choose the Right Projector
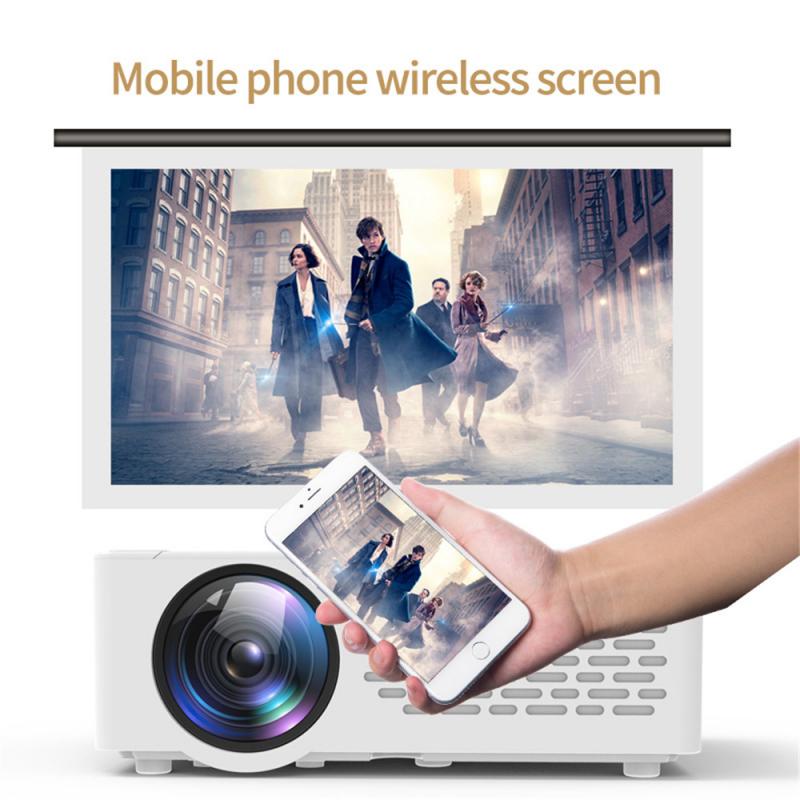
First, decide on the type of projector based on your needs. For instance, if you need something ultra-portable, opt for a pico projector. If you prioritize image quality and have more space, a standard mini projector might be more suitable.
Step 2: Gather Necessary Accessories
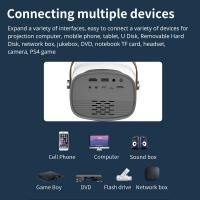
Most projectors will require an HDMI connection, so you’ll need an HDMI to Lightning adapter for your iPhone. Some projectors may also work via Wi-Fi, so ensure your projector supports this if you prefer a wireless setup.
Step 3: Connect Your iPhone to the Projector
- For wired connections, plug the HDMI adapter into your iPhone and connect the other end to your projector.
- For wireless connections, follow the projector’s instructions to connect to your iPhone. This often involves using an app or setting up a Wi-Fi connection.
Step 4: Set Up the Projection Area
Set up a blank wall or a projection screen in a darkened room for the best image quality. Adjust the distance and height of the projector to get the desired screen size and focus the image.
Step 5: Start Projecting
Once everything is set up, play your desired content on your iPhone. This could be a movie, a presentation, or photos. The projector should mirror your iPhone’s screen, allowing you to share your content on a larger surface.
Practical Tips for Optimal Experience
1. Brightness: Ensure your projector has adequate brightness (measured in lumens) to produce clear images, especially in less-than-ideal lighting conditions.
2. Resolution: The projector's resolution should ideally match or exceed that of your iPhone for sharp, detailed images.
3. Sound: Most mini projectors have built-in speakers, but they may not be very powerful. Consider using a Bluetooth speaker or connecting the projector to an external sound system for better audio quality.
4. Battery Life: If you plan to use the projector for extended periods, ensure it has a long-lasting battery or be prepared to keep it plugged into a power source.
5. Portability: If you frequently travel, choose a compact and lightweight projector that fits easily into your bag.
Pros and Cons of Using Your iPhone as a Projector
Pros:
- Portability: Mini projectors are compact and easy to transport, making them ideal for business trips, vacations, or family gatherings.
- Convenience: Connecting and using a projector with your iPhone is relatively straightforward, allowing for quick setup and immediate projection.
- Versatility: Projectors are versatile devices that can be used for a variety of applications, from watching movies to delivering presentations.
Cons:
- Image Quality: Portable projectors generally do not offer the same image quality as larger, dedicated home theater projectors.
- Brightness: Inadequate brightness can be an issue, especially in rooms with ambient light. Darkening the room is often necessary for the best experience.
- Audio Quality: Built-in speakers on mini projectors may not provide satisfactory sound quality, necessitating the use of external speakers.
Turning your iPhone into a projector is a practical and innovative way to make the most out of your device. With the right equipment and proper setup, you can enjoy a big-screen experience wherever you go. While there are some trade-offs in terms of image and audio quality, the convenience and portability of mini projectors make them a worthwhile investment for many users.
Whether you are a business professional looking to enhance your presentations or a movie enthusiast wanting to watch films on a larger screen, a projector can significantly enhance your iPhone’s capabilities. By following the steps outlined in this article and considering the practical tips provided, you can optimize your projection experience and enjoy the benefits of a more versatile and powerful iPhone setup.








There are no comments for this blog.