Does Screen Recording Include Audio?
Screen recording has become an essential tool for many users, whether for creating tutorials, capturing gameplay, or documenting software issues. One common question that arises is whether screen recording includes audio. This article aims to provide a comprehensive understanding of screen recording capabilities, particularly focusing on audio inclusion, and to address practical concerns users may have.
Understanding Screen Recording
Screen recording is a feature that allows users to capture the visual output of their computer or mobile device. This can include anything from desktop activities, application usage, to video playback. The recorded content is saved as a video file, which can be shared or edited later.
Does Screen Recording Include Audio?
The short answer is: it depends. The inclusion of audio in screen recordings can vary based on several factors, including the software or tool being used, the operating system, and the specific settings configured by the user. Let's delve into these factors in more detail.
1. Software and Tools
Different screen recording software offers varying levels of functionality when it comes to audio recording. Here are some common scenarios:
- Built-in Tools: Many operating systems come with built-in screen recording tools. For example, Windows 10 has the Xbox Game Bar, and macOS has a screen recording feature accessible via QuickTime Player. These tools typically allow users to record system audio, microphone input, or both.
- Third-Party Software: There are numerous third-party screen recording applications available, such as OBS Studio, Camtasia, and Bandicam. These tools often provide more advanced audio recording options, including the ability to capture multiple audio sources simultaneously.
2. Operating System
The operating system can also influence whether audio is included in a screen recording:
- Windows: On Windows, the Xbox Game Bar allows users to record both system audio and microphone input. However, some users may need to adjust their audio settings to ensure both sources are captured correctly.
- macOS: macOS users can use QuickTime Player for screen recording, which allows for microphone audio capture. However, capturing system audio requires additional software, such as Soundflower or Loopback, to route the audio correctly.
- iOS and Android: Mobile devices also have built-in screen recording features. iOS allows users to record both system audio and microphone input, while Android's capabilities can vary depending on the device and OS version.
3. Settings Configuration
Proper configuration of settings is crucial to ensure audio is included in screen recordings. Users should check the following:
- Audio Source Selection: Ensure the correct audio sources are selected in the screen recording software. This may include system audio, microphone input, or both.
- Volume Levels: Adjust the volume levels for each audio source to ensure they are captured clearly without distortion or imbalance.
- Permissions: On some devices, users may need to grant permissions for the screen recording software to access the microphone or system audio.
Practical Tips for Including Audio in Screen Recordings

To help users achieve the best results when including audio in their screen recordings, here are some practical tips:
1. Choose the Right Software
Select a screen recording tool that meets your specific needs. If you require advanced audio recording capabilities, consider using third-party software like OBS Studio or Camtasia. These tools offer more flexibility and control over audio sources.
2. Configure Audio Settings
Before starting a screen recording, take the time to configure the audio settings. Ensure the correct audio sources are selected and adjust the volume levels as needed. Test the audio setup by recording a short clip and playing it back to check for clarity and balance.
3. Use External Microphones
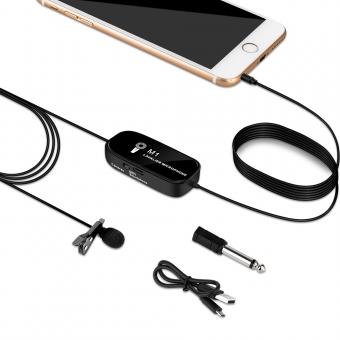
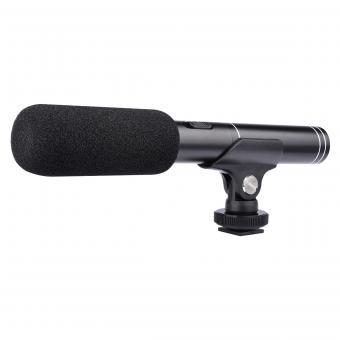
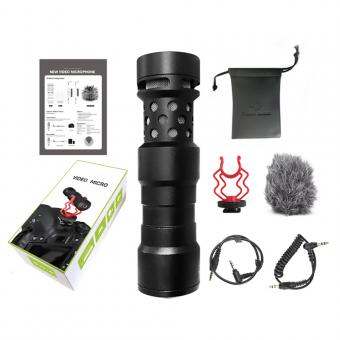
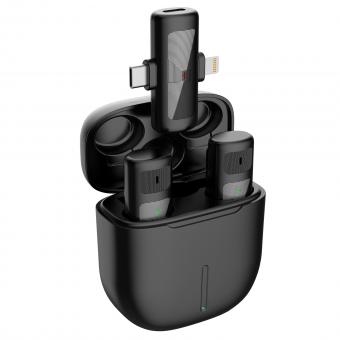
For higher-quality audio, consider using an external microphone instead of relying on the built-in microphone of your device. External microphones typically offer better sound quality and can reduce background noise.
4. Monitor Audio Levels
While recording, keep an eye on the audio levels to ensure they are not peaking or too low. Most screen recording software provides visual indicators for audio levels, which can help you make real-time adjustments.
5. Edit Audio Post-Recording
After recording, use video editing software to fine-tune the audio. This can include adjusting volume levels, removing background noise, and synchronizing audio with the video. Tools like Adobe Premiere Pro, Final Cut Pro, and Audacity can be useful for post-recording audio editing.
Common Issues and Troubleshooting
Despite careful preparation, users may encounter issues with audio in screen recordings. Here are some common problems and their solutions:
1. No Audio in Recording
If your screen recording has no audio, check the following:
- Ensure the correct audio sources are selected in the recording software.
- Verify that the microphone and system audio are not muted.
- Check the permissions settings on your device to ensure the recording software has access to the microphone and system audio.
2. Poor Audio Quality
If the audio quality is poor, consider these steps:
- Use an external microphone for better sound quality.
- Reduce background noise by recording in a quiet environment.
- Adjust the audio levels to prevent distortion or imbalance.
3. Audio Out of Sync
If the audio is out of sync with the video, try the following:
- Use video editing software to manually synchronize the audio and video tracks.
- Ensure your computer or device has sufficient resources to handle screen recording without lag.
Screen recording is a powerful tool that can be enhanced significantly by including audio. Whether you're creating tutorials, capturing gameplay, or documenting software issues, understanding how to include audio in your screen recordings is essential. By choosing the right software, configuring audio settings correctly, and following best practices, you can ensure your screen recordings are both visually and audibly clear. If you encounter issues, troubleshooting steps can help resolve common problems, ensuring a smooth and effective recording experience.

