How Bright Is A Camera Flash?
When it comes to photography, one of the most critical elements that can make or break a shot is lighting. Among the various lighting tools available to photographers, the camera flash stands out as a versatile and essential component. However, understanding how bright a camera flash is can be a bit complex, as it involves various factors such as the type of flash, its power settings, and the environment in which it is used. In this article, we will delve into the intricacies of camera flash brightness, exploring its different aspects and providing practical insights for photographers of all levels.
Understanding Flash Brightness
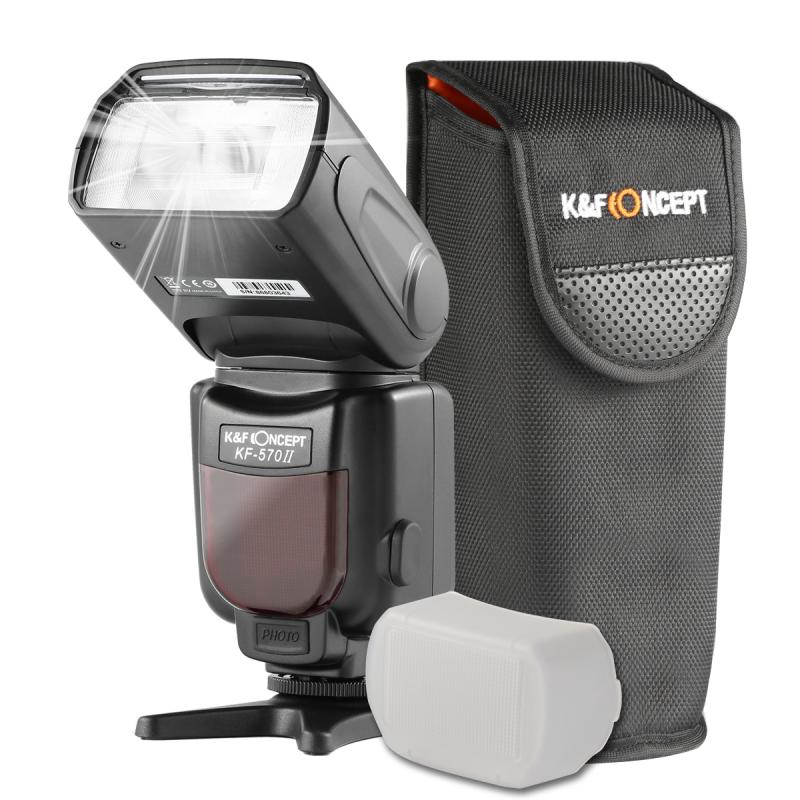
The brightness of a camera flash is typically measured in terms of its guide number (GN), which is a metric that combines the flash's power and the distance it can effectively illuminate. The guide number is usually given in meters or feet and is calculated by multiplying the distance by the f-stop (aperture) at ISO 100. For example, a flash with a guide number of 60 means it can illuminate a subject 10 meters away at an aperture of f/6.0.
Types of Camera Flashes
1. Built-in Flashes: These are the flashes that come integrated into the camera body. They are generally less powerful, with guide numbers ranging from 10 to 15. While convenient, built-in flashes often produce harsh, direct light that can result in unflattering shadows and highlights.
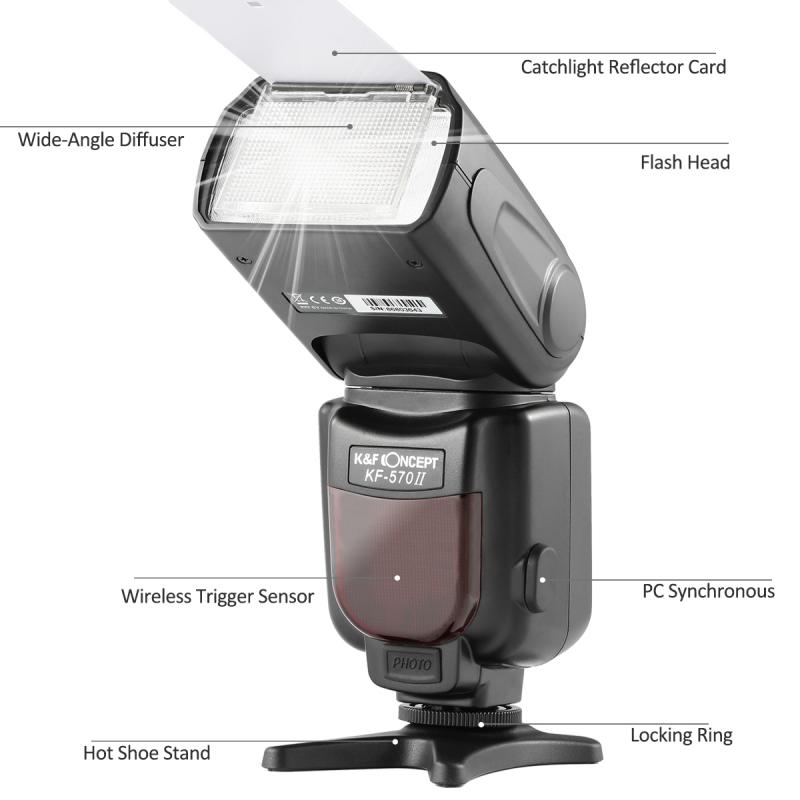
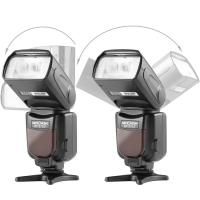
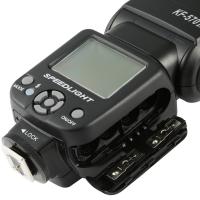
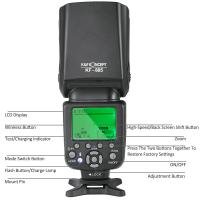
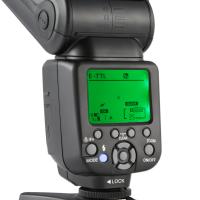
2. External Speedlights: These are more powerful and versatile than built-in flashes, with guide numbers typically ranging from 30 to 60. They can be mounted on the camera's hot shoe or used off-camera for more creative lighting setups. Speedlights offer adjustable power settings, allowing photographers to control the flash intensity.
3. Studio Strobes: These are the most powerful type of camera flashes, often used in professional studio settings. They have guide numbers that can exceed 100, providing ample light for large subjects or groups. Studio strobes also offer a range of modifiers, such as softboxes and umbrellas, to diffuse and shape the light.
Factors Affecting Flash Brightness
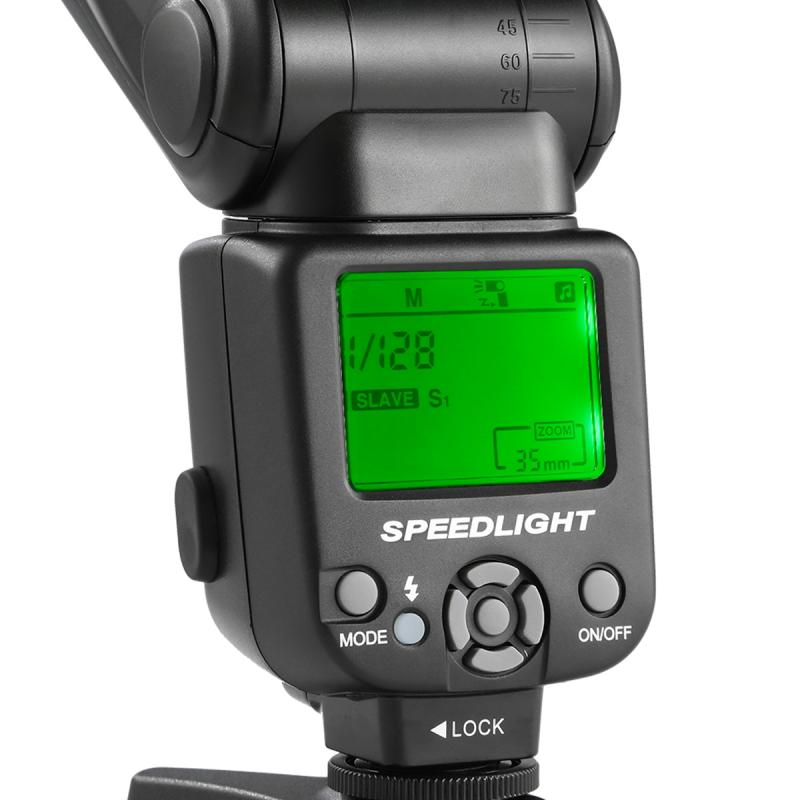
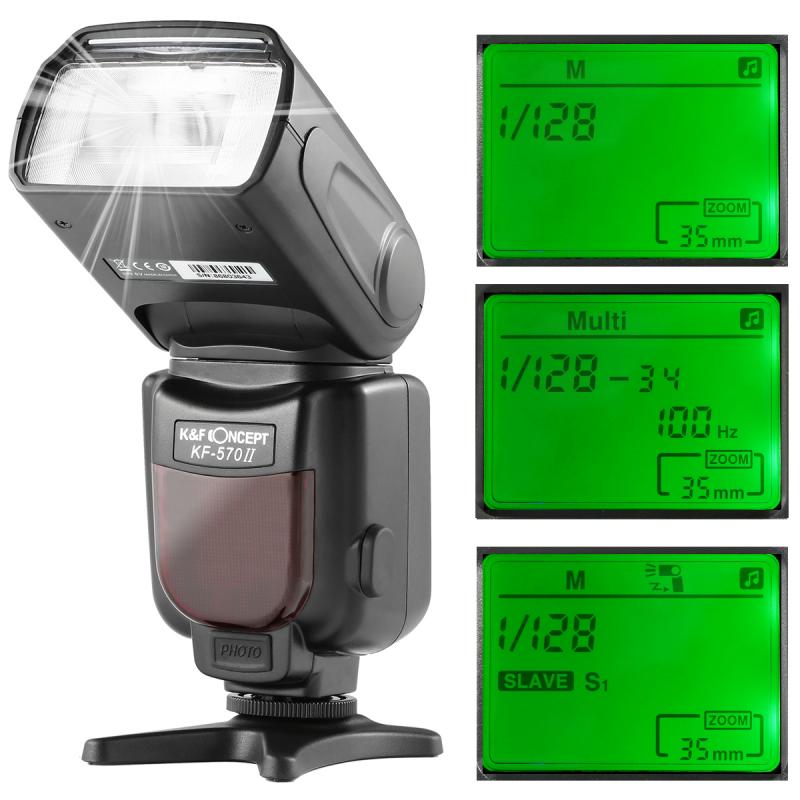
1. Power Settings: Most external flashes and studio strobes come with adjustable power settings, allowing photographers to control the flash output. Reducing the power can help in situations where less light is needed, while increasing it can illuminate larger areas or subjects further away.
2. Distance: The distance between the flash and the subject significantly impacts the perceived brightness. The inverse square law states that the intensity of light falls off dramatically as the distance from the light source increases. Doubling the distance between the flash and the subject reduces the light intensity to one-quarter of its original value.
3. Modifiers: Using light modifiers such as diffusers, softboxes, and reflectors can alter the quality and intensity of the flash. These tools help soften the light, reducing harsh shadows and creating a more flattering illumination.
4. Ambient Light: The existing light in the environment also affects how bright the flash appears. In a well-lit setting, the flash may seem less intense, while in a darker environment, it will appear much brighter.
Practical Applications and Tips
1. Portrait Photography: When shooting portraits, a softer light is generally more flattering. Using a diffuser or a softbox with your flash can help achieve this effect. Positioning the flash off-camera and at an angle can also create more natural-looking shadows and highlights.
2. Event Photography: In dynamic environments like weddings or parties, having a powerful and versatile flash is crucial. External speedlights are ideal for these situations, as they offer quick recycling times and adjustable power settings. Bouncing the flash off a ceiling or wall can help diffuse the light and avoid harsh shadows.
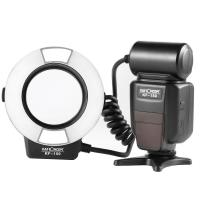
3. Macro Photography: For close-up shots, controlling the flash intensity is vital to avoid overexposure. Ring flashes or twin flashes are often used in macro photography to provide even illumination without casting shadows.
4. Outdoor Photography: When shooting outdoors, the flash can be used to fill in shadows and balance the exposure. High-speed sync (HSS) is a useful feature in many external flashes, allowing photographers to use flash at higher shutter speeds, which is particularly beneficial in bright sunlight.
Common Misconceptions
1. More Power Equals Better Photos: While having a powerful flash can be advantageous, it is not always necessary to use it at full power. Overly bright flashes can result in harsh lighting and unflattering images. Understanding how to adjust the flash power to suit the scene is crucial.
2. Built-in Flashes Are Useless: Although built-in flashes are less powerful and versatile, they can still be useful in certain situations. For casual photography or as a fill light in well-lit environments, built-in flashes can provide adequate illumination.
3. Flash Is Only for Low Light: Many photographers believe that flash is only needed in low-light conditions. However, flash can be used creatively in various lighting scenarios to enhance the overall image quality, add catchlights to the eyes, or freeze motion.
Understanding the brightness of a camera flash and how to control it is essential for any photographer looking to improve their lighting skills. By considering factors such as power settings, distance, modifiers, and ambient light, photographers can effectively use flash to enhance their images. Whether you are shooting portraits, events, macro, or outdoor scenes, mastering flash photography opens up a world of creative possibilities. Remember, the key to great flash photography is not just about having a powerful light source but knowing how to use it effectively to achieve the desired results.


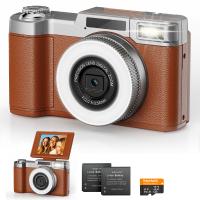
![4K Digital Camera for Photography & Video [Autofocus and Stabilisation] 48MP 16X Digital Zoom 3” 180° Flip Screen Vlog Camera with 32G SD Card, Flash 4K Digital Camera for Photography & Video [Autofocus and Stabilisation] 48MP 16X Digital Zoom 3” 180° Flip Screen Vlog Camera with 32G SD Card, Flash](https://img.kentfaith.com/cache/catalog/products/us/GW41.0065/GW41.0065-1-200x200.jpg)







There are no comments for this blog.