How Bright Should Photography Light Be?
In photography, lighting is not just an accessory but a defining factor that can make or break a shot. Whether you're capturing portraits, landscapes, or still life, understanding how bright your photography light should be is critical. The interplay of brightness, intensity, and positioning directly influences the quality and mood of your images. This article delves into the nuances of photography lighting, offering practical advice to help you master the art of appropriate brightness.
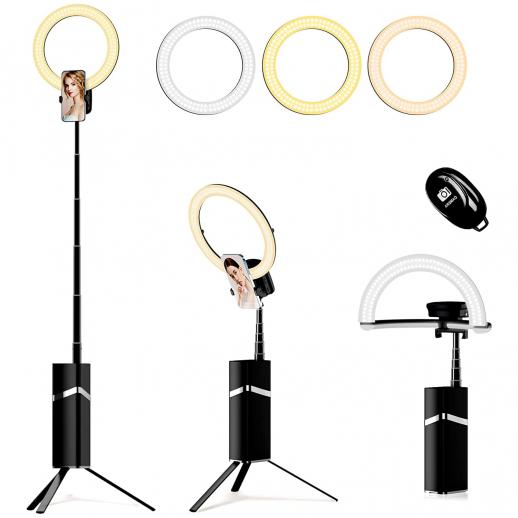
Understanding Light Brightness in Photography
Light brightness in photography is often measured in terms of lumens (the total amount of visible light emitted by a source) or lux (the intensity of light on a specific surface). When discussing brightness, photographers also consider stops of light, which refer to the doubling or halving of light intensity.
The appropriate brightness of photography light depends on several factors:
1. Type of Photography: Portraits, product shots, and macro photography often require controlled, soft lighting, while landscapes may benefit from natural, varying brightness.
2. Light Source: Different lights, such as LEDs, strobes, and continuous lights, provide varying levels of brightness and temperature.
3. Camera Settings: Aperture, ISO, and shutter speed settings directly interact with the light's brightness to determine exposure.
---
Key Factors Influencing Ideal Brightness
1. The Role of Purpose in Determining Brightness
The purpose of your shot plays a significant role in defining the ideal brightness level. For example:
- Portraits: Aim for soft, diffused light to minimize harsh shadows and create a flattering effect. A brightness level of 500-1000 lux is typically suitable.
- Product Photography: Higher brightness (1000-2000 lux) ensures that details and textures are visible, especially for reflective or intricate objects.
- Cinematic Shots: Opt for controlled, lower brightness to create mood and contrast.
2. Subject and Background Interaction
The relationship between the subject and the background also dictates brightness. Overly bright lighting on the subject with a dim background can cause unbalanced exposure, while uniform lighting might flatten the scene. Employing light meters can help you balance the exposure effectively.
3. Distance Between Light Source and Subject
The inverse-square law states that the intensity of light decreases as the distance from the light source increases. Therefore:
- For closer subjects, lower brightness settings can suffice.
- For distant subjects, brighter lights are essential to maintain adequate exposure.
---
How to Adjust Brightness for Specific Scenarios
Natural Light Photography
Natural light varies throughout the day, offering different levels of brightness:
- Golden Hour: Soft, warm light is less bright but highly desirable for portraits and landscapes.
- Midday: Bright, harsh light may require reflectors or diffusers to soften shadows.
Studio Lighting
In a controlled environment, brightness can be adjusted using:
- Dimmer Switches: These allow you to fine-tune the light intensity.
- Modifiers: Softboxes, umbrellas, and reflectors diffuse and shape the light, altering its apparent brightness.
Outdoor Night Photography
Bright artificial lights may overpower the ambiance of night scenes. Use lower brightness settings with high ISO or longer exposures to capture the mood while maintaining clarity.
---
Balancing Brightness with Camera Settings
Proper lighting cannot be achieved without a thorough understanding of camera settings. Here’s how each interacts with light brightness:
1. Aperture: A wider aperture (lower f-stop) allows more light, reducing the need for excessively bright lighting.
2. ISO: Higher ISO values make the camera sensor more sensitive to light but can introduce noise. Use moderate ISO settings in conjunction with appropriate lighting.
3. Shutter Speed: A slower shutter speed allows more light into the camera but may result in motion blur if not stabilized.
---
Tools for Measuring and Adjusting Brightness
1. Light Meters
Light meters are indispensable for determining the exact brightness needed for your shot. They provide precise readings in lux or foot-candles, helping you avoid guesswork.
2. Histograms
Most modern cameras include a histogram feature that visually represents exposure levels. Use histograms to ensure your lighting is neither too bright nor too dim.
3. Apps and Software
Several apps can measure brightness using your smartphone, offering a quick and convenient alternative to traditional light meters.
---
Practical Tips for Optimizing Brightness
1. Experiment with Angles: Adjusting the angle of your light source can dramatically change how brightness interacts with your subject.
2. Layer Your Lighting: Combine multiple light sources with varying intensities to add depth and dimension.
3. Test Before Shooting: Always take a few test shots to fine-tune brightness levels and identify areas that need adjustment.
4. Consider Color Temperature: Brightness often goes hand-in-hand with color temperature. Warmer tones might appear less intense, while cooler tones can seem brighter.
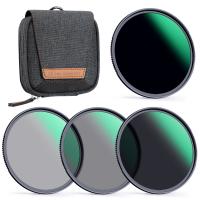
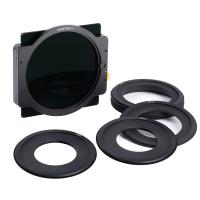
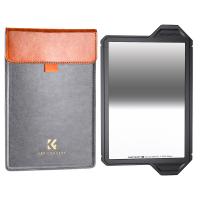
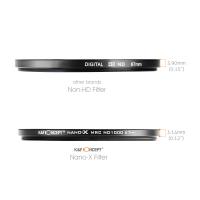
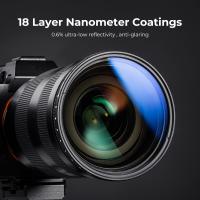
5. Use ND Filters: Neutral density (ND) filters can reduce the intensity of overly bright lights without altering the color.
---
Common Mistakes and How to Avoid Them
1. Overexposure
Excessive brightness can wash out details and create a harsh, unflattering look. Use diffusers or lower the light output to mitigate this.
2. Underexposure
Insufficient brightness results in grainy, unclear images. Increasing brightness or adjusting camera settings like ISO and shutter speed can help.
3. Uneven Lighting
Unbalanced brightness across the frame can distract from the subject. Use multiple light sources or reflectors to distribute light evenly.
---
Case Studies: Brightness in Real-World Scenarios
Portrait Photography
For a headshot in a studio setting, use a key light with brightness around 750 lux, paired with a fill light at about half the intensity. This creates a balanced, flattering look without overwhelming shadows.
Product Photography
To photograph a shiny object like jewelry, place a high-brightness light source above (1500 lux) and use diffusers to eliminate harsh reflections.
Event Photography
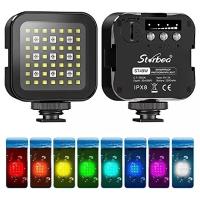
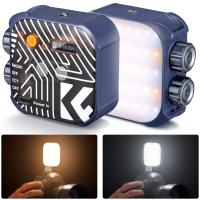
Event venues often have challenging lighting conditions. Carry portable LED lights with adjustable brightness to adapt quickly.
---
When to Break the Rules
While guidelines provide a foundation, creativity often requires bending the rules. For instance:
- High-Key Photography: Use deliberately over-bright lighting to achieve an airy, ethereal effect.
- Low-Key Photography: Dim the brightness significantly to emphasize shadows and create drama.
---
Conclusion
The question of how bright photography lights should be doesn’t have a one-size-fits-all answer. The ideal brightness depends on your subject, environment, and creative vision. By understanding the principles of light brightness and how it interacts with your camera settings, you can make informed decisions that enhance your photography.
In every scenario, the key is balance. Experiment with different levels of brightness, leverage tools like light meters and histograms, and always let your creative instincts guide you. Mastering lighting brightness takes practice, but with time, it will become second nature, elevating your photography to new heights.


