How Can I Make A Voice Recording?
Creating a voice recording is a skill that can be incredibly useful in a variety of contexts, from professional settings to personal projects. Whether you need to record a podcast, create an audio note, or produce a voiceover for a video, understanding the basics of voice recording can help you achieve high-quality results. In this article, we will explore the essential steps and tools required to make a voice recording, along with some tips to ensure your recordings are clear and professional.
Choosing the Right Equipment
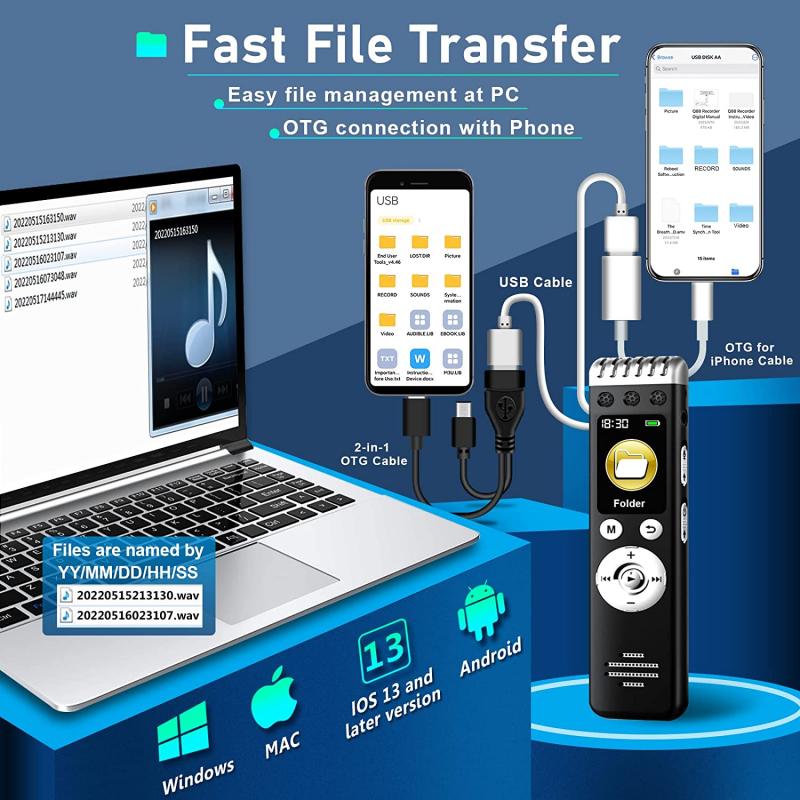
The first step in making a voice recording is selecting the appropriate equipment. The quality of your recording will largely depend on the tools you use. Here are some key pieces of equipment to consider:
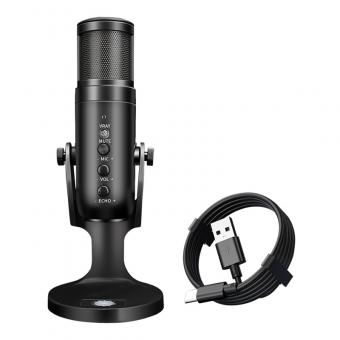
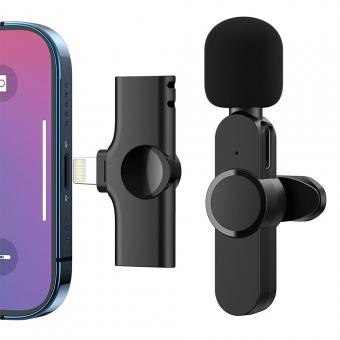
1. Microphone: The microphone is the most critical component of your recording setup. There are various types of microphones, including USB microphones, condenser microphones, and dynamic microphones. USB microphones are user-friendly and ideal for beginners, while condenser microphones offer higher quality and are suitable for studio recordings.
2. Audio Interface: If you opt for a condenser or dynamic microphone, you will need an audio interface to connect the microphone to your computer. An audio interface converts the analog signal from the microphone into a digital signal that your computer can process.
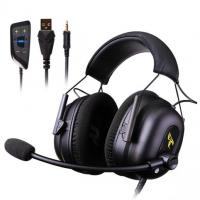
3. Headphones: A good pair of headphones is essential for monitoring your recordings. They allow you to hear any background noise or issues with the audio quality in real-time.
4. Pop Filter: A pop filter is a screen that sits between your mouth and the microphone. It helps reduce plosive sounds (like "p" and "b" sounds) that can cause distortion in your recordings.
5. Recording Software: You will need software to record and edit your audio. There are many options available, ranging from free programs like Audacity to professional software like Adobe Audition or Pro Tools.
Setting Up Your Recording Environment
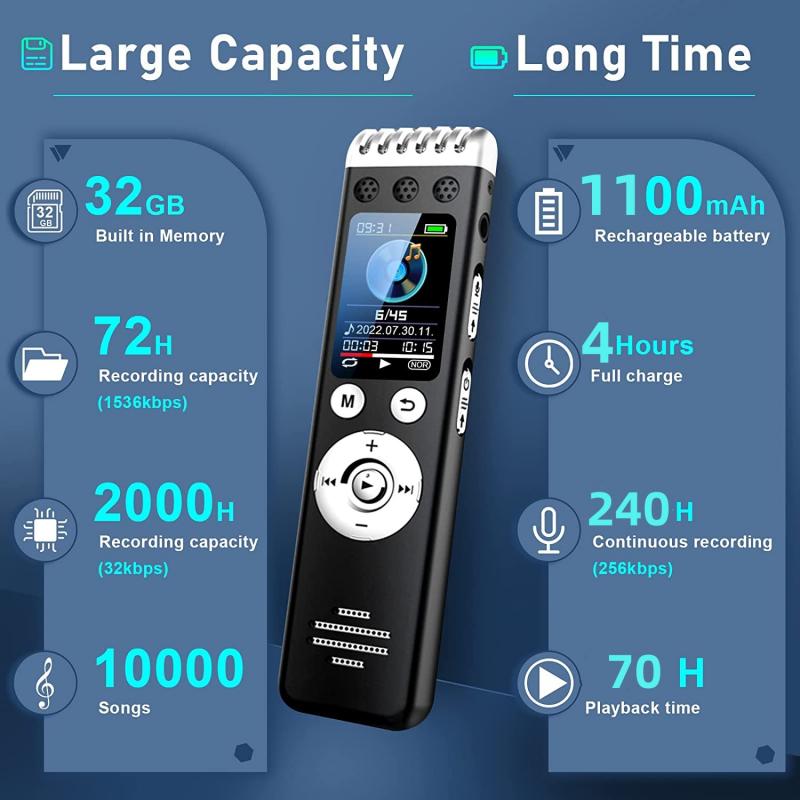
The environment in which you record can significantly impact the quality of your voice recording. Here are some tips for setting up an ideal recording space:
1. Quiet Space: Choose a quiet room with minimal background noise. Turn off any noisy appliances, close windows, and inform others in your household that you are recording.
2. Acoustic Treatment: To reduce echo and reverberation, consider adding some acoustic treatment to your recording space. This can include foam panels, blankets, or even pillows to absorb sound.
3. Microphone Placement: Position your microphone at a comfortable distance from your mouth, typically 6-12 inches. Use a microphone stand to keep it steady and at the correct height.
4. Pop Filter Placement: Place the pop filter a few inches in front of the microphone to minimize plosive sounds.
Recording Your Voice
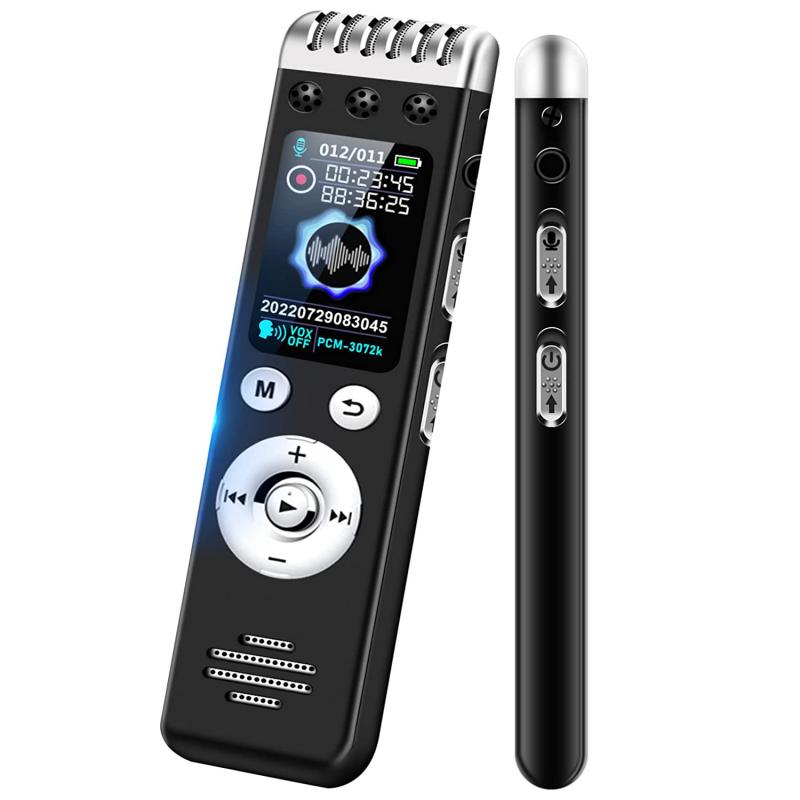
Once you have your equipment set up and your recording environment prepared, you can begin recording your voice. Follow these steps to ensure a successful recording session:
1. Warm-Up: Before you start recording, warm up your voice with some vocal exercises. This can help improve your vocal clarity and reduce strain.
2. Check Levels: Open your recording software and check the input levels. Speak into the microphone at your normal volume and adjust the gain on your audio interface or microphone to ensure the levels are not too high (which can cause distortion) or too low (which can result in a weak signal).
3. Record a Test Clip: Record a short test clip and listen back to it with your headphones. Check for any background noise, distortion, or other issues. Make any necessary adjustments to your setup.
4. Start Recording: Once you are satisfied with the test clip, start recording your voice. Speak clearly and at a consistent volume. If you make a mistake, pause and start the sentence again. You can edit out any mistakes later.
5. Monitor Your Recording: Keep an eye on the input levels and listen to the recording through your headphones to ensure everything sounds good.
Editing Your Recording
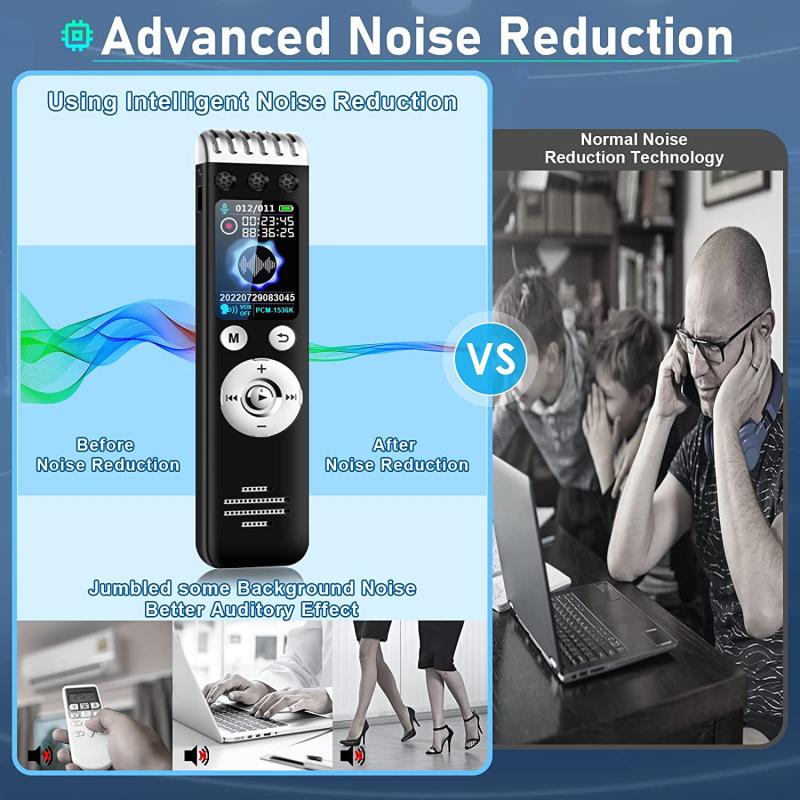
After you have finished recording, the next step is to edit your audio. Editing allows you to remove any mistakes, background noise, and improve the overall quality of your recording. Here are some basic editing steps:
1. Import Your Audio: Import your recorded audio into your editing software.
2. Remove Mistakes: Listen through the recording and cut out any mistakes or unwanted sections. Most editing software allows you to easily cut, copy, and paste sections of audio.
3. Noise Reduction: Use noise reduction tools to remove any background noise. Be careful not to overdo it, as this can make your voice sound unnatural.
4. Equalization (EQ): Use EQ to adjust the frequency balance of your recording. For example, you can boost the low frequencies to add warmth to your voice or reduce the high frequencies to remove harshness.
5. Compression: Apply compression to even out the volume levels of your recording. Compression reduces the dynamic range, making the quieter parts louder and the louder parts quieter.
6. Add Effects: If desired, you can add effects like reverb or delay to enhance your recording. Use these effects sparingly to avoid making your voice sound artificial.
7. Export Your Audio: Once you are happy with the edits, export your audio in the desired format (e.g., MP3, WAV).
Tips for High-Quality Voice Recordings
To ensure your voice recordings are of the highest quality, keep the following tips in mind:
1. Hydrate: Drink plenty of water before and during your recording session to keep your vocal cords hydrated.
2. Avoid Caffeine and Dairy: Caffeine and dairy products can cause mucus buildup and affect your vocal clarity. Avoid these before recording.
3. Maintain Good Posture: Sit or stand up straight while recording to allow for proper breath support and vocal projection.
4. Speak Naturally: Try to speak naturally and conversationally. Overly scripted or stiff delivery can sound unnatural.
5. Take Breaks: If you are recording for an extended period, take breaks to rest your voice and avoid fatigue.
Making a voice recording involves more than just speaking into a microphone. By choosing the right equipment, setting up an ideal recording environment, and following best practices for recording and editing, you can create high-quality voice recordings that meet your needs. Whether you are recording a podcast, creating an audio note, or producing a voiceover, these tips and techniques will help you achieve professional results. Happy recording!

