How Do I Find A Wifi Camera Ip Address ?
Finding the IP address of a WiFi camera can be a crucial step in setting up and managing your home or office security system. Whether you are a tech enthusiast or a novice, understanding how to locate this information can save you time and ensure your surveillance system is functioning correctly. In this article, we will explore various methods to find the IP address of your WiFi camera, discuss the tools you might need, and provide step-by-step instructions to make the process as straightforward as possible.
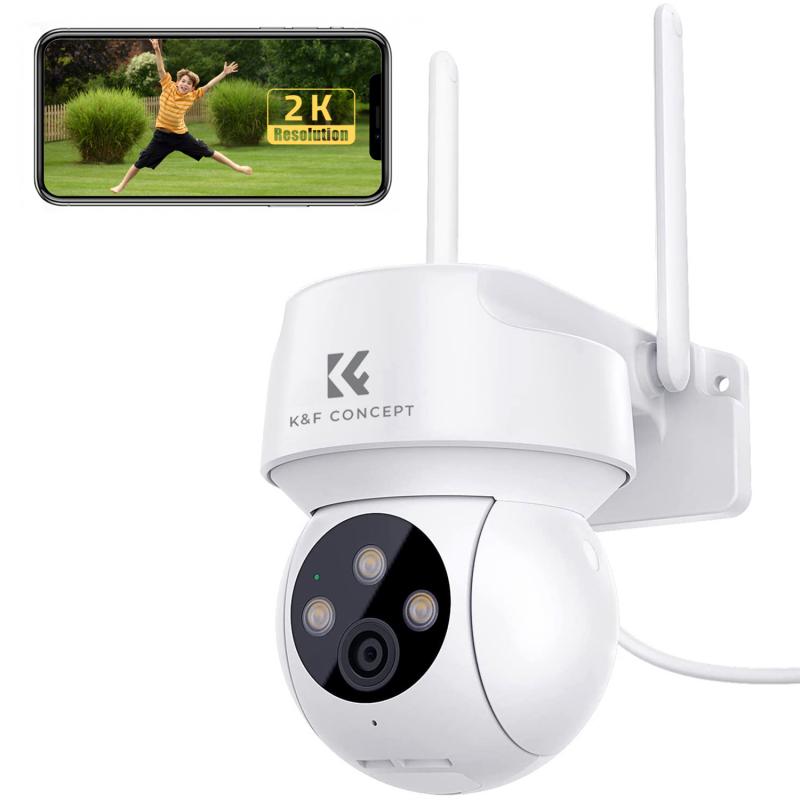
Understanding the Basics
Before diving into the methods, it's essential to understand what an IP address is and why it's important. An IP address (Internet Protocol address) is a unique identifier assigned to each device connected to a network. For WiFi cameras, the IP address allows you to access the camera's feed, configure settings, and perform other administrative tasks.
Method 1: Using the Camera's Software
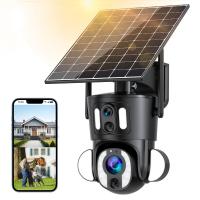
Most WiFi cameras come with proprietary software or a mobile app provided by the manufacturer. This software often includes features that allow you to find the camera's IP address easily.
1. Install the Software: Download and install the software or app from the manufacturer's website or app store.
2. Connect the Camera: Ensure your camera is connected to the same WiFi network as your computer or mobile device.
3. Open the Software: Launch the software or app and log in using your credentials.
4. Locate the Camera: Navigate to the section where your camera is listed. This is usually under a tab like "Devices" or "Cameras."
5. Find the IP Address: The IP address should be displayed alongside other details about the camera.
Method 2: Using a Network Scanner
If the camera's software does not provide the IP address, you can use a network scanner tool. These tools scan your network and list all connected devices along with their IP addresses.
1. Download a Network Scanner: Popular options include Advanced IP Scanner, Fing, and Angry IP Scanner.
2. Install and Run the Scanner: Follow the installation instructions and launch the tool.
3. Scan the Network: Initiate a scan of your network. This process may take a few minutes.
4. Identify the Camera: Look through the list of connected devices to find your camera. It may be listed by its MAC address or manufacturer name.
5. Note the IP Address: Once you locate the camera, note down its IP address.
Method 3: Using the Router's Admin Page
Your router's admin page can also provide a list of connected devices and their IP addresses.
1. Access the Router's Admin Page: Open a web browser and enter your router's IP address (commonly 192.168.1.1 or 192.168.0.1) in the address bar.
2. Log In: Enter your router's admin username and password. If you haven't changed these, they are often set to default values like "admin" and "password."
3. Navigate to Connected Devices: Look for a section labeled "Connected Devices," "Device List," or something similar.
4. Find the Camera: Identify your camera from the list. It may be listed by its MAC address or device name.
5. Note the IP Address: Record the IP address associated with your camera.
Method 4: Using Command Prompt (Windows) or Terminal (Mac/Linux)
For those comfortable with command-line interfaces, you can use Command Prompt or Terminal to find the IP address.
1. Open Command Prompt/Terminal: On Windows, press `Win + R`, type `cmd`, and press Enter. On Mac/Linux, open Terminal from the Applications folder or use a shortcut.
2. Ping the Network: Type `arp -a` and press Enter. This command will display a list of all devices connected to your network along with their IP addresses and MAC addresses.
3. Identify the Camera: Match the MAC address of your camera (usually found on the camera or in its documentation) with the list to find the corresponding IP address.
Troubleshooting Tips
- Ensure the Camera is On: Make sure your camera is powered on and connected to the WiFi network.
- Check for Interference: Other electronic devices can sometimes interfere with WiFi signals. Ensure your camera is placed in an area with a strong WiFi signal.
- Update Firmware: Ensure your camera's firmware is up to date. Sometimes, outdated firmware can cause connectivity issues.
Conclusion
Finding the IP address of your WiFi camera is a fundamental step in setting up and managing your surveillance system. Whether you use the camera's software, a network scanner, your router's admin page, or command-line tools, the process is generally straightforward. By following the methods outlined in this article, you can quickly locate your camera's IP address and ensure your security system is functioning optimally.
Understanding how to find your WiFi camera's IP address not only helps in the initial setup but also aids in troubleshooting and maintaining your security system. With this knowledge, you can confidently manage your surveillance setup and ensure your home or office remains secure.
















There are no comments for this blog.