How Do You Build A Telescope?
Building a telescope can be a rewarding and educational experience, allowing you to explore the night sky with a device you crafted yourself. Whether you're an amateur astronomer or a hobbyist, constructing your own telescope can deepen your understanding of optics and astronomy. This article will guide you through the process of building a simple yet effective telescope, covering the essential components, tools, and steps required.
Understanding the Basics
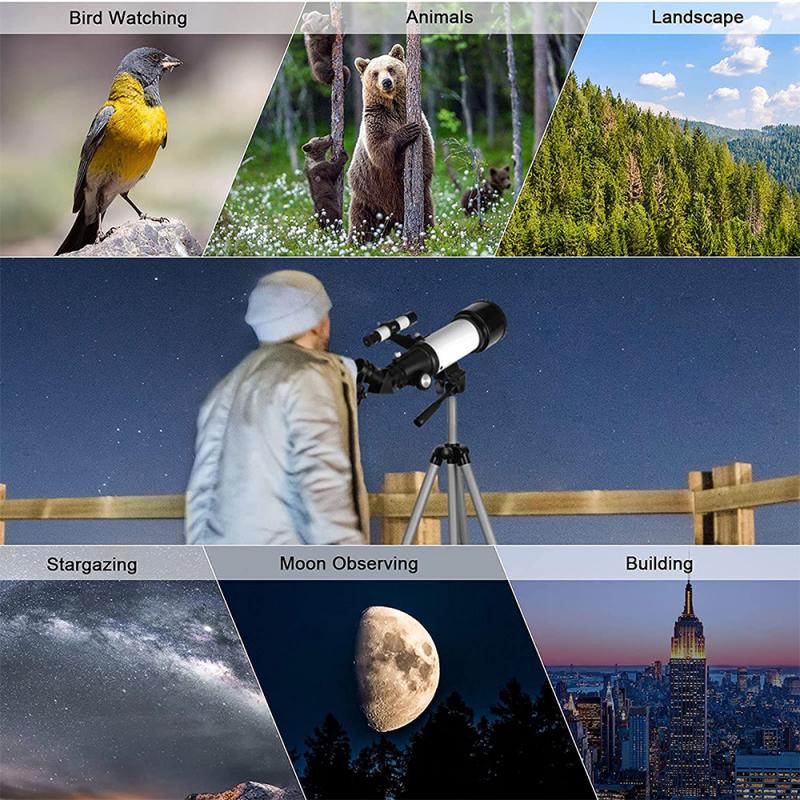
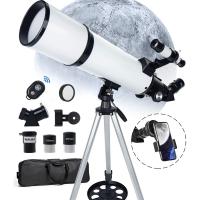
Before diving into the construction process, it's crucial to understand the basic principles of how a telescope works. A telescope is an optical instrument designed to make distant objects appear closer and more detailed. It typically consists of two main types of lenses or mirrors: the objective lens (or primary mirror) and the eyepiece. The objective lens gathers light from a distant object and focuses it to create an image, while the eyepiece magnifies this image for viewing.
There are two primary types of telescopes: refracting telescopes, which use lenses, and reflecting telescopes, which use mirrors. For this guide, we'll focus on building a simple refracting telescope, as it is generally easier for beginners.
Materials and Tools Needed
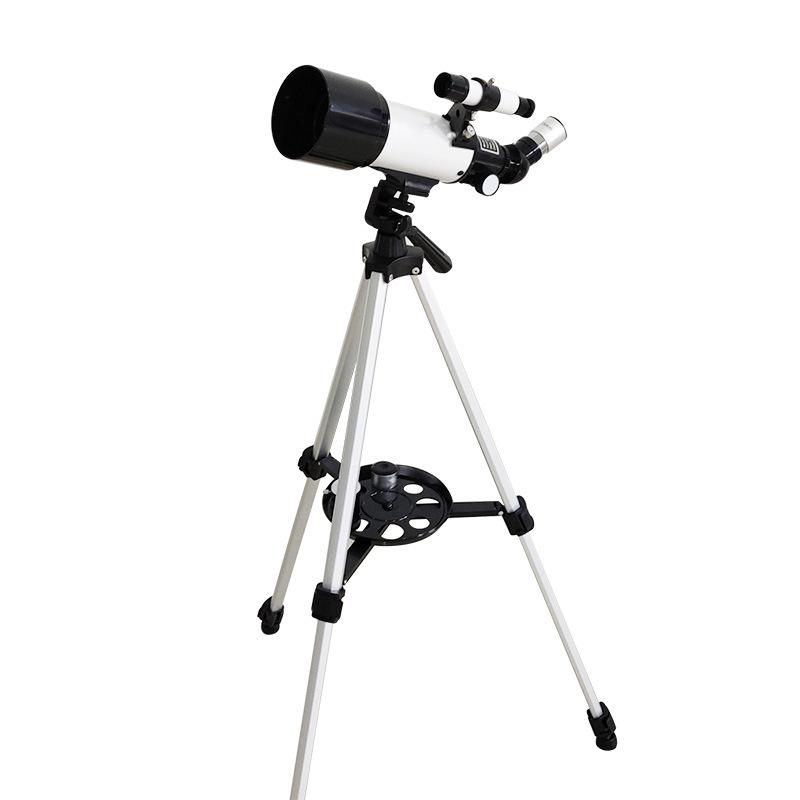
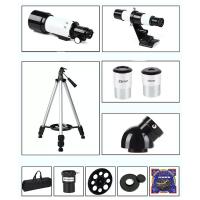
To build a basic refracting telescope, you will need the following materials and tools:
1. Objective Lens: A convex lens with a focal length of around 700-1000 mm.
2. Eyepiece Lens: A smaller convex lens with a focal length of around 20-25 mm.
3. Telescope Tube: A long, sturdy tube to hold the lenses in place. PVC pipes or cardboard tubes work well.
4. Lens Holders: These can be made from cardboard or purchased as ready-made components.
5. Focusing Mechanism: A simple rack-and-pinion focuser or a sliding tube mechanism.
6. Mount and Tripod: A stable mount to hold the telescope steady. A camera tripod can be repurposed for this.
7. Miscellaneous: Black paint or flocking material to reduce internal reflections, glue, tape, and basic hand tools like a saw, screwdriver, and measuring tape.
Step-by-Step Construction
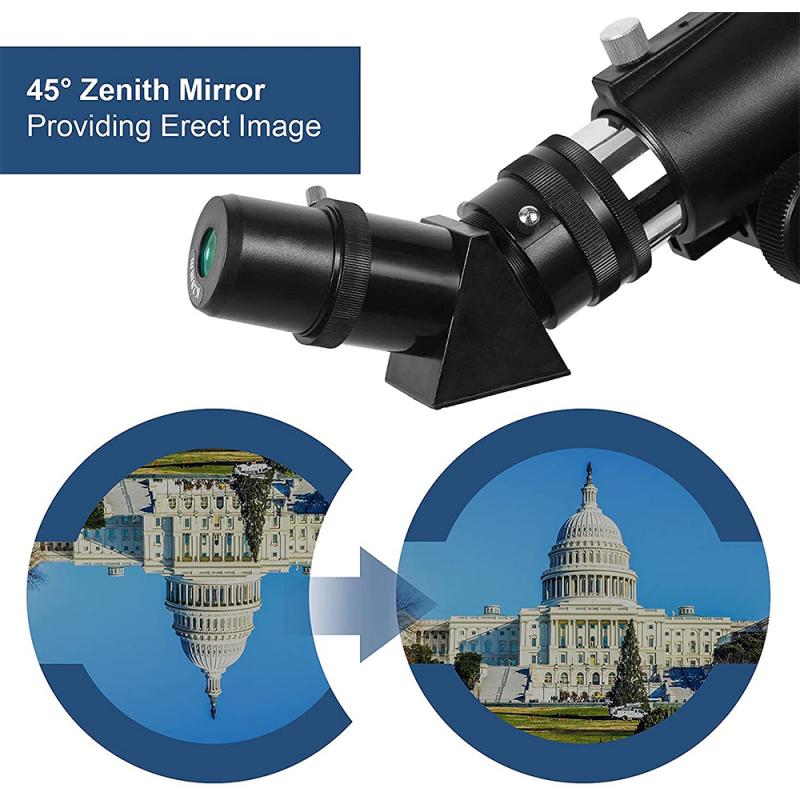
Step 1: Preparing the Telescope Tube
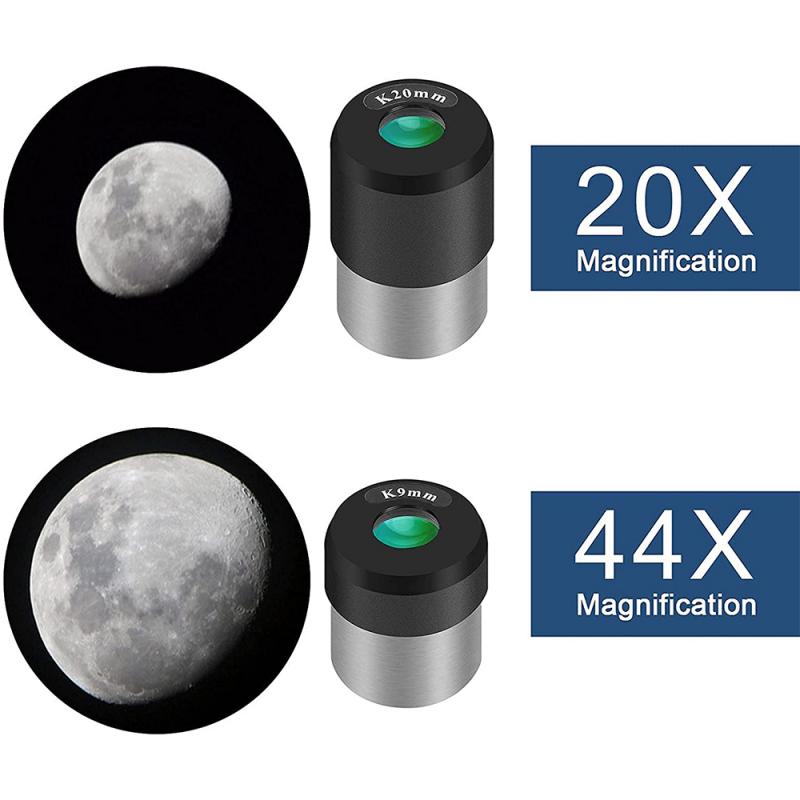
The first step is to prepare the telescope tube. If you're using a PVC pipe, cut it to the desired length, typically around 1 meter. If you're using a cardboard tube, ensure it is sturdy enough to hold the lenses without bending.
Paint the inside of the tube with black paint or line it with flocking material to minimize internal reflections, which can degrade the image quality.
Step 2: Mounting the Objective Lens
The objective lens is the most critical component of your telescope. It should be securely mounted at one end of the tube. You can use a lens holder made from cardboard or purchase a ready-made holder. Ensure the lens is centered and fixed firmly in place.
Step 3: Installing the Eyepiece
The eyepiece lens should be mounted at the opposite end of the tube. The distance between the objective lens and the eyepiece should be adjustable to allow for focusing. You can achieve this by using a sliding tube mechanism or a simple rack-and-pinion focuser.
To create a sliding tube mechanism, use a smaller diameter tube that fits snugly inside the main telescope tube. Attach the eyepiece to this smaller tube, allowing it to slide back and forth for focusing.
Step 4: Adding the Focusing Mechanism
If you prefer a more precise focusing mechanism, you can install a rack-and-pinion focuser. This device allows you to adjust the distance between the objective lens and the eyepiece with a knob, providing finer control over the focus.
Step 5: Assembling the Mount and Tripod
A stable mount is essential for steady viewing. You can repurpose a camera tripod or build a simple mount using wood or metal. Ensure the mount allows for smooth movement in both horizontal and vertical directions.
Attach the telescope tube to the mount securely. The tube should be balanced to prevent it from tipping over.
Step 6: Final Adjustments and Testing
Once the telescope is assembled, it's time to make final adjustments and test it. Point the telescope at a distant object, such as a building or tree, and adjust the focus until the image is sharp. Make sure the lenses are aligned correctly and that there are no internal reflections or obstructions.
Tips for Better Performance
1. Lens Quality: The quality of the lenses significantly impacts the performance of your telescope. Invest in good-quality lenses to achieve clearer and sharper images.
2. Tube Stability: Ensure the telescope tube is rigid and stable. Any flexing or bending can misalign the lenses and degrade the image quality.
3. Reducing Reflections: Internal reflections can reduce contrast and clarity. Use black paint or flocking material inside the tube to minimize reflections.
4. Weather Conditions: Atmospheric conditions can affect your viewing experience. Clear, dark skies away from city lights provide the best conditions for stargazing.
Troubleshooting Common Issues
1. Blurry Images: If the image is blurry, check the focus and ensure the lenses are clean and free of dust or smudges.
2. Misalignment: If the image appears distorted or off-center, check the alignment of the lenses and make sure they are securely mounted.
3. Shaky Images: If the image shakes or vibrates, ensure the mount and tripod are stable and that the telescope tube is balanced.
Building a telescope is a fulfilling project that combines craftsmanship with scientific exploration. By understanding the basic principles of optics and following the steps outlined in this guide, you can create a functional telescope that allows you to explore the wonders of the night sky. Remember to take your time, pay attention to detail, and enjoy the process of constructing your own astronomical instrument. Happy stargazing!

