How Do You Read A Fish Finder?
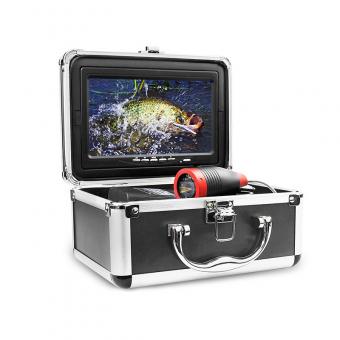
Reading a fish finder can be a game-changer for anyone interested in fishing. Whether you're a professional angler or a fishing enthusiast enjoying the sport, understanding how to effectively use this technology can make your fishing experience more productive and enjoyable. A fish finder, essentially, is a device that uses sonar to locate fish underwater and provide information about the underwater environment. To get the most out of it, you need to understand how to interpret the data it provides. The following guide will walk you through the critical aspects of reading a fish finder and provide practical tips to enhance your fishing success.
Understanding Fish Finder Basics
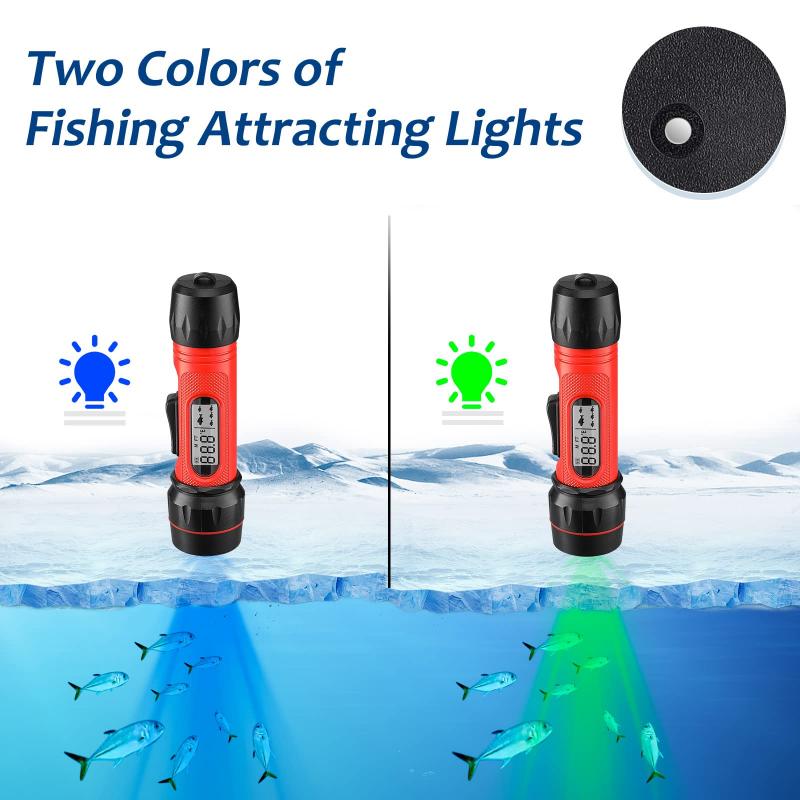
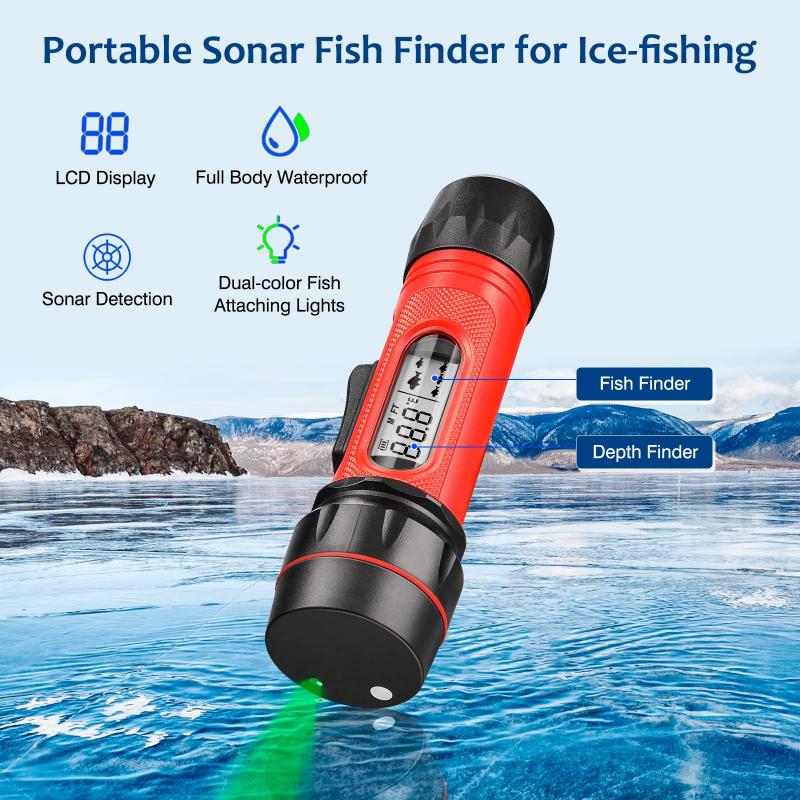
Before diving into the nuances of interpreting fish finder data, it's important to understand the fundamental components of a fish finder. Typically, a fish finder consists of a display screen and a transducer. The transducer emits sound waves into the water; these waves bounce off objects (like fish, vegetation, or the bottom of the waterbody) and return to the transducer. The fish finder then processes these signals to create a visual representation on the display screen.
Interpreting the Display
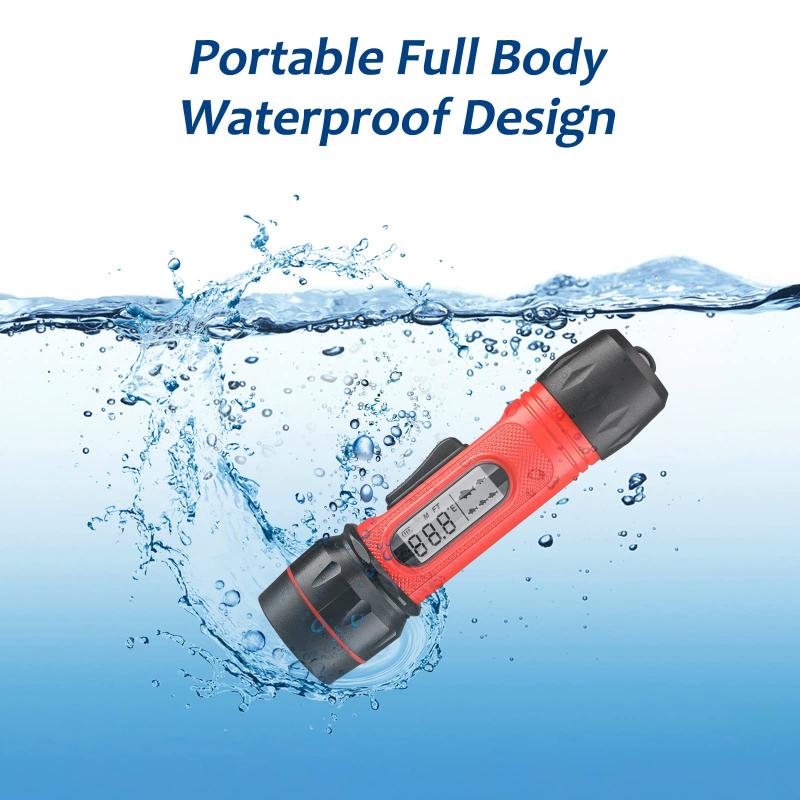
1. Sonar Returns and Color Codes:
- Strong Returns: These are often represented by bright colors (like red or orange) on color fish finders. Strong returns typically indicate solid objects like rocks, the seabed, or structures.
- Weak Returns: Shown as weaker colors (like blue or green), these are typically less dense items such as weeds, schools of baitfish, or the water column.
- Fish Arcs: Most fish finders depict fish as arches on the screen. The reason they appear as arches rather than fish shapes is due to the movement of the fish in and out of the sonar cone.
2. Bottom Contour:
- Pay attention to the bottom contour on your screen. A hard, smooth bottom will traditionally show up as a thin, bright line, while a soft, muddy, or weedy bottom appears as a thicker line.
- Changes in contour can indicate drop-offs and ledges which are ideal spots for finding fish.
3. Depth Indicator:
- Always note the depth displayed on the screen. This can help identify the swimming layer of the fish and also prevent your fishing gear from getting snagged on the bottom.
4. Fish ID Technology:
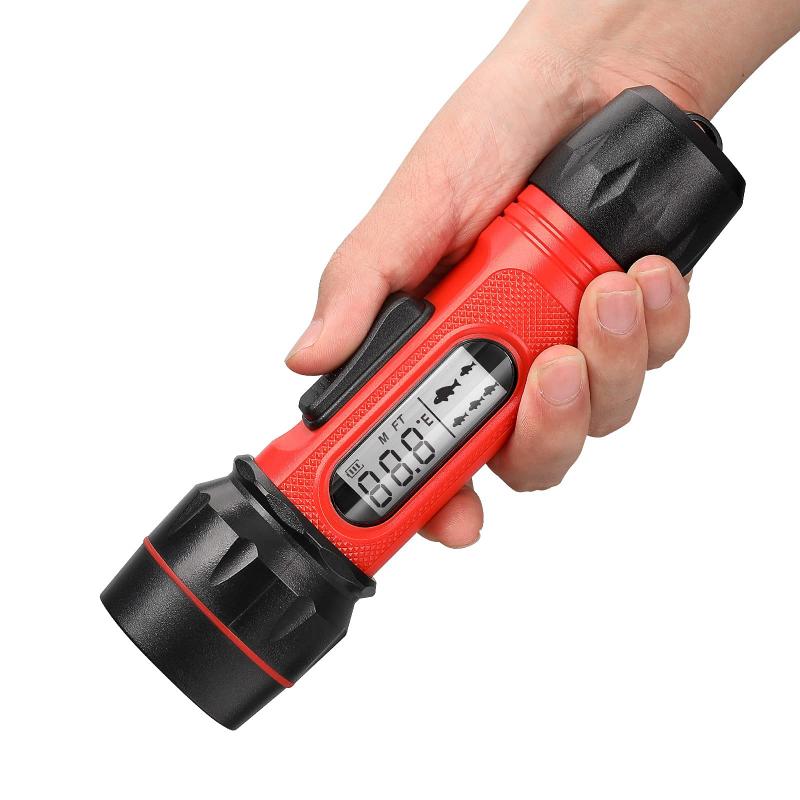
- Some fish finders come with Fish ID technology, which simplifies reading by converting sonar returns into fish icons. However, this mode can sometimes be inaccurate due to the inability to distinguish between fish and debris consistently.
Optimizing the Fish Finder Settings
1. Sensitivity:
- Adjusting the sensitivity setting lets you control the strength of the sonar returns shown on the display. Higher sensitivity will display more details but can also create clutter. Start with medium sensitivity and adjust based on water conditions and target species.
2. Frequency:
- Fish finders typically offer multiple frequencies for different depths of water. A higher frequency (200 kHz) offers more detail and is ideal for shallow waters, while a lower frequency (50 kHz) penetrates deeper waters but with lesser detail.
3. Range & Zooming:
- Setting the correct range will allow you to focus on a specific depth layer. Zoom functions, on the other hand, can help you scrutinize areas of interest more closely, such as bottom structures which might harbor fish.
4. GPS and Mapping:
- Many modern fish finders integrate GPS and chart-plotting features that let you mark locations, track your route, and identify productive fishing spots. Leveraging these mapping tools helps to locate structures and return to successful spots in future trips.
Practical Application
Let's put the theory into practice:
1. Locate the Structure:
- Fish often congregate around structures such as reefs, underwater vegetation, or man-made objects like shipwrecks. Use your fish finder to locate these structures first.
2. Identify Fish:
- Once you find a promising structure, observe the screen for fish arches or Fish ID symbols. Note the depth at which these fish arches appear and adjust your fishing strategy accordingly.
3. Adjust Based on Conditions:
- If you’re in murky water with lots of debris, lower your sensitivity to reduce clutter. In clear water, you can increase sensitivity to identify smaller fish or baitfish schools.
4. Consistent Monitoring:
- Continuously monitor the fish finder as you fish. Fish are mobile, and underwater conditions can change quickly. Regular checks will ensure you stay updated and adjust your position or technique as required.
Troubleshooting Common Issues
Even with the best equipment, you might encounter problems. Here’s how to resolve some common issues:
1. No Display:
- Check the power connection and ensure the unit is properly turned on. Also, verify if the transducer is correctly connected and submerged in water.
2. Erratic Readings:
- If the fish finder gives inconsistent depth readings, it could be due to air bubbles around the transducer. Make sure it’s securely mounted and clear of turbulence.
3. Interference:
- Other electronic devices or electrical interference can affect readings. Ensure other devices are not causing the issue or try moving the transducer to a different location.
Mastering the art of reading a fish finder is an ongoing process that involves practice and keen observation. By understanding the basics of how your device works, interpreting the various displays accurately, optimizing the settings based on the fishing environment, and applying practical techniques on the water, you can significantly enhance your fishing outcomes. As you gain experience, you’ll become more adept at discerning the subtle details that make all the difference in locating and catching fish. Remember, while technology is a powerful tool, combining it with traditional fishing knowledge and instincts will truly make you a successful angler.


