How Do You Record Facetime With Audio?
Recording FaceTime calls, including both video and audio, can be quite useful for many reasons, such as for meetings, interviews, or simply keeping memories. However, it's important to note that recording FaceTime calls without the other party's consent may be illegal in certain regions, so always make sure you're respecting privacy laws and notifying participants.
Here’s a detailed guide on how to record FaceTime with audio, along with some tips and tools to help you achieve the best quality.
1. Record FaceTime on an iPhone or iPad (Screen Recording Method)
One of the simplest ways to record FaceTime with audio on iPhones or iPads is by using the built-in screen recording feature. Here’s how to do it:
Step-by-Step Process:

1. Enable Screen Recording:
- Open the Settings app.
- Scroll down and tap on Control Center.
- Under the "Included Controls" section, tap the green plus button next to Screen Recording to add it to your Control Center.
2. Start Screen Recording:
- Open the Control Center by swiping down from the top-right corner on an iPhone with Face ID or swiping up from the bottom on an iPhone with a Home button.
- Press the screen recording icon (a circle within a circle).
- You'll see a 3-second countdown before recording starts. To ensure you’re recording audio, make sure the microphone icon at the bottom is red. If it's not, tap it to enable sound recording.
3. Make the FaceTime Call:
- Open the FaceTime app and place or receive a call.
- The screen recording will capture both video and audio from the call.
4. Stop the Recording:
- Once your call is finished, open the Control Center again and tap the screen recording icon to stop.
- Your recording will automatically save to the Photos app, where you can access it.
Important Considerations:
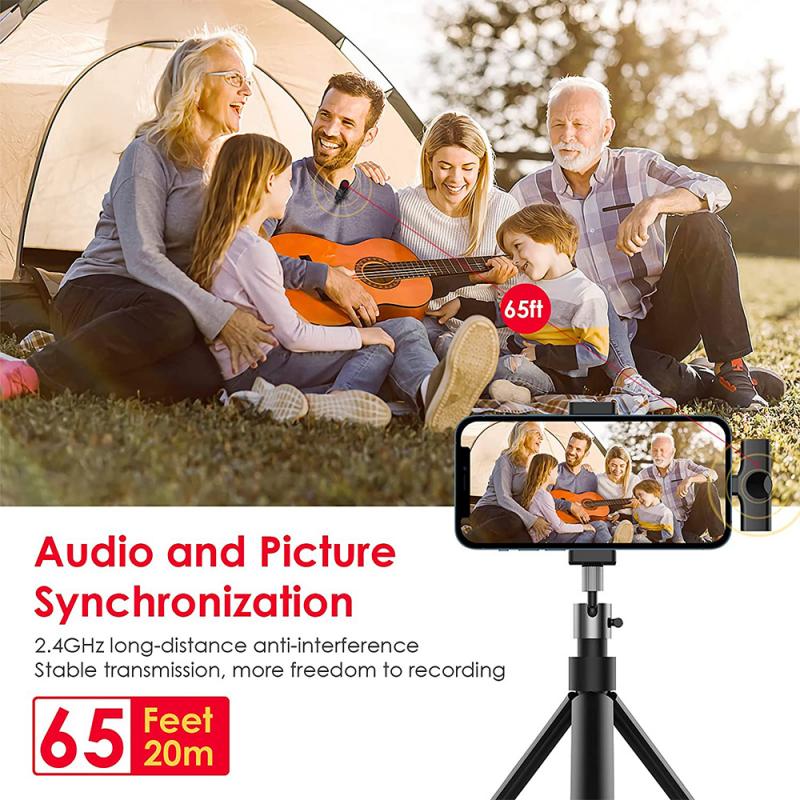
- Audio Quality: The iPhone’s screen recording captures internal audio, but sometimes, external noise or background sounds may interfere. To minimize this, ensure that you're in a quiet environment.
- Mute Notifications: Consider turning on Do Not Disturb mode to prevent notifications from popping up during your recording.
2. Using Third-Party Apps for Recording
If you’re looking for more advanced features or higher-quality recordings, third-party apps might be an ideal solution. Several apps are specifically designed to help you capture FaceTime calls, including audio.
Popular Apps for Recording FaceTime:
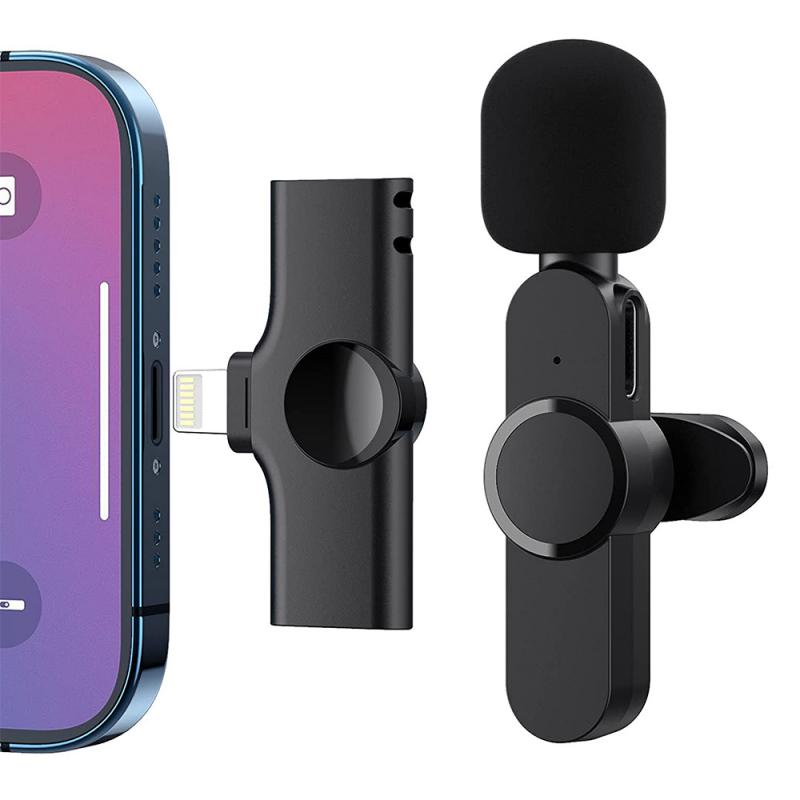
1. TapeACall (iOS App)
- TapeACall is one of the most popular apps for recording calls, including FaceTime audio calls. Although it mainly works for regular calls, it can be used with FaceTime Audio (not FaceTime Video) calls by merging calls with the app's recording service.
- Pros: Simple to use, provides both audio and video recording, and includes cloud storage options.
- Cons: It’s a paid app, and there’s a limitation on free usage.
2. Call Recorder for FaceTime (iOS)
- This app is designed specifically for FaceTime and other video calls. It allows you to record both audio and video with ease, and it’s a popular choice among users who need reliable call recording.
- Pros: Easy interface, free basic version available.
- Cons: The quality of the video might be reduced during longer calls, and certain features are locked behind a paywall.
How to Use Third-Party Apps:
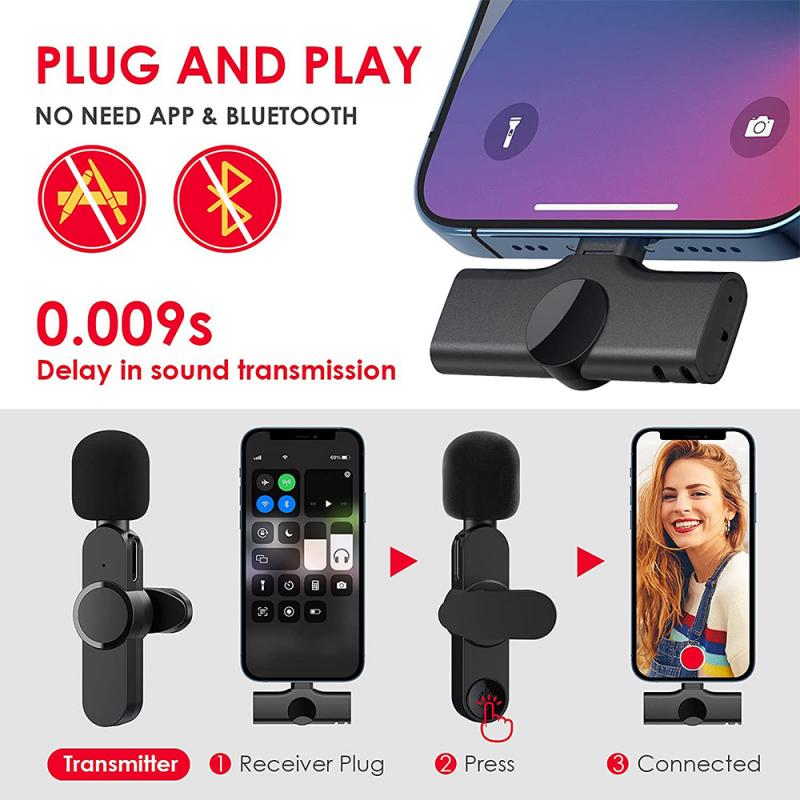
- Download the app from the App Store.
- Follow the app's instructions to record the call. Many of these apps require you to either start the recording before or during the call. Some may also prompt you to join a specific call number or merge your FaceTime call with the app’s recording system.
3. Using a Mac for FaceTime Recording
If you’re using a Mac, the process for recording FaceTime is slightly different. macOS offers more flexibility, and you can take advantage of tools like QuickTime Player, which allows you to record both screen and audio with high-quality results.
Step-by-Step Process:
1. Open QuickTime Player:
- Go to Applications and open QuickTime Player.
- From the top menu, click File and then select New Screen Recording.
2. Enable Audio Recording:
- Before starting, click the small arrow next to the record button in QuickTime to select the microphone input. Make sure to choose Internal Microphone if you want to capture audio from the FaceTime call.
3. Start the Recording:
- Click the Record button in QuickTime. You can choose to record the full screen or select a portion of the screen that includes your FaceTime window.
- Once the recording starts, initiate or answer your FaceTime call.
4. Stop the Recording:
- When you’re done, click the Stop button in QuickTime.
- Save the recording to your preferred location.
Advantages of Using a Mac:
- Better Quality: Mac’s internal microphone or any external microphones you connect will capture high-quality sound.
- Editing Capabilities: QuickTime lets you edit your recordings post-call, including trimming and cutting unwanted parts.
4. Using an External Audio Recorder
In some cases, if you want to ensure the highest possible audio quality, you can use an external microphone or audio recording device. This is especially useful if you want to record not just the FaceTime call but also any surrounding sounds or if you need to use a more professional setup.
Step-by-Step Process:
1. Connect the External Microphone:
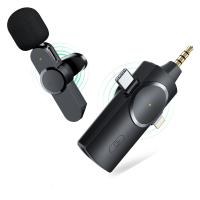
- Connect a high-quality microphone (e.g., USB microphone, lapel mic, or condenser mic) to your Mac or iPhone.
2. Start the FaceTime Call:
- Start your FaceTime call on your device as usual.
3. Start the External Recording Device:
- Begin recording with your external device. You can use a separate audio recording app like Audacity on your Mac or Ferrite on your iPhone for more advanced control over the audio quality.
4. Sync Audio and Video:
- After the call, you may need to sync the external audio with the video in a video editor, such as iMovie or Final Cut Pro.
Pros and Cons:
- Pros: Superior audio quality, more control over the recording.
- Cons: Additional equipment is required, and syncing audio/video can be time-consuming.
5. Legal Considerations:
Before proceeding with recording a FaceTime call, it’s crucial to consider the legal implications. In many regions, recording conversations without the consent of all participants is prohibited.
- One-Party Consent States: In some places, only one person needs to consent to the recording. This means you can legally record the call as long as you’re one of the participants.
- All-Party Consent States: In other places, all participants need to be informed and consent to the recording. Always ask for permission before recording.
Failure to follow these laws can result in legal consequences, so make sure to familiarize yourself with your local regulations.
Conclusion:
Recording FaceTime calls with audio is relatively straightforward, whether you’re using a built-in iPhone feature like screen recording, third-party apps, or professional software on a Mac. While the methods vary in complexity and quality, each option provides a viable solution depending on your needs. Always keep in mind the legal and ethical implications of recording calls, and ensure that everyone involved is aware and has consented to the recording.
With these tools and tips at your disposal, you can capture FaceTime calls with ease, making it simple to preserve important conversations or create high-quality recordings for professional use.














There are no comments for this blog.