How Do You Set Up Wireless Security Cameras?
Setting up wireless security cameras can seem like a daunting task, especially if you’re not particularly tech-savvy. However, with the right guidance, you can have your security system up and running in no time. This article will walk you through the process step-by-step, ensuring that you understand each part of the setup and can troubleshoot any issues that may arise.
Understanding Wireless Security Cameras

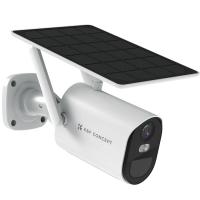
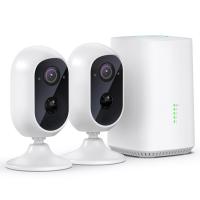
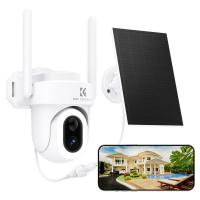
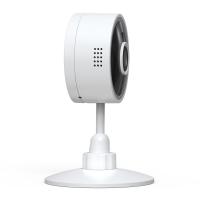
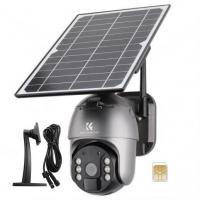
Before diving into the setup process, it’s important to understand what wireless security cameras are and how they work. Unlike traditional wired cameras, wireless security cameras transmit video and audio signals through a wireless network. This makes them easier to install and more flexible in terms of placement. However, they still require a power source, which can be a battery or a power adapter.
Step 1: Choose the Right Camera
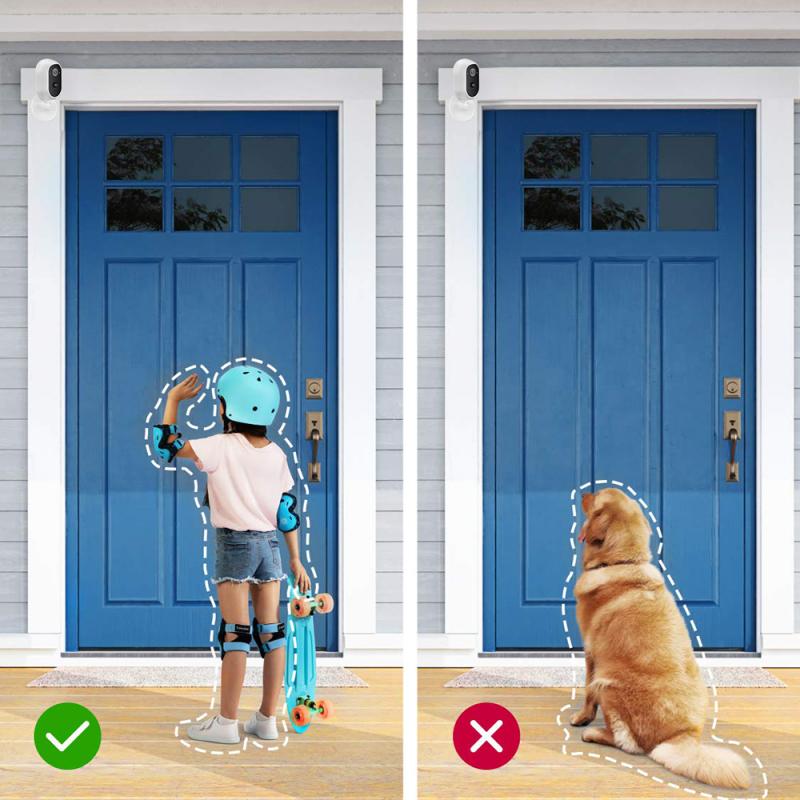
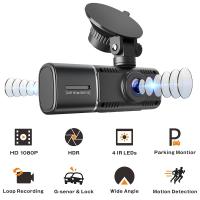
The first step in setting up your wireless security camera system is choosing the right camera for your needs. Consider the following factors:
- Resolution: Higher resolution cameras provide clearer images but may require more bandwidth.
- Field of View: A wider field of view allows you to cover more area with a single camera.
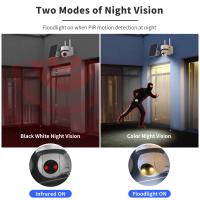
- Night Vision: If you need to monitor areas in low light, make sure your camera has night vision capabilities.
- Two-Way Audio: Some cameras offer two-way audio, allowing you to communicate with people on the other end.
- Storage Options: Decide whether you want cloud storage, local storage, or both.
Step 2: Plan Your Camera Placement

Proper placement is crucial for effective surveillance. Here are some tips for optimal camera placement:
- Entry Points: Place cameras at all entry points, including doors and windows.
- High Traffic Areas: Monitor areas where people frequently pass through, such as hallways and living rooms.
- Out of Reach: Install cameras high enough to be out of reach to prevent tampering.
- Avoid Obstructions: Ensure there are no obstructions blocking the camera’s view.
Step 3: Install the Cameras
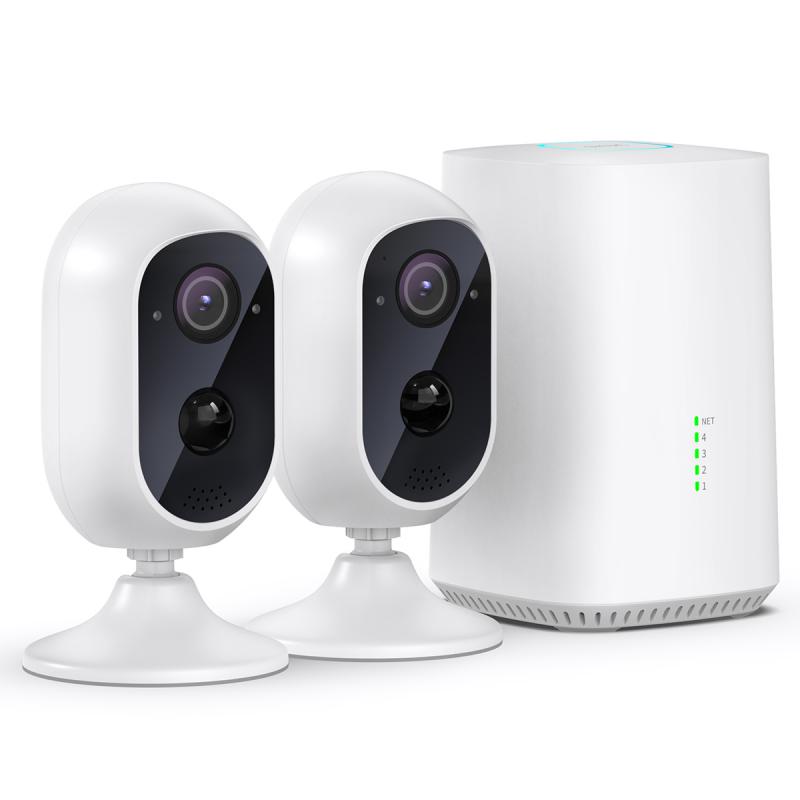
Once you’ve chosen your cameras and planned their placement, it’s time to install them. Follow these steps:
1. Mount the Camera: Use the provided mounting hardware to secure the camera in place. Make sure it’s stable and positioned correctly.
2. Power the Camera: Connect the camera to a power source. If it’s battery-operated, insert the batteries.
3. Connect to Wi-Fi: Follow the manufacturer’s instructions to connect the camera to your Wi-Fi network. This usually involves downloading an app and following a setup wizard.
Step 4: Configure the Camera Settings
After installing the cameras, you’ll need to configure the settings to suit your needs. Here’s what to consider:
- Motion Detection: Adjust the sensitivity of the motion detection feature to avoid false alarms.
- Notifications: Set up notifications to alert you when the camera detects motion or sound.
- Recording Schedule: Decide whether you want continuous recording or only when motion is detected.
- Privacy Zones: Some cameras allow you to set privacy zones to exclude certain areas from being recorded.
Step 5: Test the System
Before relying on your new security system, it’s important to test it thoroughly. Here’s how:
- Check the Live Feed: Ensure you can view the live feed from each camera on your smartphone or computer.
- Test Motion Detection: Walk in front of the cameras to see if they detect motion and send notifications.
- Review Recorded Footage: Check the recorded footage to make sure it’s clear and stored correctly.
Troubleshooting Common Issues
Even with careful setup, you may encounter some issues. Here are common problems and their solutions:
- Weak Wi-Fi Signal: If your camera is too far from the router, consider using a Wi-Fi extender.
- Interference: Other wireless devices can interfere with the camera’s signal. Try changing the Wi-Fi channel.
- Power Issues: Ensure the camera is properly connected to a power source. If it’s battery-operated, check the battery level.
- App Problems: If the app isn’t working correctly, try reinstalling it or updating to the latest version.
Enhancing Your Security System
To get the most out of your wireless security cameras, consider these additional tips:
- Regular Maintenance: Clean the camera lenses regularly and check for firmware updates.
- Secure Your Network: Use a strong password for your Wi-Fi network and enable encryption to prevent unauthorized access.
- Integrate with Other Systems: Consider integrating your cameras with other smart home devices, such as lights and alarms, for enhanced security.
Setting up wireless security cameras doesn’t have to be complicated. By following these steps, you can ensure that your home or business is well-protected. Remember to choose the right camera, plan your placement carefully, and configure the settings to meet your needs. With a little effort, you can have a reliable security system that provides peace of mind and helps keep your property safe.


















There are no comments for this blog.