How Does The Nd Filter Control Lights?
Neutral Density (ND) filters are essential tools in the world of photography and videography, allowing professionals and enthusiasts alike to control light exposure in their shots. Understanding how ND filters work and how they can be effectively used can significantly enhance the quality of your images and videos. This article delves into the mechanics of ND filters, their types, and practical applications, providing a comprehensive guide for anyone looking to master light control in their visual projects.

Understanding ND Filters
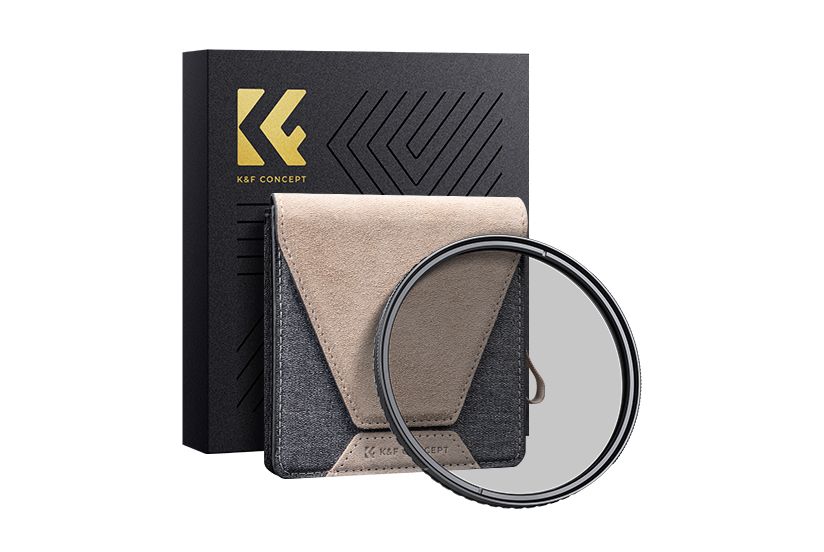
At its core, an ND filter is a piece of glass or resin that reduces the amount of light entering the camera lens without affecting the color of the image. This reduction in light allows photographers and videographers to use wider apertures or slower shutter speeds than would otherwise be possible in bright conditions. Essentially, ND filters act like sunglasses for your camera, providing greater control over exposure settings.
Types of ND Filters
ND filters come in various types, each serving different purposes and offering different levels of light reduction. The most common types include:
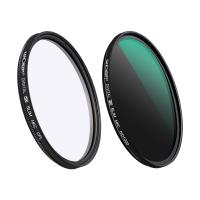
1. Fixed ND Filters: These filters have a set density and reduce light by a specific number of stops. They are straightforward to use and are available in various strengths, typically ranging from 1-stop to 10-stops or more.
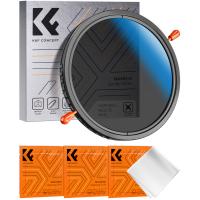
2. Variable ND Filters: These filters allow you to adjust the density by rotating the filter, providing a range of light reduction typically between 2 to 8 stops. They offer flexibility and convenience, making them popular among videographers who need to adapt to changing light conditions quickly.
3. Graduated ND Filters: These filters have a gradient, with one part being darker than the other. They are particularly useful for landscape photography, where you might want to darken the sky without affecting the foreground.
How ND Filters Control Light
ND filters control light through the principle of light attenuation. When light passes through the filter, the material absorbs or reflects a portion of the light, reducing the overall intensity that reaches the camera sensor. This reduction is measured in stops, with each stop representing a halving of the light intensity. For example, a 3-stop ND filter reduces the light to one-eighth of its original intensity.
Practical Applications of ND Filters
1. Achieving Motion Blur
One of the most popular uses of ND filters is to achieve motion blur in bright conditions. By reducing the light entering the lens, you can use slower shutter speeds to capture the movement of subjects like water, clouds, or traffic, creating a sense of motion in your images. This technique is particularly effective in landscape photography, where the smooth, silky appearance of flowing water can add a dynamic element to the composition.
2. Controlling Depth of Field
In bright lighting conditions, achieving a shallow depth of field can be challenging without overexposing the image. ND filters allow you to use wider apertures, such as f/1.4 or f/2.8, even in daylight, enabling you to isolate your subject with a beautifully blurred background. This is especially useful in portrait photography, where a shallow depth of field can make the subject stand out.
3. Balancing Exposure in High-Contrast Scenes
Graduated ND filters are invaluable for balancing exposure in scenes with a high dynamic range, such as landscapes with a bright sky and a darker foreground. By darkening the sky while keeping the foreground properly exposed, you can capture a well-balanced image without resorting to HDR techniques.
4. Enhancing Video Quality
For videographers, maintaining a consistent shutter speed is crucial for achieving a cinematic look. In bright conditions, this can be difficult without overexposing the footage. Variable ND filters provide the flexibility to adjust light reduction on the fly, ensuring that you can maintain the desired shutter speed and aperture settings for smooth, professional-looking videos.
Choosing the Right ND Filter
Selecting the right ND filter depends on your specific needs and shooting conditions. Here are some factors to consider:
1. Strength: Determine the amount of light reduction you need based on your shooting environment and desired effect. For general use, a 3-stop or 6-stop ND filter is often sufficient. For more extreme conditions, such as shooting long exposures in bright sunlight, a 10-stop ND filter may be necessary.
2. Type: Decide between fixed, variable, and graduated ND filters based on your shooting style. Fixed ND filters are reliable and straightforward, while variable ND filters offer flexibility. Graduated ND filters are ideal for landscape photography.
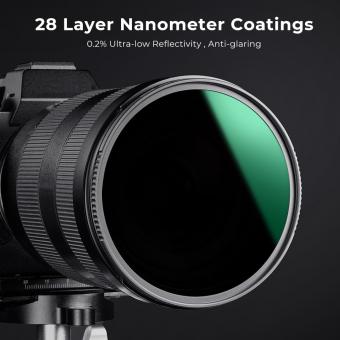
3. Quality: Invest in high-quality ND filters to avoid issues like color cast, vignetting, and loss of sharpness. Look for filters made from optical glass with multi-coating to minimize reflections and ensure accurate color reproduction.
Tips for Using ND Filters
1. Use a Tripod: When shooting long exposures, a tripod is essential to keep your camera steady and avoid camera shake.
2. Compose Before Attaching the Filter: ND filters, especially strong ones, can make it difficult to see through the viewfinder or LCD screen. Compose your shot and focus before attaching the filter.
3. Check for Vignetting: When using wide-angle lenses, be mindful of vignetting, especially with thick ND filters. Consider using slim-profile filters to minimize this issue.
4. Stacking Filters: If you need more light reduction than a single filter can provide, you can stack multiple ND filters. However, be cautious of potential image quality degradation and vignetting.
5. Experiment with Different Settings: Don’t be afraid to experiment with different shutter speeds and apertures to achieve the desired effect. ND filters open up a world of creative possibilities, so take the time to explore and refine your techniques.
ND filters are powerful tools that offer photographers and videographers greater control over light and exposure settings. By understanding how they work and how to use them effectively, you can enhance the quality of your images and videos, achieving effects that would be impossible without them. Whether you’re looking to create stunning motion blur, control depth of field, balance exposure in high-contrast scenes, or maintain consistent video quality, ND filters are an invaluable addition to your toolkit. Invest in high-quality filters, practice your techniques, and unlock the full potential of your creative vision.


