How Does Time Lapse Camera Work?
Time-lapse photography is a fascinating technique that captures the passage of time in a way that is imperceptible to the human eye. By taking a series of photographs at set intervals and then playing them back at a higher speed, time-lapse cameras can condense hours, days, or even months into a few seconds or minutes of video. This technique is widely used in various fields, from documenting the growth of plants to capturing the hustle and bustle of city life. In this article, we will delve into the mechanics of how time-lapse cameras work, the different types of time-lapse photography, and practical tips for creating your own time-lapse videos.
The Mechanics of Time-Lapse Cameras
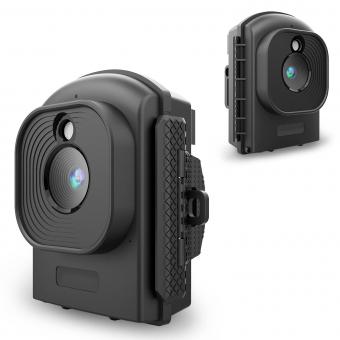
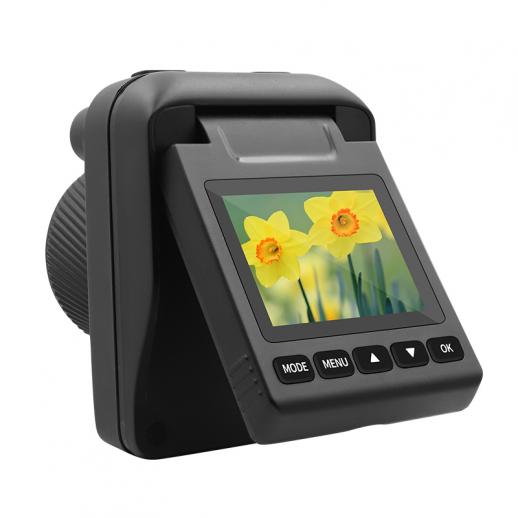
At its core, a time-lapse camera operates on a simple principle: it takes a series of still photographs at regular intervals and then stitches them together to create a video. The key components of a time-lapse camera include:
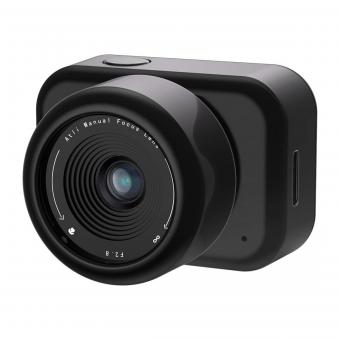
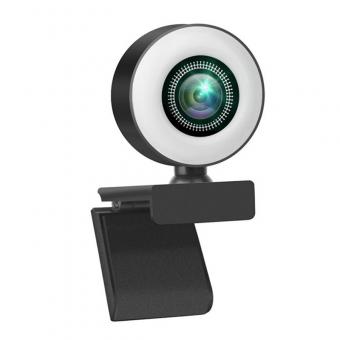
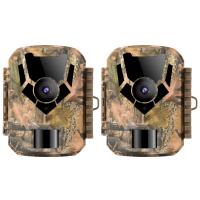
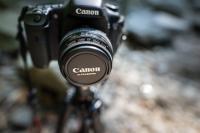
1. Camera Body: This can be a DSLR, mirrorless camera, or even a smartphone. The camera body houses the sensor and other essential electronics.
2. Intervalometer: This is a device or software that controls the intervals at which the camera takes photos. Some cameras have built-in intervalometers, while others require an external device.
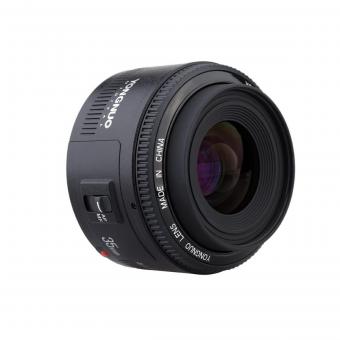
3. Lens: The choice of lens can significantly impact the final video. Wide-angle lenses are commonly used for capturing landscapes, while macro lenses are ideal for close-up subjects.
4. Storage: Time-lapse photography generates a large number of images, so ample storage is essential. High-capacity memory cards or external storage devices are often used.
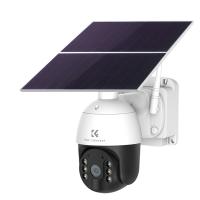
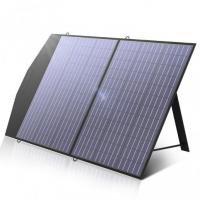
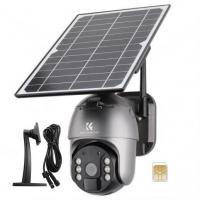
5. Power Supply: Depending on the duration of the time-lapse, a reliable power source is crucial. This could be a high-capacity battery, an AC adapter, or even solar panels for extended outdoor shoots.
Types of Time-Lapse Photography
Time-lapse photography can be categorized into several types based on the subject and the technique used:
1. Standard Time-Lapse: This is the most common type, where the camera remains stationary, and the subject moves. Examples include clouds drifting across the sky, traffic flowing through a city, or a flower blooming.
2. Hyperlapse: In this technique, the camera itself moves between shots, creating a dynamic sense of motion. Hyperlapse is often used to capture long journeys or to add a cinematic effect to the video.
3. Motion Control Time-Lapse: This involves using motorized sliders or gimbals to move the camera smoothly during the shoot. This technique adds a professional touch to the video by introducing controlled camera movements.
4. Macro Time-Lapse: This type focuses on capturing small subjects in great detail, such as the growth of mold or the movement of insects. Specialized macro lenses and lighting are often required.
5. Astrophotography Time-Lapse: This involves capturing the night sky, including stars, planets, and celestial events. Long exposure times and specialized equipment are often necessary for this type of time-lapse.
Practical Tips for Creating Time-Lapse Videos
Creating a compelling time-lapse video requires careful planning and execution. Here are some practical tips to help you get started:
1. Plan Your Shoot: Before you start, decide on the subject and the duration of the time-lapse. Consider factors like lighting, weather conditions, and the movement of the subject.
2. Choose the Right Interval: The interval between shots depends on the speed of the subject's movement. For fast-moving subjects like traffic, a shorter interval (1-2 seconds) is ideal. For slower subjects like plant growth, longer intervals (10-30 minutes) are more appropriate.
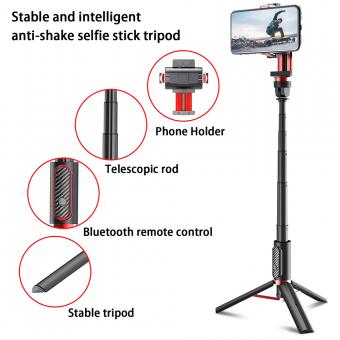
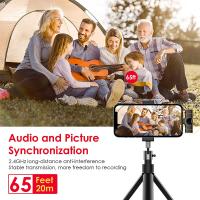
3. Stabilize Your Camera: Use a sturdy tripod to keep the camera steady throughout the shoot. Any movement can result in a shaky final video.
4. Manual Settings: Set your camera to manual mode to maintain consistent exposure, focus, and white balance. This prevents flickering and other inconsistencies in the final video.
5. Use an Intervalometer: Whether built-in or external, an intervalometer is essential for automating the shooting process. Set it to the desired interval and let it do the work.
6. Monitor Battery and Storage: Ensure that you have enough battery life and storage capacity to last the entire shoot. Consider using external power sources and high-capacity memory cards.
7. Post-Processing: After capturing the images, use software like Adobe Premiere Pro, Final Cut Pro, or specialized time-lapse software to stitch the photos together and create the final video. Adjust the frame rate, add music, and make any necessary color corrections.
Applications of Time-Lapse Photography
Time-lapse photography is not just a creative endeavor; it has practical applications in various fields:
1. Scientific Research: Time-lapse is used to study processes that occur over long periods, such as plant growth, animal behavior, and geological changes.
2. Construction Monitoring: Time-lapse cameras are often installed at construction sites to document the progress of a project. This provides a visual record and can be used for project management and marketing purposes.
3. Weather Observation: Meteorologists use time-lapse to study weather patterns, cloud formations, and other atmospheric phenomena.
4. Art and Entertainment: Time-lapse is a popular technique in filmmaking, photography, and art installations. It adds a unique visual element that can captivate audiences.
5. Education: Time-lapse videos are used in educational materials to illustrate concepts that are difficult to observe in real-time, such as chemical reactions or biological processes.
Challenges and Solutions
While time-lapse photography is rewarding, it comes with its own set of challenges:
1. Flickering: Inconsistent exposure or white balance can cause flickering in the final video. To avoid this, use manual settings and maintain consistent lighting conditions.
2. Battery Life: Long-duration shoots can drain the camera battery. Use high-capacity batteries, battery grips, or external power sources to ensure uninterrupted shooting.
3. Storage: Time-lapse generates a large number of images, requiring substantial storage. Use high-capacity memory cards and consider offloading images to external storage devices periodically.
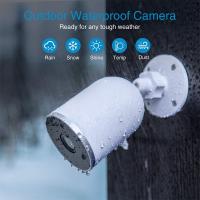
4. Weather Conditions: Outdoor shoots are subject to changing weather conditions. Check the forecast and be prepared with protective gear for your equipment.
5. Camera Movement: Any unintended movement can ruin a time-lapse. Use a sturdy tripod and consider using sandbags or weights to stabilize it further.
Time-lapse photography is a powerful technique that allows us to see the world in a new light. By understanding the mechanics of time-lapse cameras, choosing the right type of time-lapse, and following practical tips, you can create stunning videos that capture the essence of time. Whether you're a hobbyist or a professional, time-lapse photography offers endless possibilities for creativity and exploration. So grab your camera, plan your shoot, and start capturing the passage of time in a way that is both mesmerizing and enlightening.

