How Insert Sd Card In Laptop?
Inserting an SD card into a laptop is generally a straightforward process, but it can vary slightly depending on your laptop model and whether your laptop has a built-in SD card reader. SD cards are commonly used for storing photos, videos, and other files, and they offer a quick and convenient way to transfer data between devices like cameras, smartphones, or tablets. In this article, I will guide you through the steps for inserting an SD card into your laptop, troubleshooting tips if you have issues, and how to safely remove the card when you're done.
Understanding the SD Card Slot
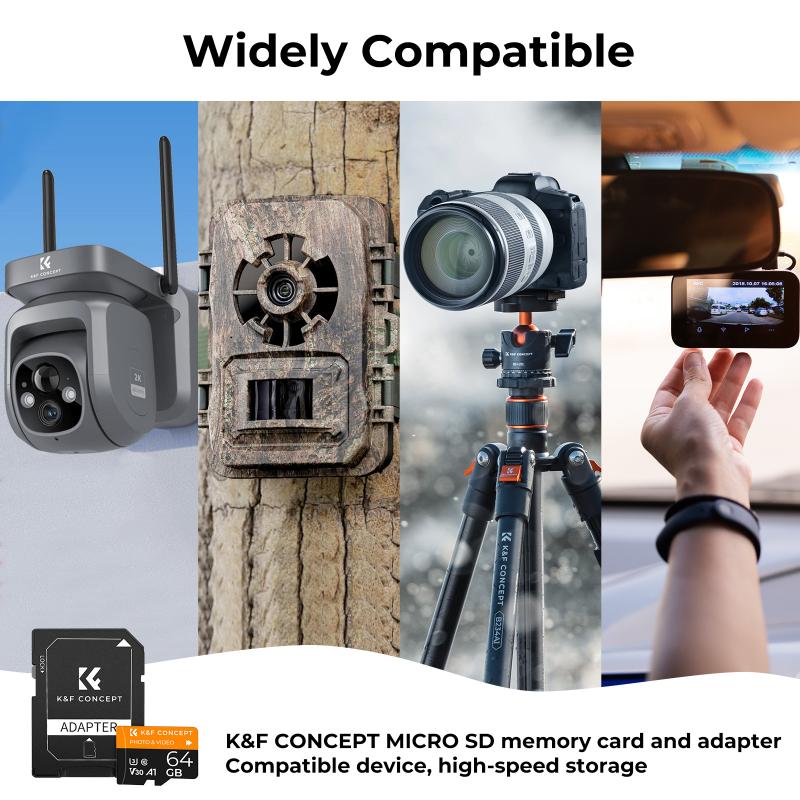
First, let’s understand where the SD card slot might be located. Many modern laptops come with an integrated SD card reader, though not all of them. The slot is typically located on the side of the laptop, near the USB ports or audio jack. The slot for SD cards is usually small and may have a label or icon next to it indicating that it’s for SD cards.
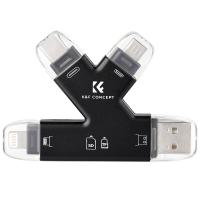
If your laptop does not have a built-in SD card reader, you can always use an external USB card reader, which will be covered in the troubleshooting section.
Step-by-Step Guide on How to Insert an SD Card into a Laptop
Step 1: Check Your Laptop’s SD Card Slot
Before inserting the card, make sure your laptop has an SD card reader. Most laptops will either have:
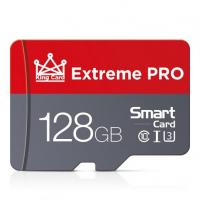
- A full-size SD card slot (the size of the card is about 32mm x 24mm)
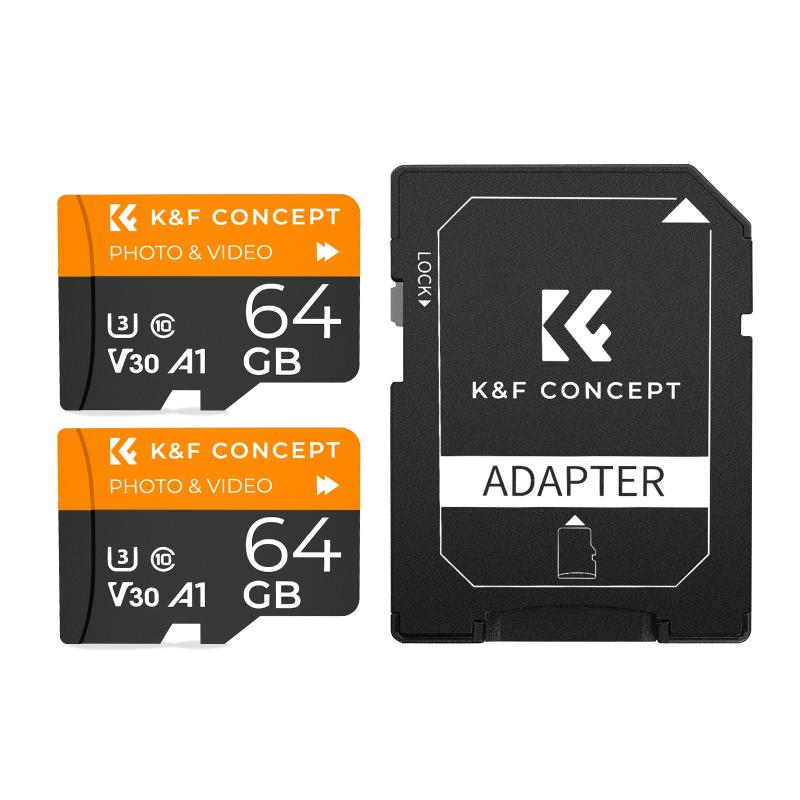
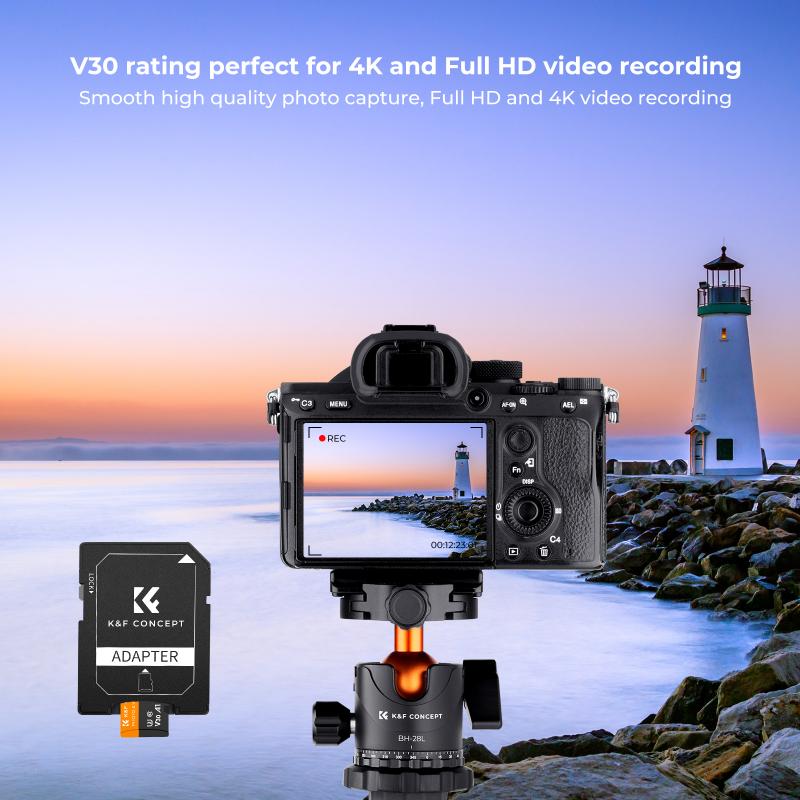
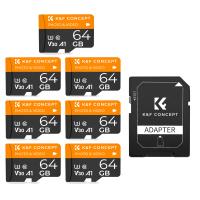
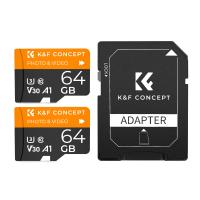
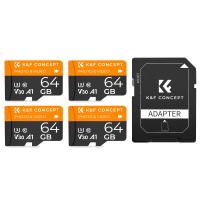
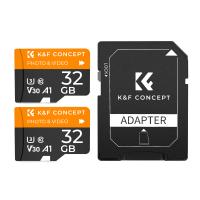
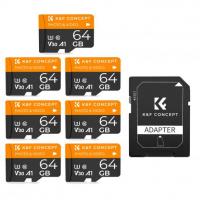
- A microSD card slot (the size of the card is about 15mm x 11mm), which usually requires an adapter to fit in a regular SD card slot.
Some laptops only have a microSD slot, but you can easily use an adapter that converts the microSD card into a full-size SD card to fit into the reader.
Step 2: Align the SD Card Correctly

Before you insert the card, it's important to make sure you are inserting it in the correct orientation. SD cards typically have a metal contact strip that must be facing down and aligned with the metal pins inside the slot.
- For full-size SD cards, the contact side should face the bottom (the side with the label facing up).
- For microSD cards, if you're using an adapter, the adapter should also be inserted with the contact side facing down.
Most laptop SD card slots are designed with a “one-way only” feature, so the card will only go in correctly when aligned properly. If you feel resistance while inserting the card, do not force it—check the orientation.
Step 3: Insert the SD Card Gently
Once aligned, gently insert the SD card into the slot. You should feel a light click when the card is inserted all the way in. Do not push too hard. If your laptop’s SD card reader is spring-loaded, the card will click in and may even spring back a little when fully inserted. This ensures the card is securely in place.
Step 4: Wait for the Laptop to Detect the Card
Once inserted, your laptop should automatically detect the SD card and mount it. A notification may appear on your screen, confirming that the card is ready for use. Depending on your operating system, you might see a dialog box asking you what you want to do with the SD card, such as opening the files, transferring photos, or simply viewing the contents.
If you don’t see the notification or cannot access the card, you might need to manually open your file explorer (Windows) or Finder (Mac) to locate the SD card.
Step 5: Access the SD Card Data
After the SD card is inserted and detected, you can access the data on the card. In Windows, open File Explorer (press `Windows + E`), and you should see the SD card listed under "This PC" as a new drive. If you’re using a Mac, open Finder, and the SD card should appear in the left sidebar under "Devices."
From there, you can copy, move, or delete files as you would with any other folder or drive. SD cards are generally formatted with the FAT32 or exFAT file systems, which are widely compatible across different devices.
Troubleshooting Tips
1. Laptop Does Not Recognize the SD Card
If your laptop does not detect the SD card after insertion, there may be several reasons for this. Here are some steps you can take to troubleshoot the issue:
- Reinsert the Card: Sometimes, the card may not be fully inserted or aligned properly. Remove it and carefully reinsert it, ensuring the metal contacts are facing the correct direction.
- Check the Card in Another Device: If possible, try inserting the SD card into another device (such as a camera or phone) to check if the card itself is functioning properly. If the card works in another device but not in your laptop, the issue may be with the laptop’s card reader.
- Restart Your Laptop: Occasionally, a system reboot may resolve issues with hardware detection. Simply restart your laptop and try inserting the SD card again.
- Update Drivers: If your laptop still doesn’t recognize the card, check if the drivers for the SD card reader are up to date. In Windows, go to Device Manager, find the SD card reader under "Disk Drives" or "Universal Serial Bus controllers," and check for updates.
2. SD Card is Corrupted
If the SD card appears to be detected, but you can't access its files or receive an error message saying the card is corrupted, you might need to format the card. Formatting will erase all data, so ensure that you have a backup of your files if necessary. To format the card:
- In Windows, right-click the SD card in File Explorer and select Format. Choose the appropriate file system (usually FAT32 or exFAT) and click Start.
- On a Mac, open Disk Utility, select the SD card from the sidebar, and click Erase.
3. Using an External SD Card Reader
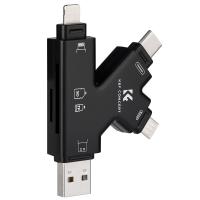
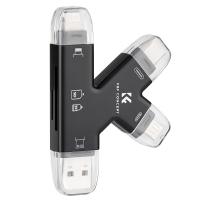
If your laptop does not have an SD card slot or if the built-in reader isn’t working, you can use an external USB SD card reader. These readers are inexpensive and plug directly into a USB port on your laptop. Insert your SD card into the reader, then connect it to the laptop. Your operating system should detect the SD card in the same way it would with a built-in reader.
Safely Ejecting the SD Card
Once you're done using your SD card, it’s important to eject it safely to avoid potential data corruption.
Windows:
- Right-click on the SD card icon in File Explorer and select Eject. Wait for the system to tell you it's safe to remove the hardware before physically removing the card.
Mac:
- In Finder, drag the SD card icon to the trash or click the eject icon next to the SD card in the left sidebar.
By safely ejecting the SD card, you ensure that any data being written to the card is properly saved and that the card is safely removed from your laptop.
Inserting an SD card into a laptop is a simple task, but knowing how to properly insert, access, and safely remove the card is essential for avoiding data loss or corruption. Whether you’re transferring photos from your camera or expanding your laptop’s storage, SD cards offer a convenient and reliable method for file transfer. If you encounter any issues, remember to check the orientation, try a different device, or use an external card reader. With a little care, you can make the most of your SD card and keep your files organized and safe.











There are no comments for this blog.