How To Backup A Micro Sd Card?
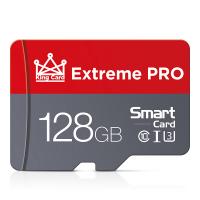
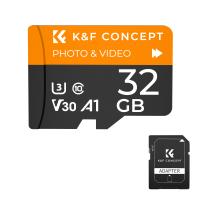
Backing up a micro SD card is a crucial task for anyone who relies on these tiny storage devices to keep their important data safe. Whether you use a micro SD card in your smartphone, camera, or other electronic devices, ensuring that your data is backed up can save you from potential data loss due to corruption, accidental deletion, or physical damage. In this article, we will explore various methods to back up a micro SD card, discuss the tools and software you can use, and provide step-by-step instructions to make the process as seamless as possible.
Why Backup a Micro SD Card?
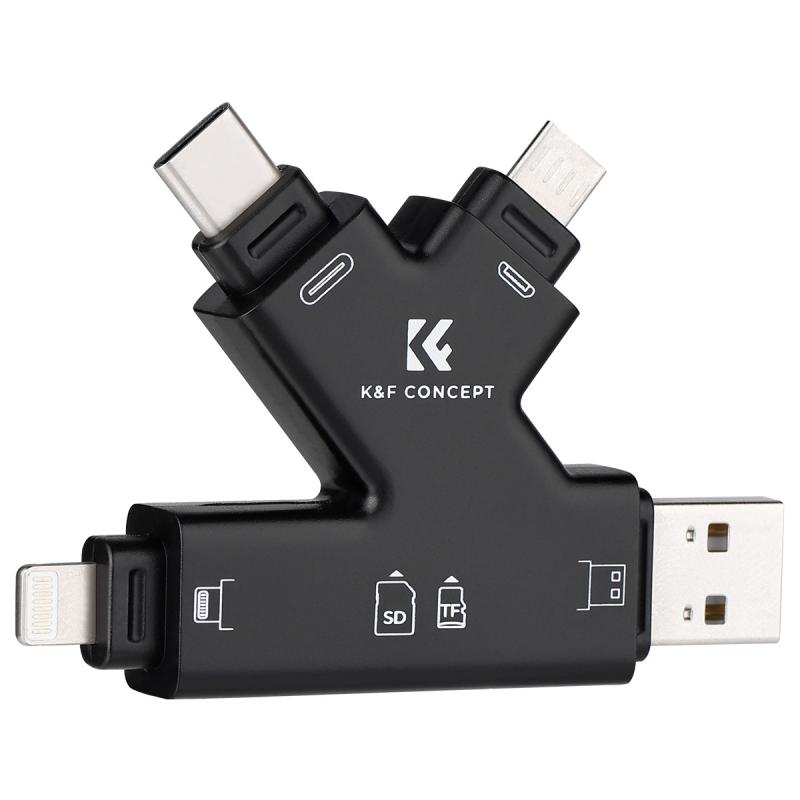
Before diving into the methods, it's essential to understand why backing up a micro SD card is necessary. Here are some key reasons:
1. Data Security: Micro SD cards can fail or get corrupted, leading to data loss. A backup ensures that your data is safe and can be restored.
2. Accidental Deletion: Files can be accidentally deleted. Having a backup allows you to recover these files easily.
3. Device Loss or Damage: If your device is lost or damaged, the data on the micro SD card can be lost. A backup ensures you have a copy of your data.
4. Ease of Transfer: Backing up your data makes it easier to transfer files to a new device or share them with others.
Methods to Backup a Micro SD Card
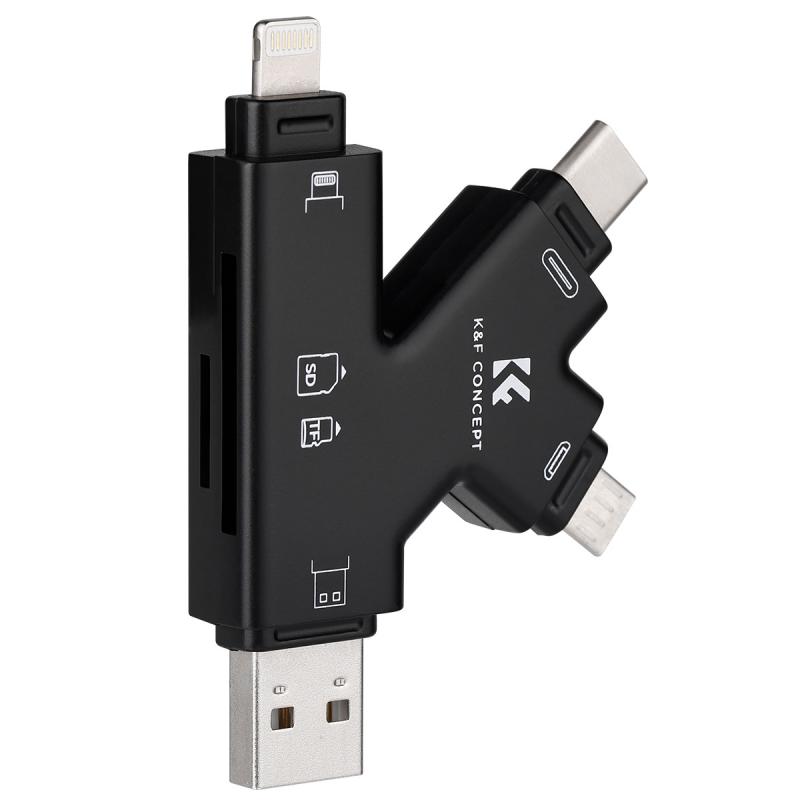
There are several methods to back up a micro SD card, each with its own advantages and disadvantages. Here, we will discuss the most common methods:
1. Using a Computer
2. Using a Smartphone
3. Using Cloud Storage
4. Using a Dedicated Backup Device
Method 1: Using a Computer
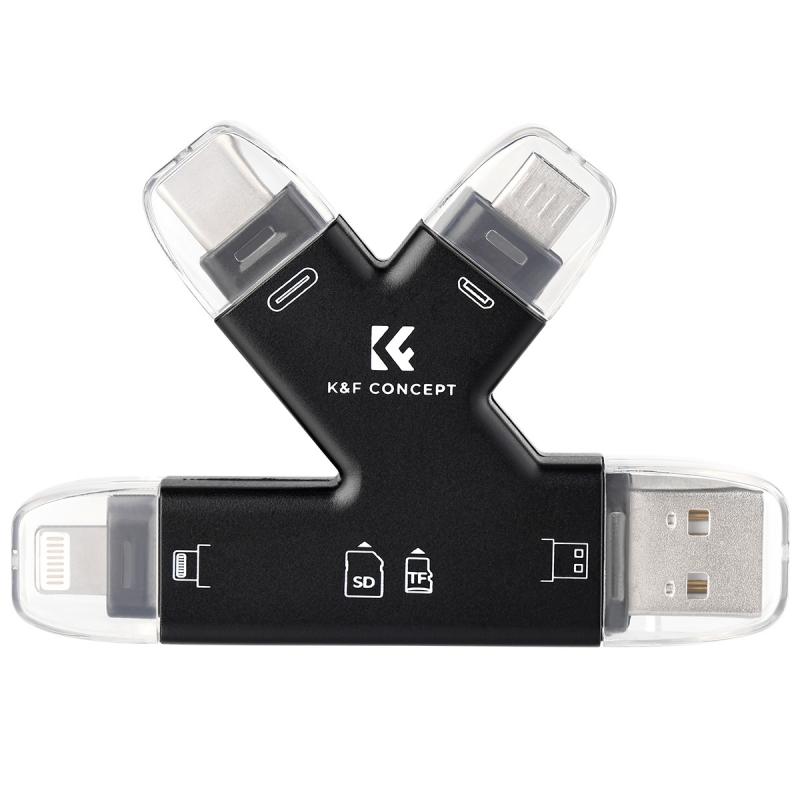
Backing up a micro SD card using a computer is one of the most straightforward methods. Here’s how you can do it:
Step-by-Step Instructions:
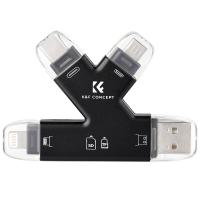
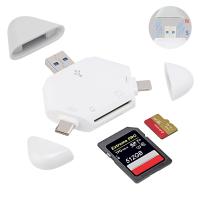
1. Insert the Micro SD Card: Use an SD card adapter or a built-in card reader to insert the micro SD card into your computer.
2. Open File Explorer: On Windows, open File Explorer. On Mac, open Finder.
3. Locate the Micro SD Card: Find the micro SD card under "This PC" on Windows or "Devices" on Mac.
4. Copy the Files: Select all the files and folders on the micro SD card, right-click, and choose "Copy."
5. Paste the Files: Navigate to the location where you want to store the backup, right-click, and choose "Paste."
Advantages:
- Simple and straightforward.
- No need for additional software.
Disadvantages:
- Requires a computer with an SD card reader.
- Manual process can be time-consuming for large amounts of data.
Method 2: Using a Smartphone
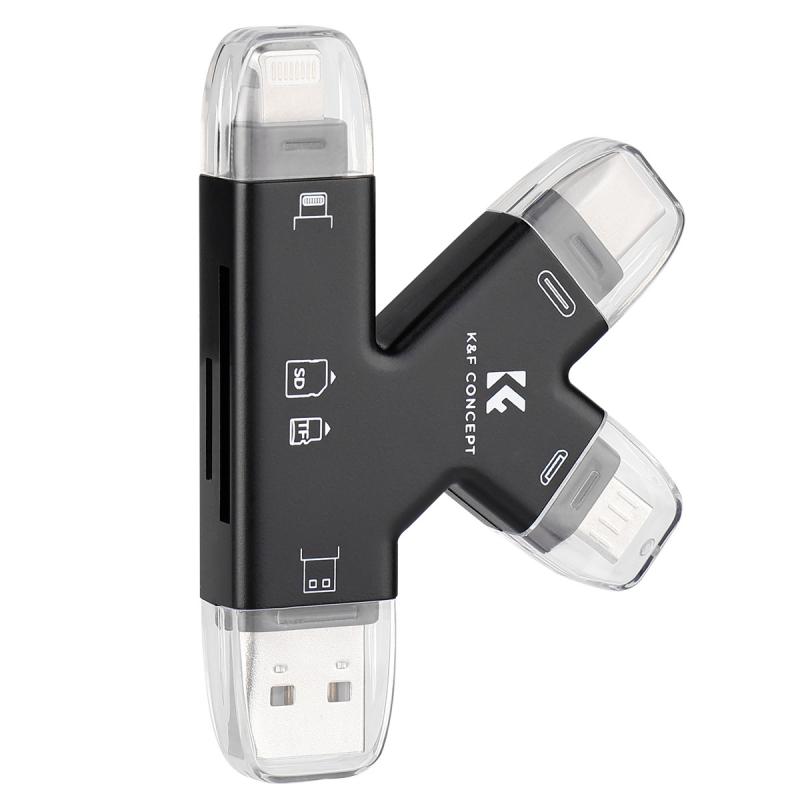
If you don’t have access to a computer, you can use your smartphone to back up the micro SD card. This method is particularly useful for Android users.
Step-by-Step Instructions:
1. Insert the Micro SD Card: Insert the micro SD card into your smartphone.
2. Open File Manager: Use a file manager app to access the micro SD card.
3. Select Files: Select the files and folders you want to back up.
4. Copy to Internal Storage: Copy the selected files to your phone’s internal storage or another micro SD card if your phone supports dual card slots.
5. Transfer to Computer or Cloud: Once the files are on your phone, you can transfer them to a computer or upload them to cloud storage.
Advantages:
- Convenient if you don’t have a computer.
- Can be done on the go.
Disadvantages:
- Limited by the phone’s internal storage capacity.
- May require additional steps to transfer to a computer or cloud.
Method 3: Using Cloud Storage
Cloud storage services like Google Drive, Dropbox, and OneDrive offer an excellent way to back up your micro SD card data. This method ensures that your data is safe and accessible from anywhere.
Step-by-Step Instructions:
1. Insert the Micro SD Card: Insert the micro SD card into your computer or smartphone.
2. Open Cloud Storage App: Open the cloud storage app or website.
3. Upload Files: Select the files and folders from the micro SD card and upload them to the cloud storage.
Advantages:
- Data is accessible from anywhere.
- Provides an additional layer of security.
Disadvantages:
- Requires an internet connection.
- Limited by the storage capacity of the cloud service (unless you pay for additional storage).
Method 4: Using a Dedicated Backup Device
There are dedicated backup devices available that can back up your micro SD card without the need for a computer or smartphone. These devices are portable and easy to use.
Step-by-Step Instructions:
1. Insert the Micro SD Card: Insert the micro SD card into the backup device.
2. Start Backup: Follow the device’s instructions to start the backup process.
Advantages:
- Portable and easy to use.
- No need for a computer or internet connection.
Disadvantages:
- Additional cost for the backup device.
- Limited by the device’s storage capacity.
Best Practices for Backing Up a Micro SD Card
Regardless of the method you choose, here are some best practices to ensure a successful backup:
1. Regular Backups: Make it a habit to back up your micro SD card regularly to avoid data loss.
2. Verify Backup: Always verify that the backup was successful by checking the copied files.
3. Multiple Copies: Keep multiple copies of your backup in different locations (e.g., computer, cloud, external hard drive).
4. Organize Files: Organize your files and folders to make it easier to find and restore data when needed.
Backing up a micro SD card is an essential task that should not be overlooked. Whether you choose to use a computer, smartphone, cloud storage, or a dedicated backup device, the key is to ensure that your data is safe and can be easily restored in case of any mishap. By following the methods and best practices outlined in this article, you can protect your valuable data and have peace of mind knowing that your information is secure.










There are no comments for this blog.